Every year Spring comes with an explosion of flowers blooming all over, a breath-taking sight to behold. However, to capture their delicate beauty exactly as we see it can put to the test even the most experienced photographers among us.
Choosing the right filter here can make the different between a characterless photo and a way more impressive one, in which nature is enhanced and captured in all its beauty.
Our most recommended filters to capture flowers blooming include PL, soft effect, ND filters and close-up lenses.
Let us show you their main features, along with some hot tips and tricks!
PL filters – To capture flowers' true color
Enhanced colors
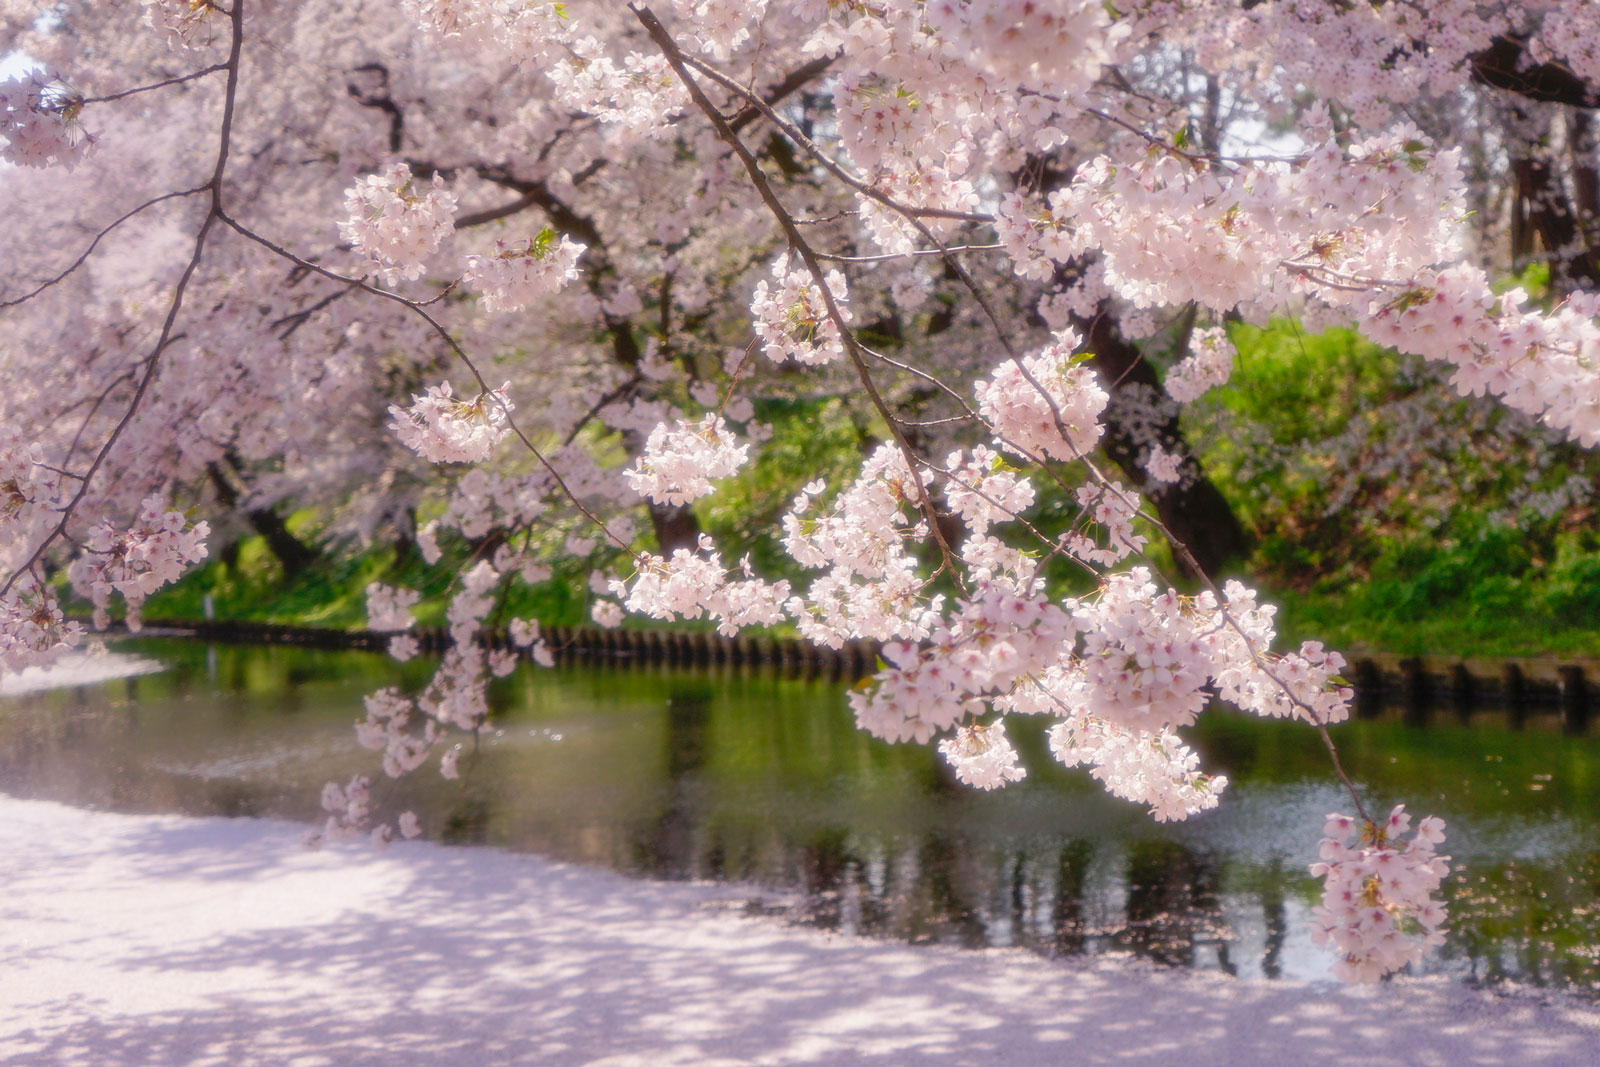
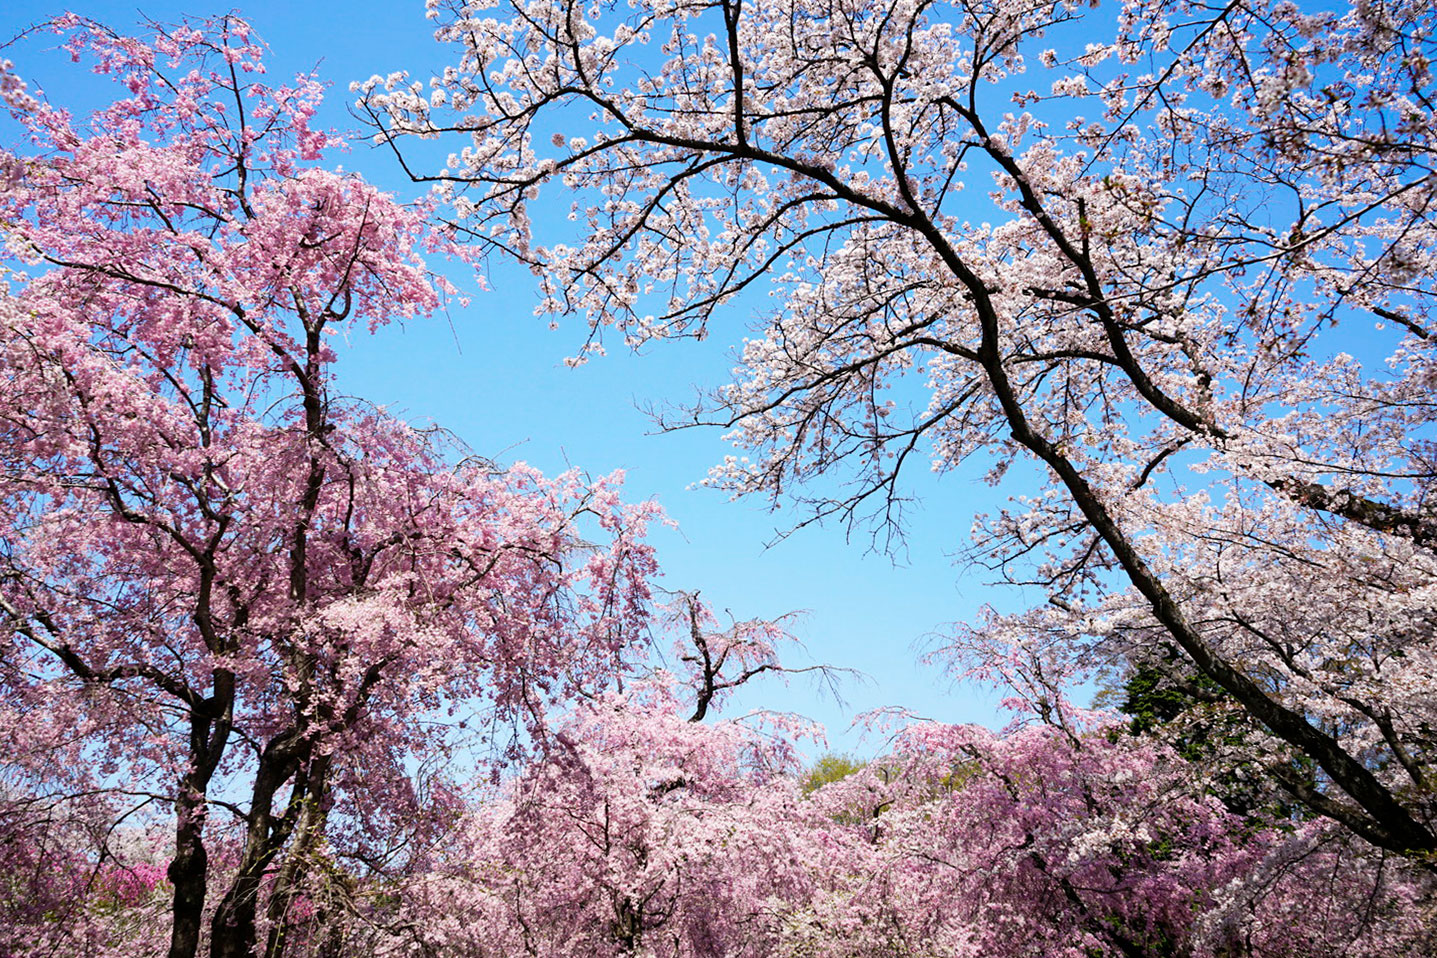
Simply speaking, the first field of application for a PL (polarizing) filter is to enhance blue colors, making a bright blue sky more vivid. Such a brighter and more vivid blue sky can be the perfect background to make, for example, letting the light pink hue of cherry blossoms stand out, thus getting you an outstanding shot. In addition, C-PL (circular polarizing) filters come with a rotating frame to intensify or reduce the polarizing effect and to adjust to light conditions, thus matching your desired effect.
 |
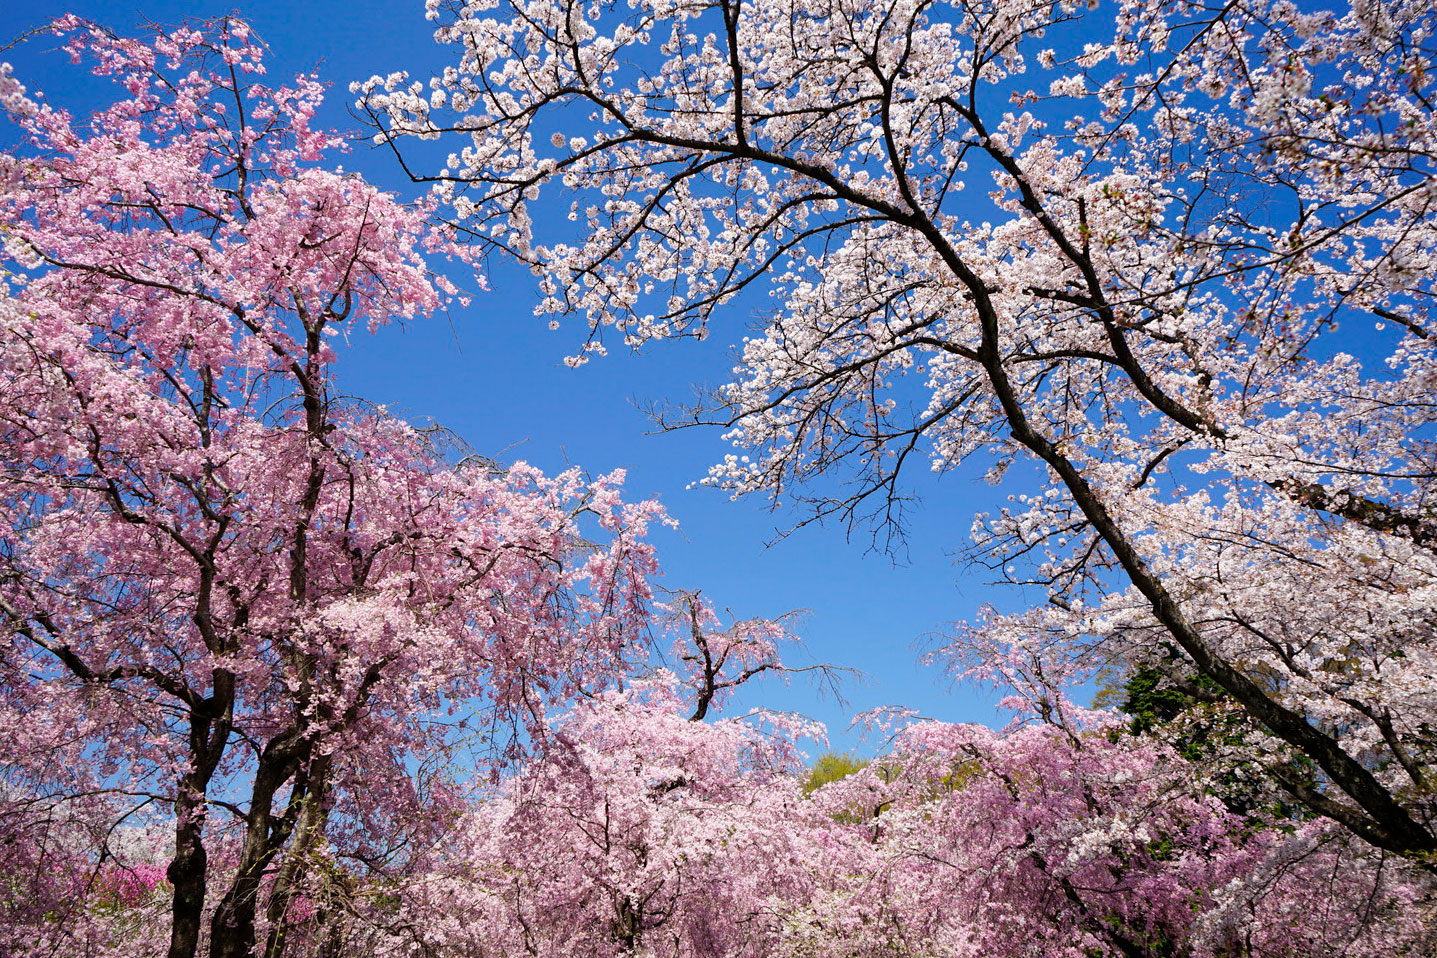 |
In the above image taken with a PL filter, the blue hue of the sky on the background is intensified and, by contrast, the pink cherry trees come out as the main protagonist of the shot.
More dramatic contrast
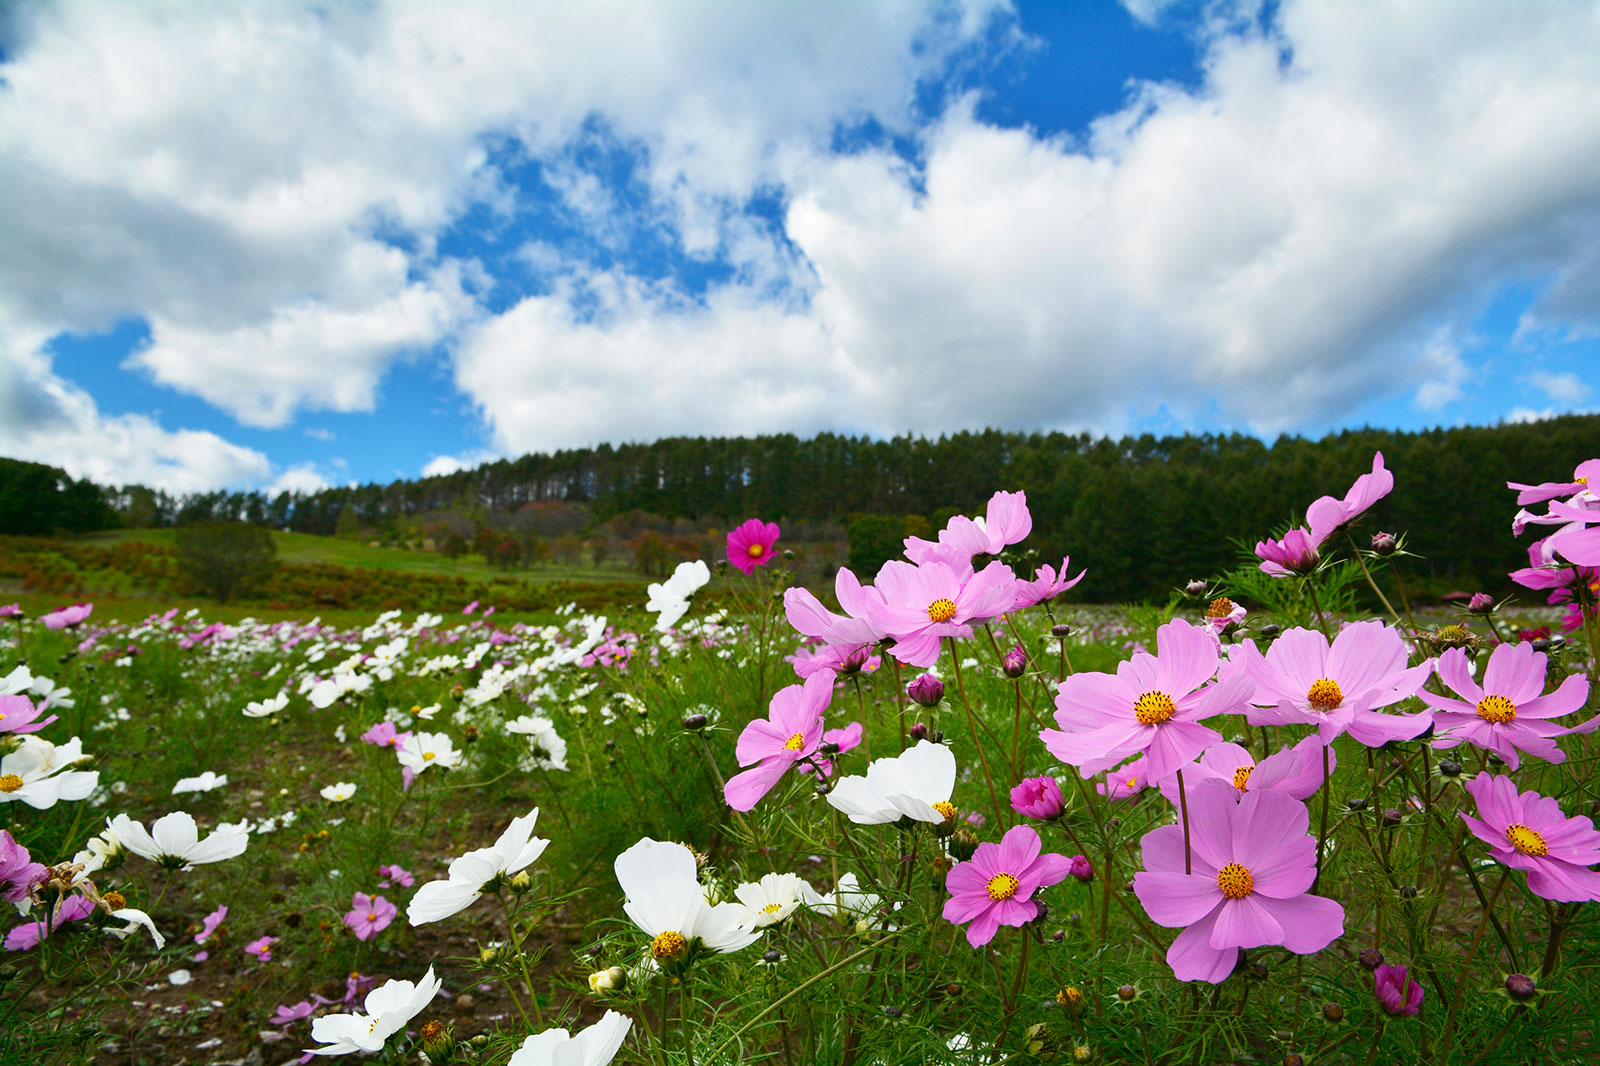
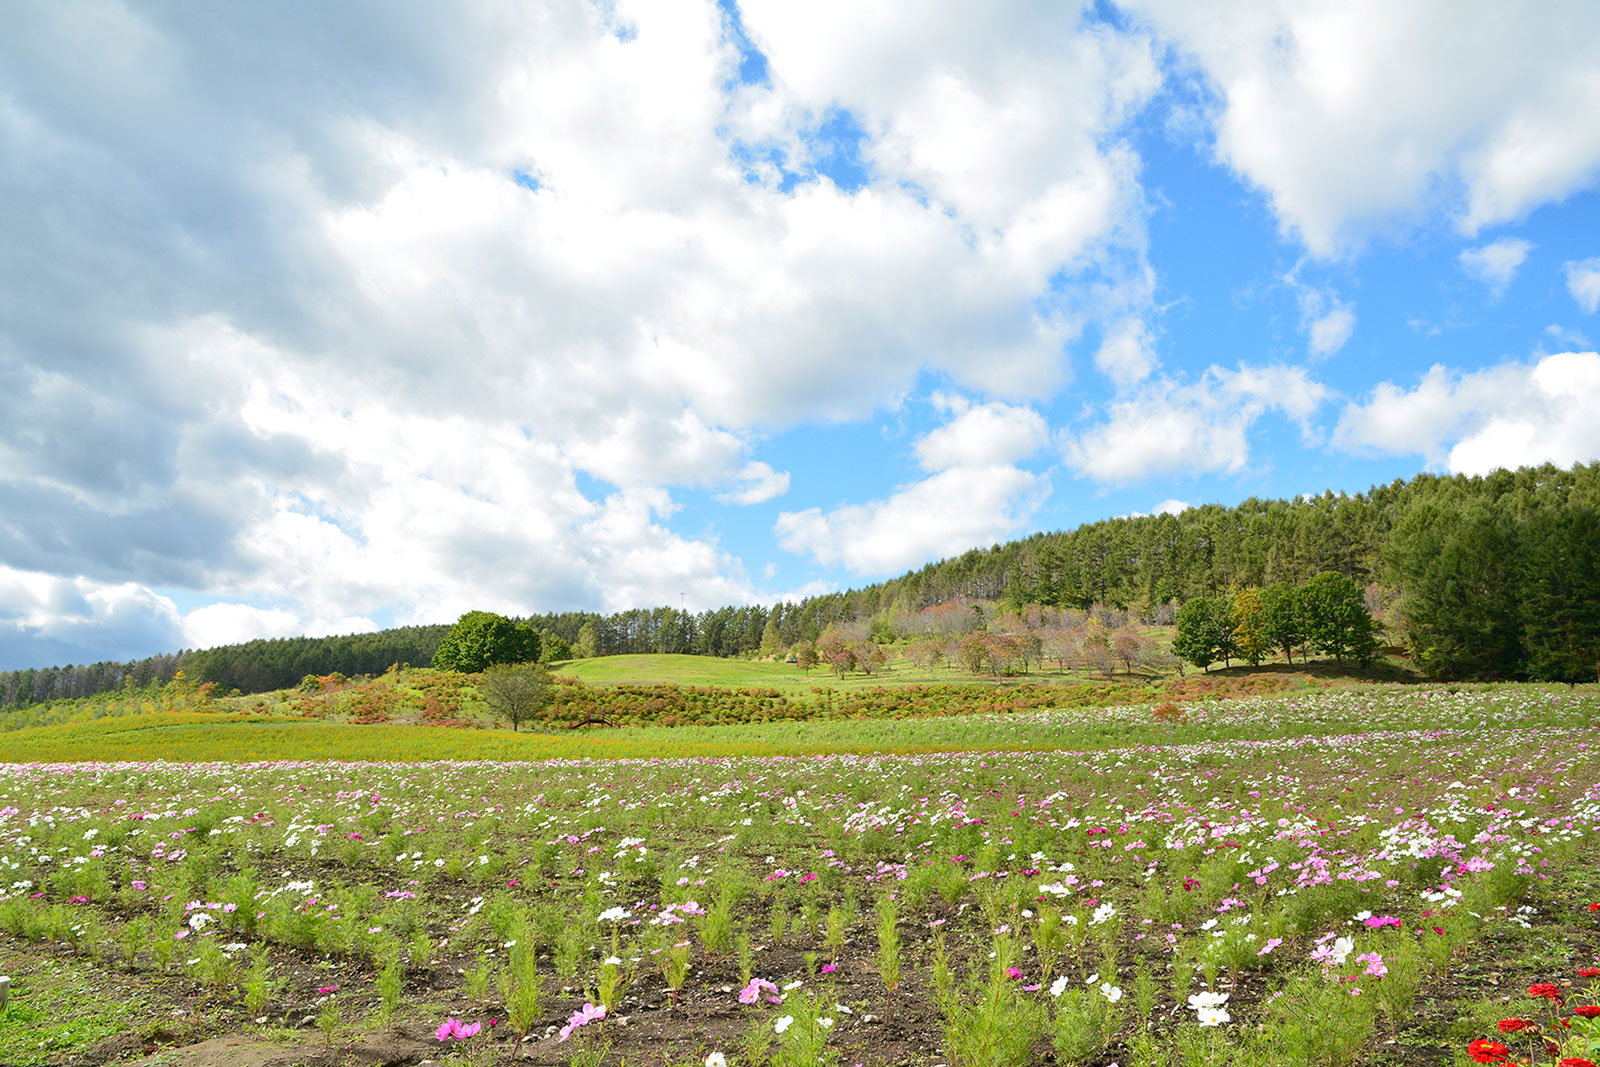
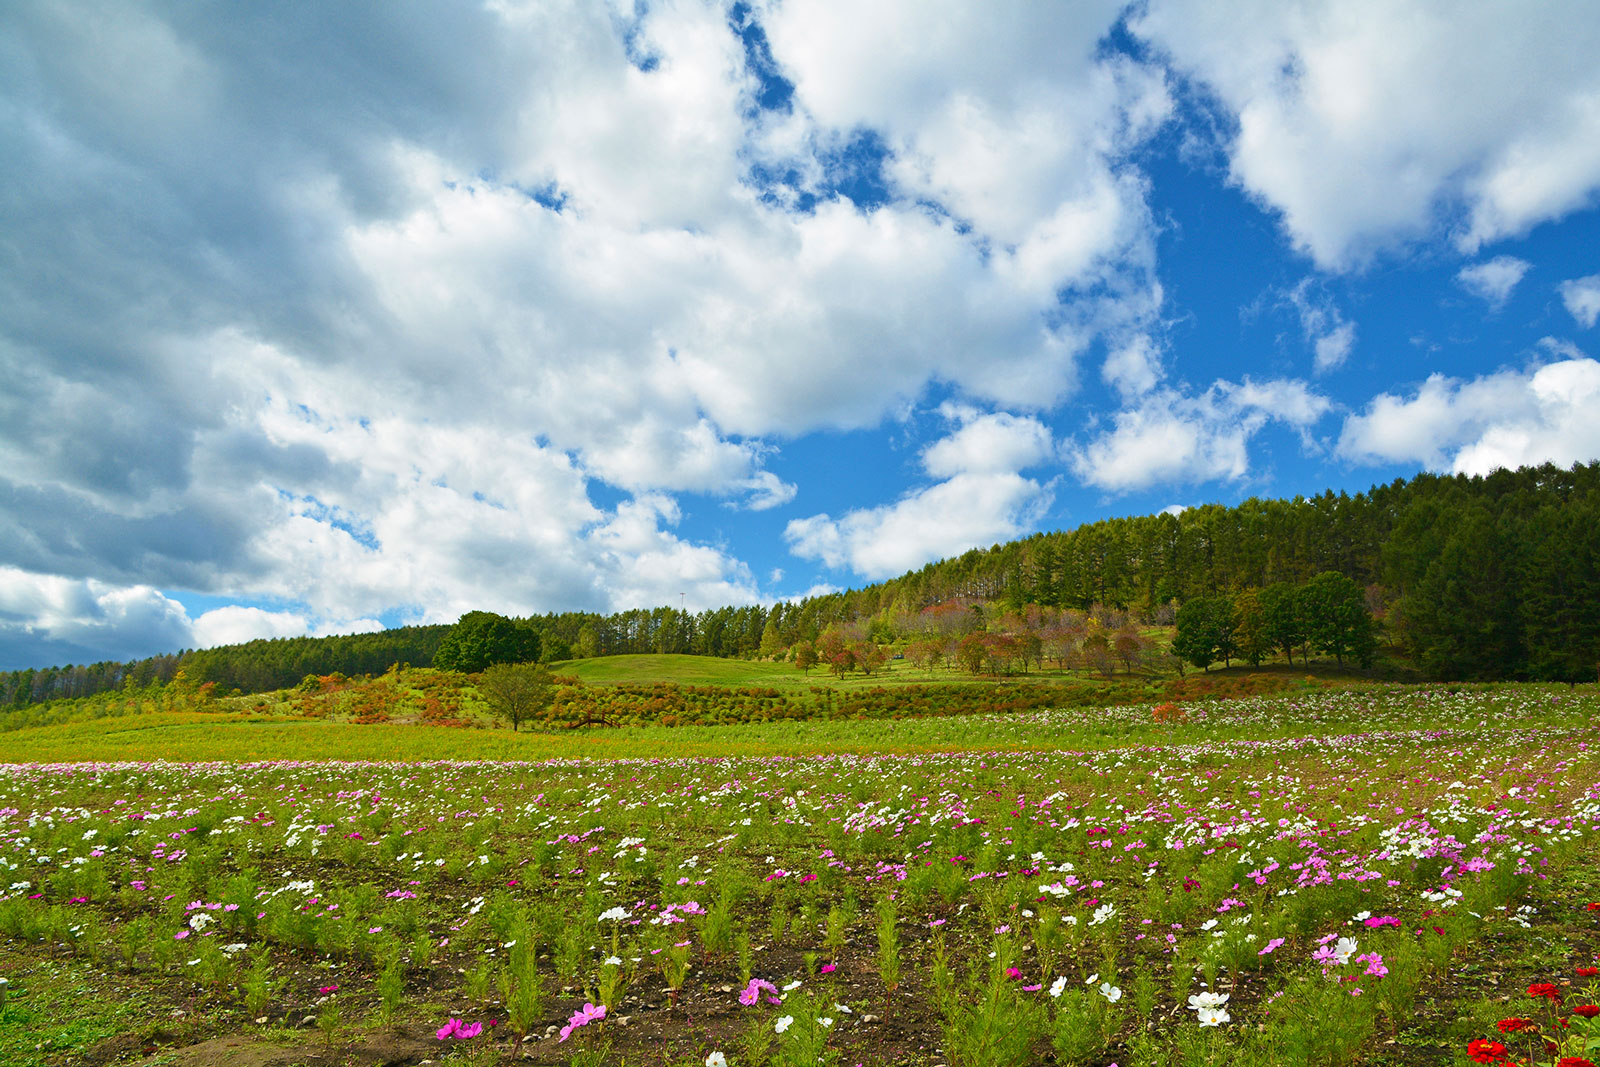
Using a PL filter is also particularly recommended when shooting for example a flower field under a slightly clouded sky with a wide-angle lens. In this scenario, a PL filter will enhance the contrast between the blue of the sky, the white of the clouds, and the colors of the flowers and field, for a more dramatic contrast and effect.
 |
 |
Suppress light reflections
A PL filters is not only used to enhance the blue of the sky, but also to control light reflections. Particularly when shooting flowers or leaves, this filter can be of great help to control and suppress unwanted light reflections on their surfaces, thus enhancing their natural colors.
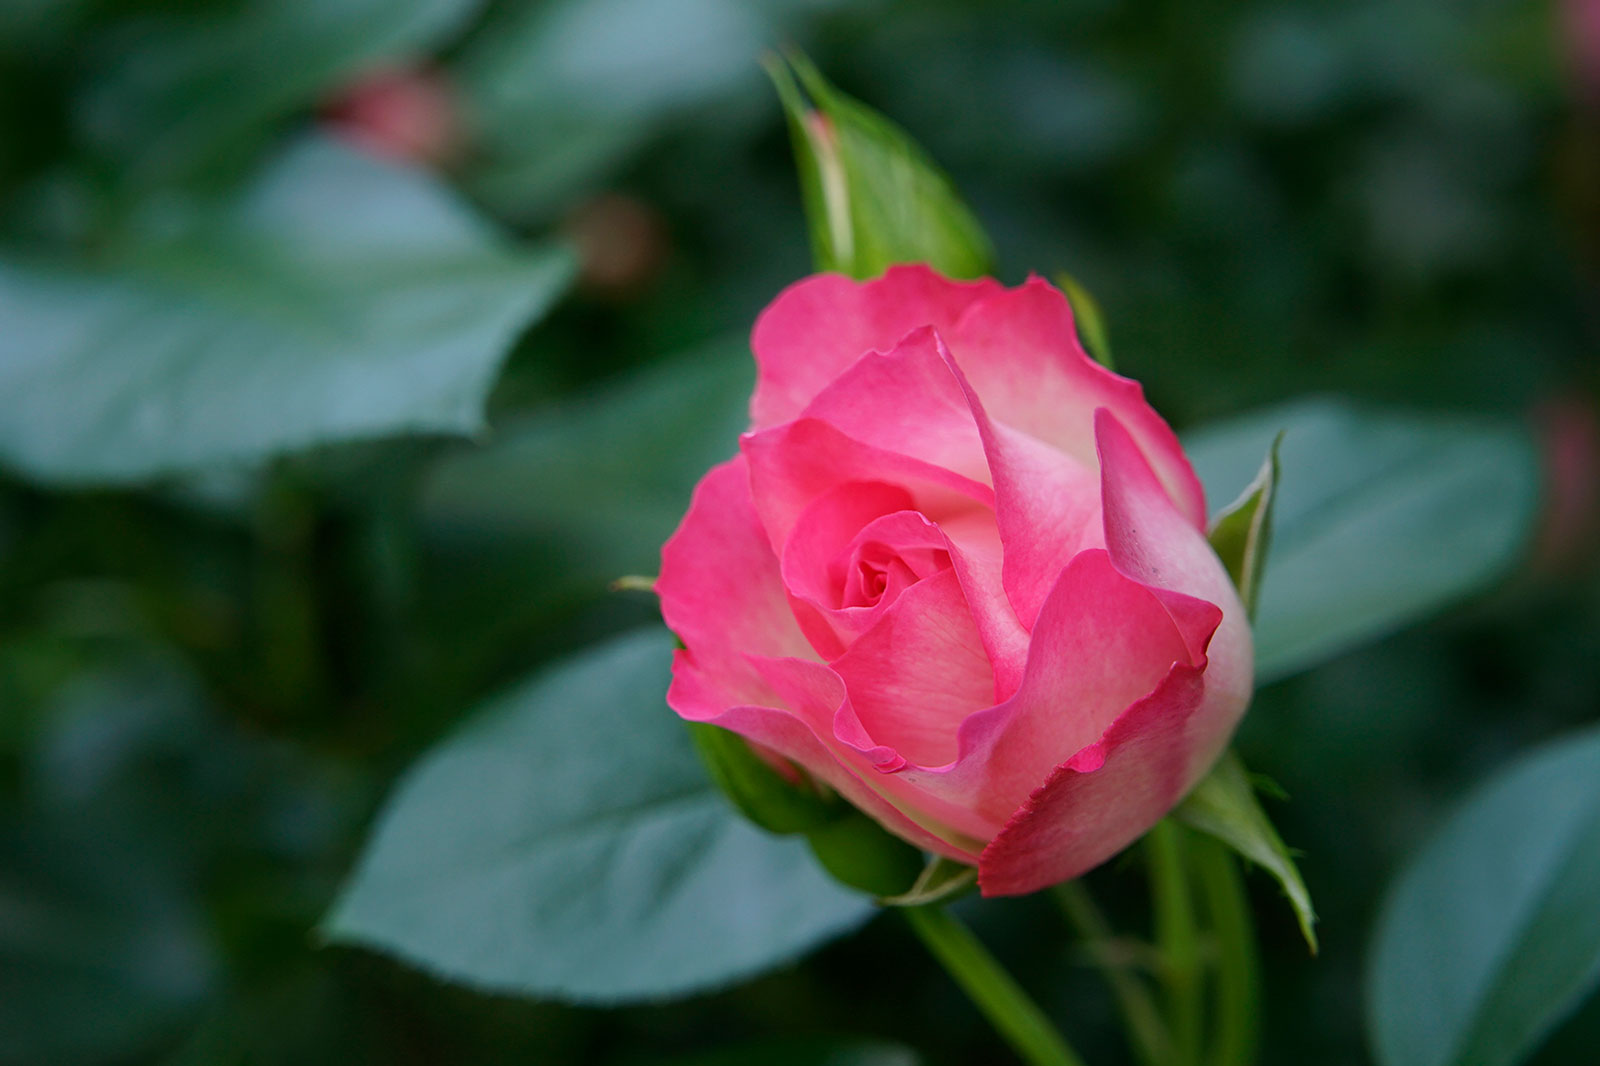 |
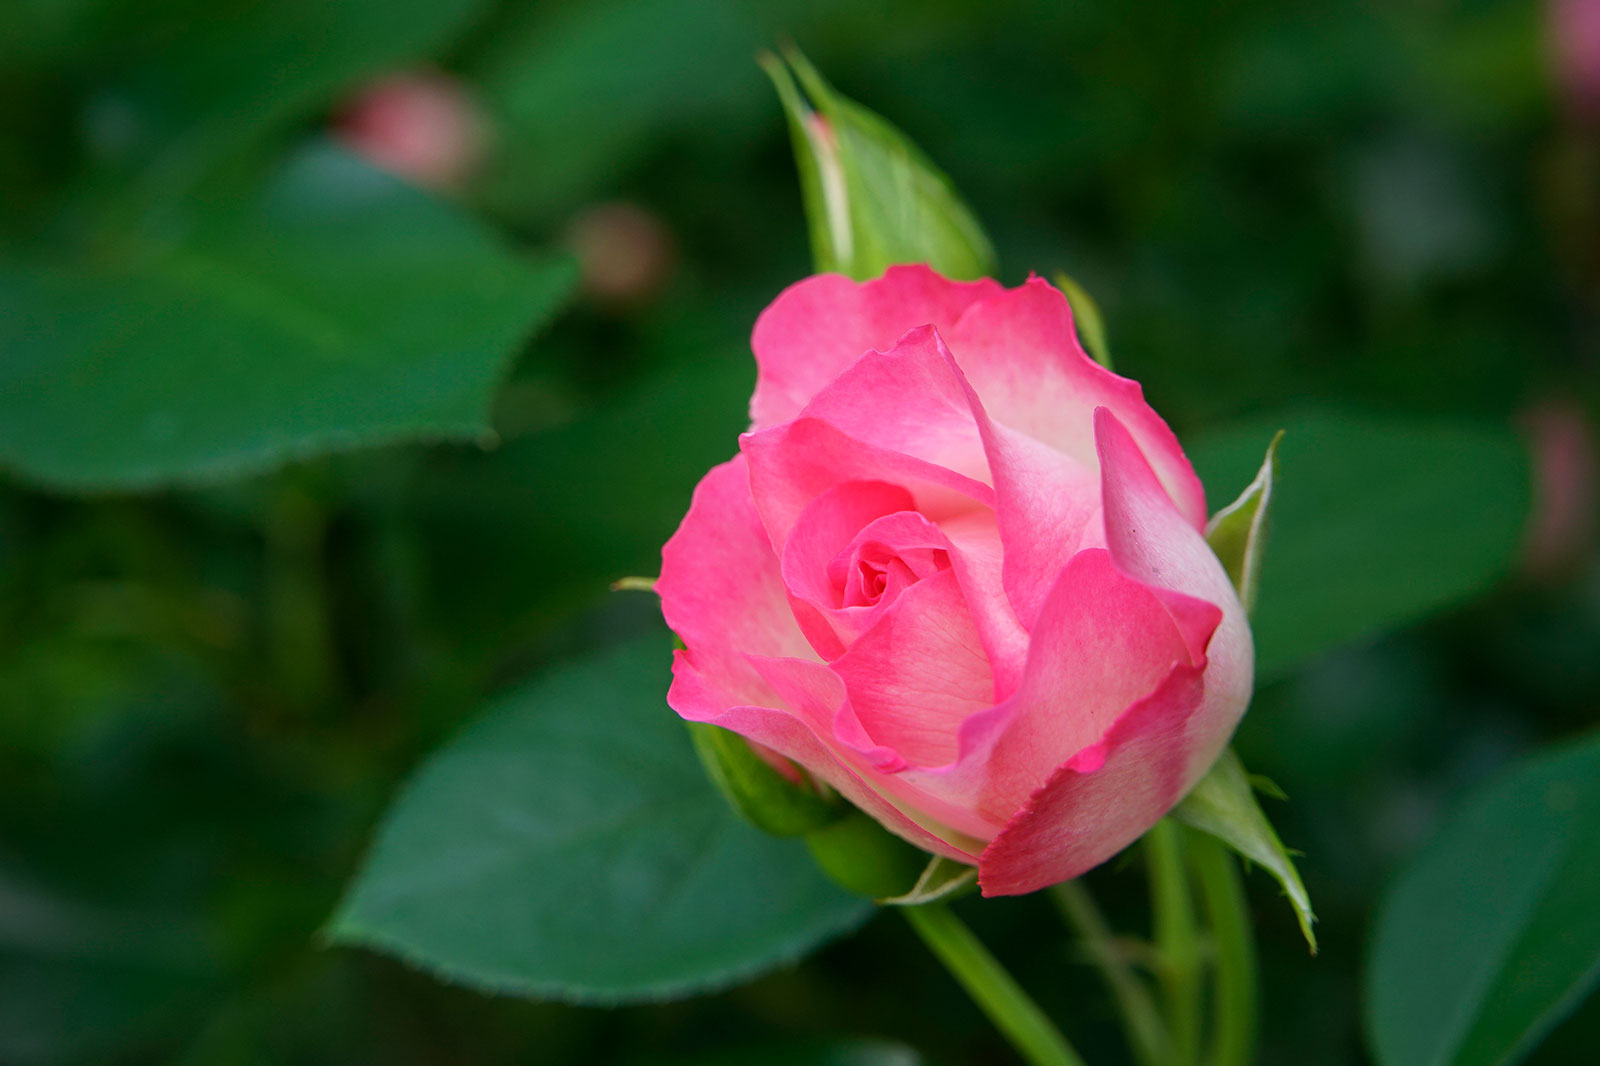 |
Not limited to flowers or blue skies, a PL filter is a versatile and must-have filter to capture natural scenarios according to your taste and shooting methods.
Hot Tips!
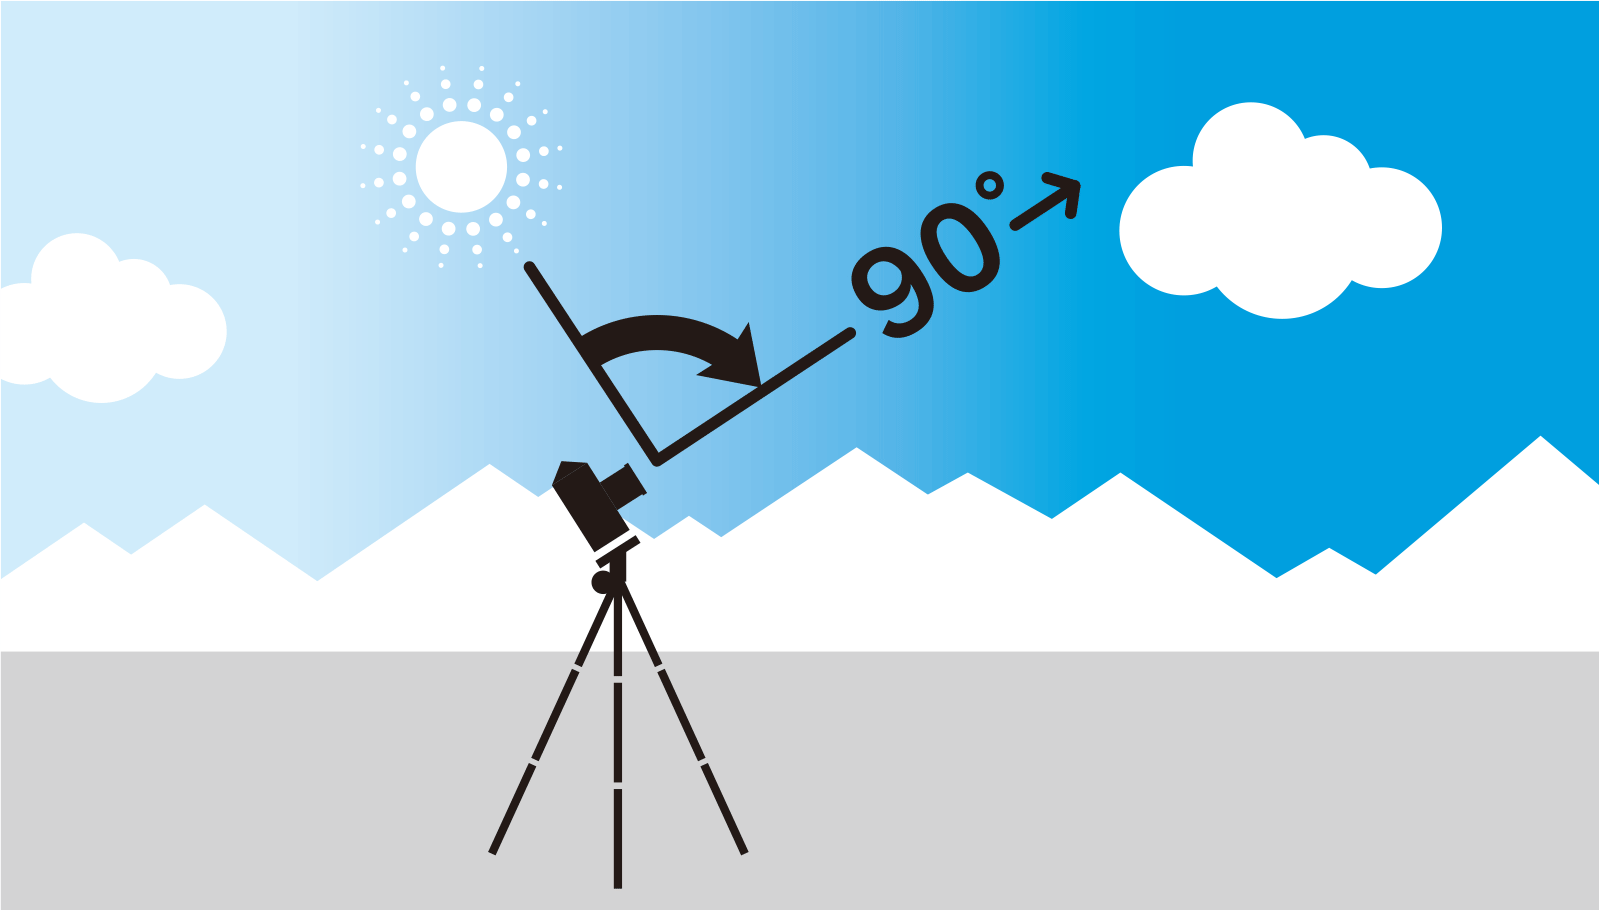
Pay attention to the position of the sun! When shooting with a PL filter, the most visible results are achieved when turning your back to the sun and keeping a 90° angle to it as well as to the sky at your sides. This way you will not have any light hitting your lens from the front, which may interfere with the polarizing effect and get you poor results.
Moreover, capturing the blue sky with a PL filter on an ultra-wide angle lens may result in a final image with uneven color rendering (the sky will look more blue in some spots, less blue in others). In this case, it will be better to change the shooting angle and get a less intensified blue hint but a more homogeneous sky surface.
HOYA's CIR-PL filter line-up
HOYA provides a wide range of CIR-PL filters to meet all expectations. Our foremost recommendation is the premium HD nano MkII CIR-PL, that can be used thanks to its 200% more scratch resistant nano coating in every extreme environment. The HD MkII CIR-PL is our second premium filter that also provides all specifications for professionals, except that it goes without the nano coating.
For our high-end lineup, the FUSION ONE NEXT CIR-PL and FUSION ANTISTATIC NEXT CIR-PL are being recommended. Both fulfill all common requirements that photographers expect from a filter, with the FUSION ANTISTATIC adding an antistatic coating that repels dust extra well.
For beginners or users with a small budget, the UX II CIR-PL with its basic functions is the best choice.
SOFT EFFECT FILTERS – to capture flowers' delicate shape
Soft and fluffy effect
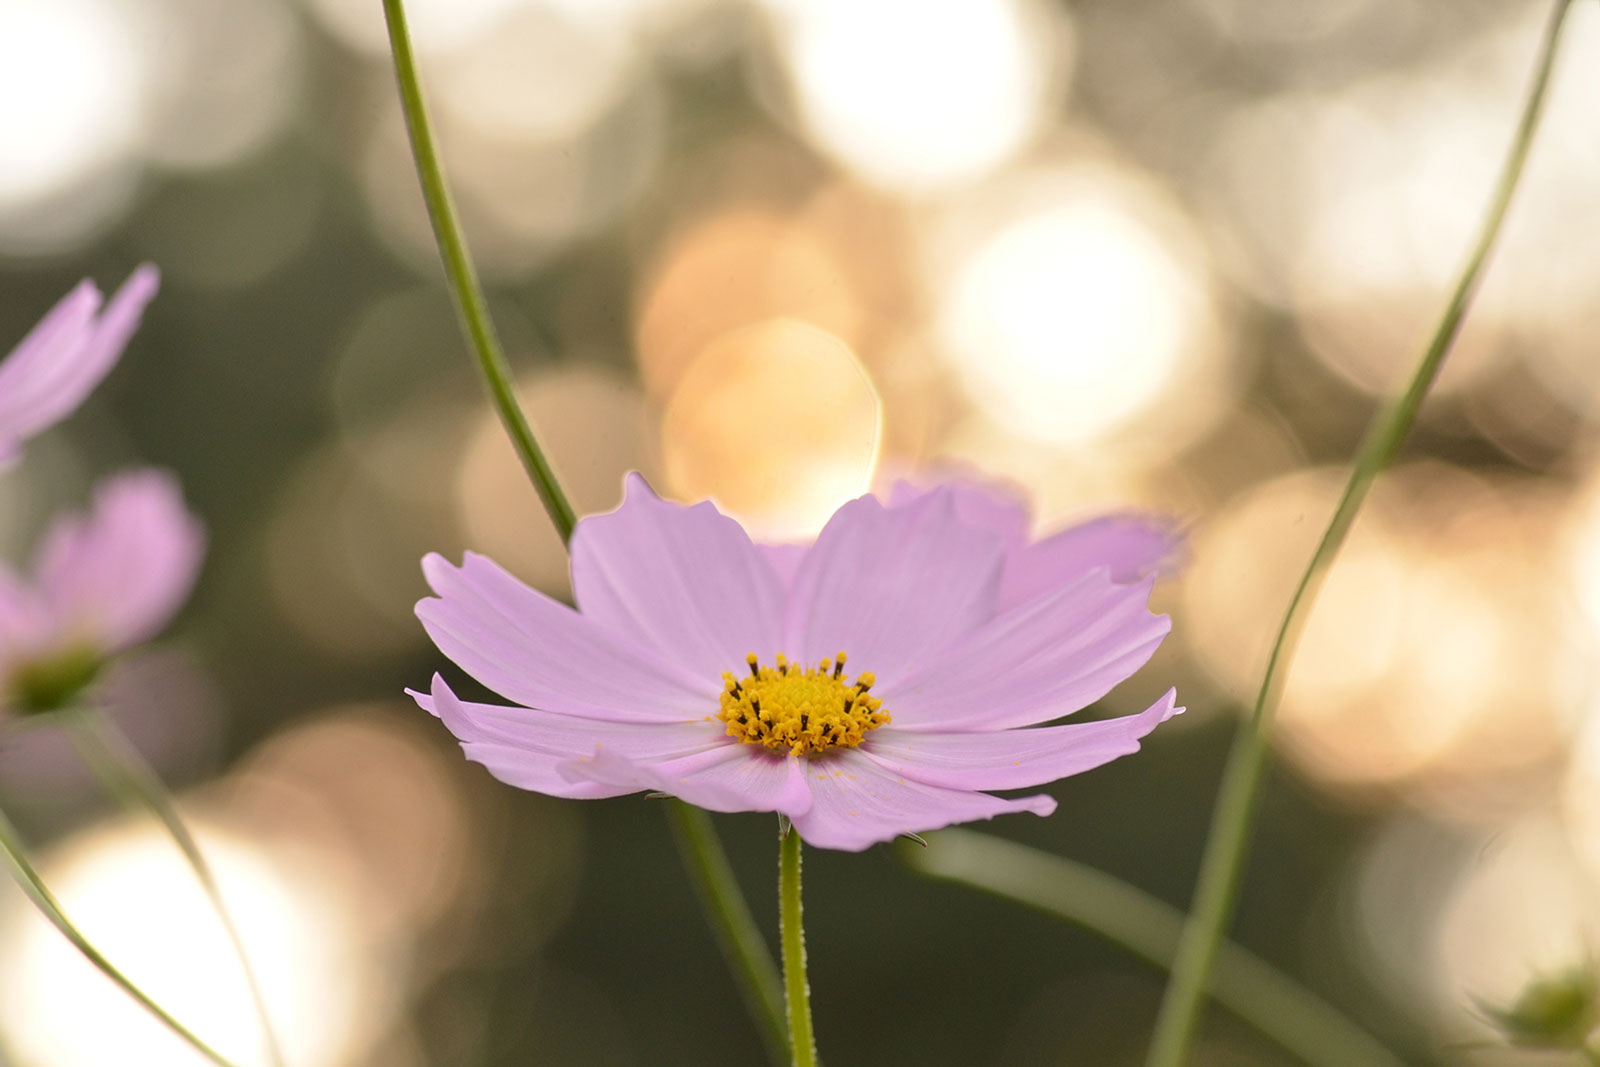
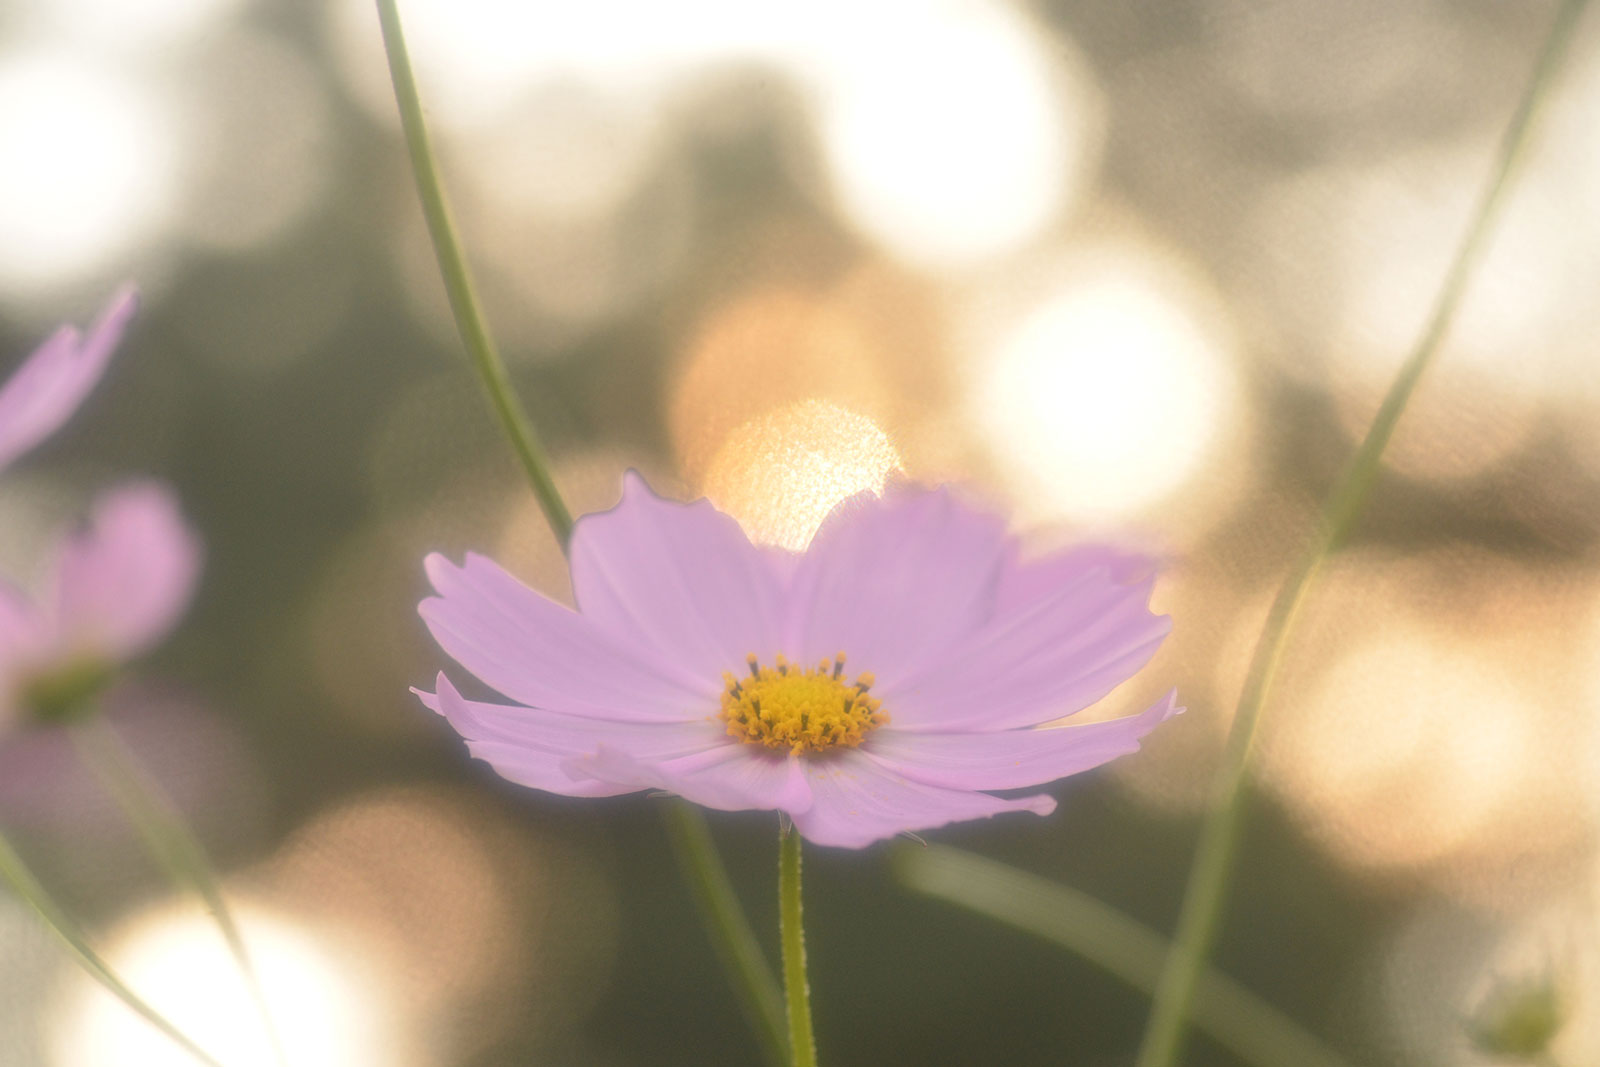
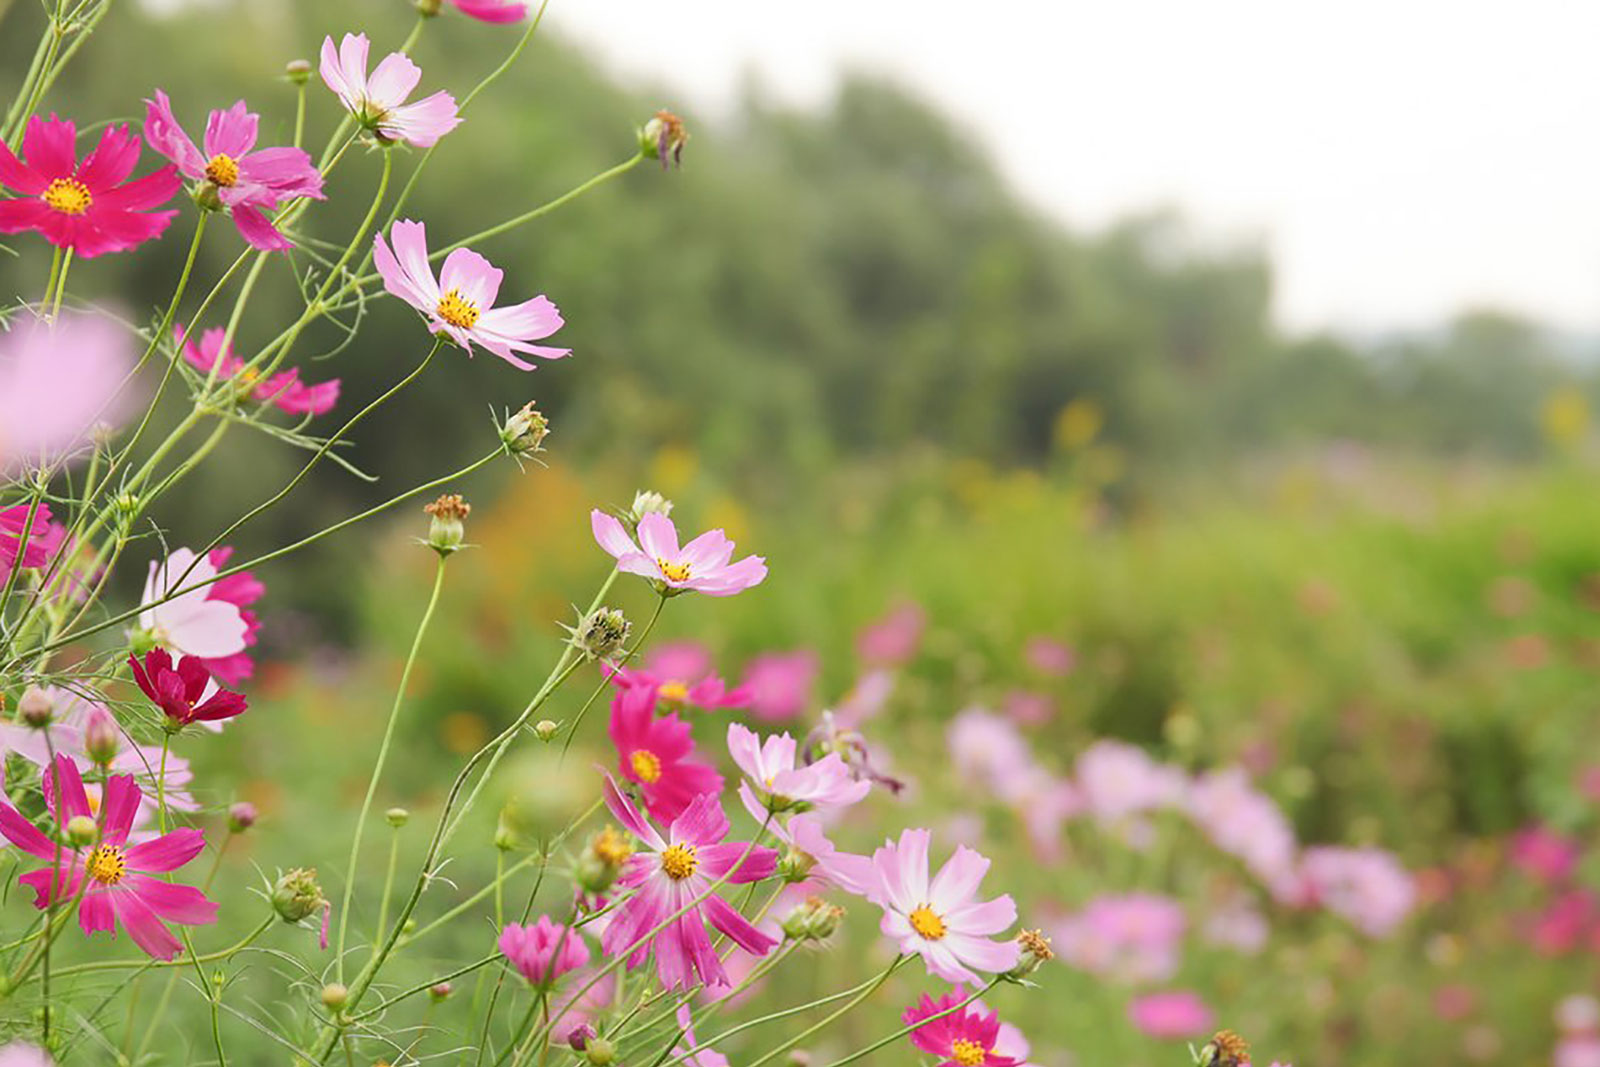
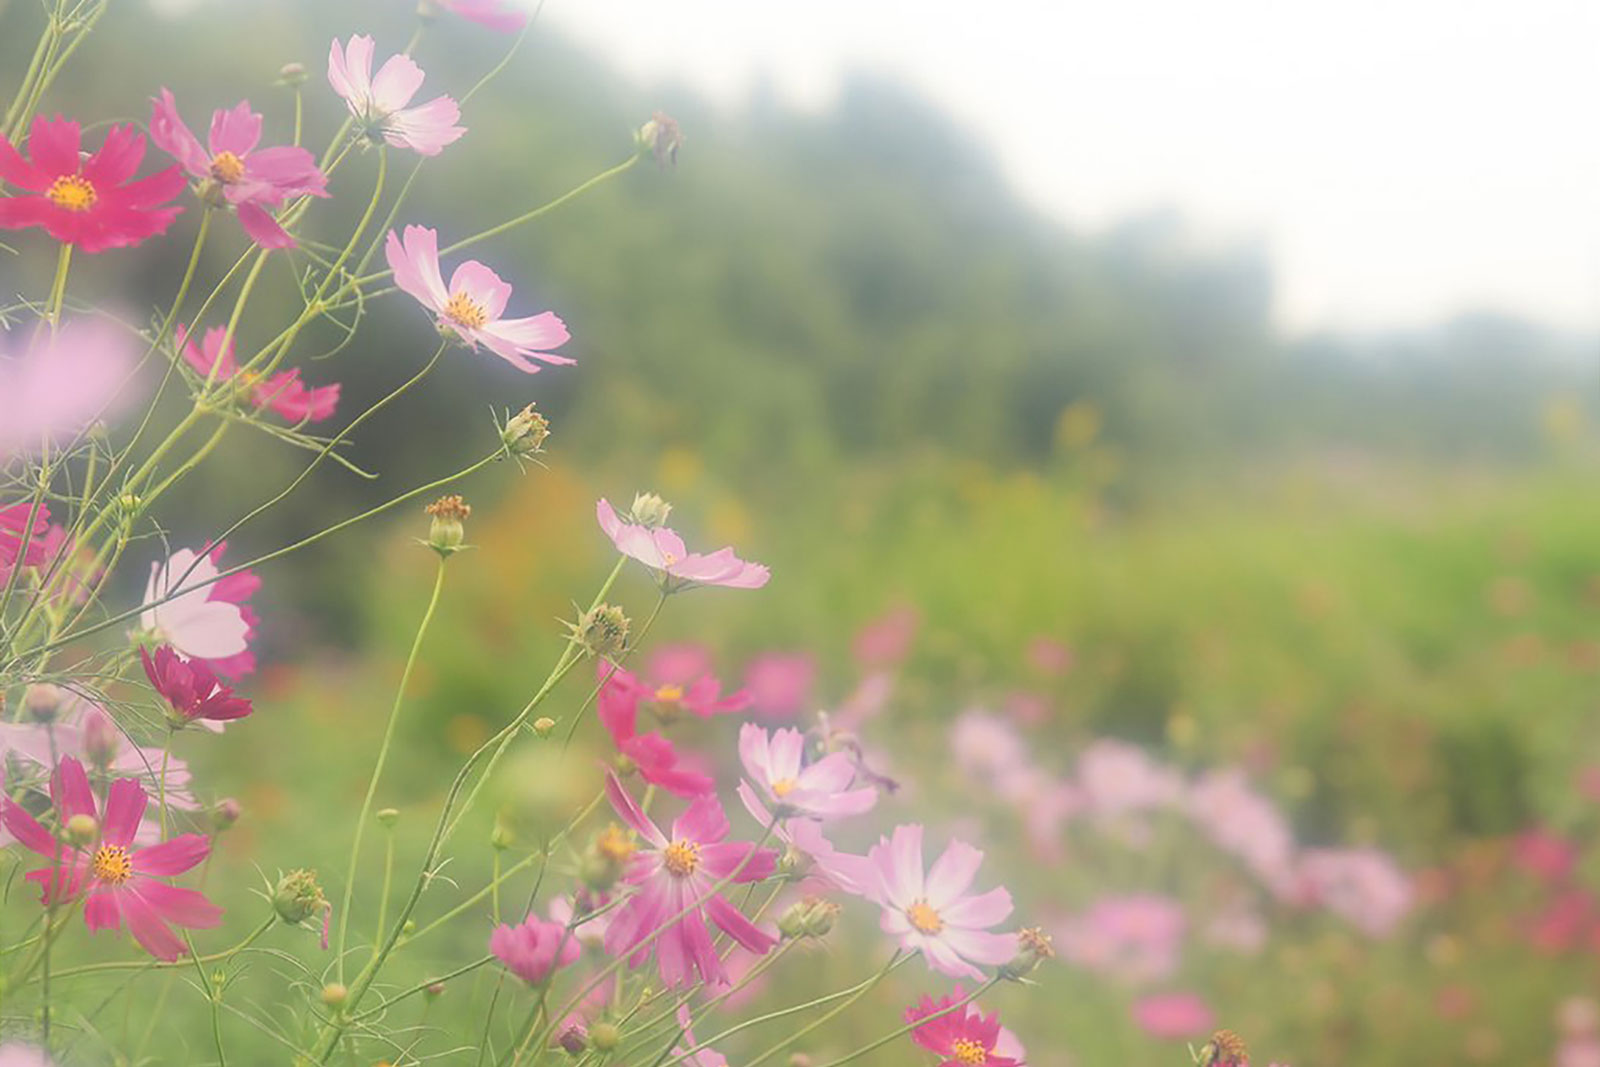
The essence of a flower stays in its colors as well as in its shape. To depict this last one at best, a must-have filter is, with no doubts, a soft effect one. By blurring the light source, a soft effect filter can in fact create a suffused light halo, thus softening the edges and, in this way, effectively depicting all the softness and delicacy of a flower.
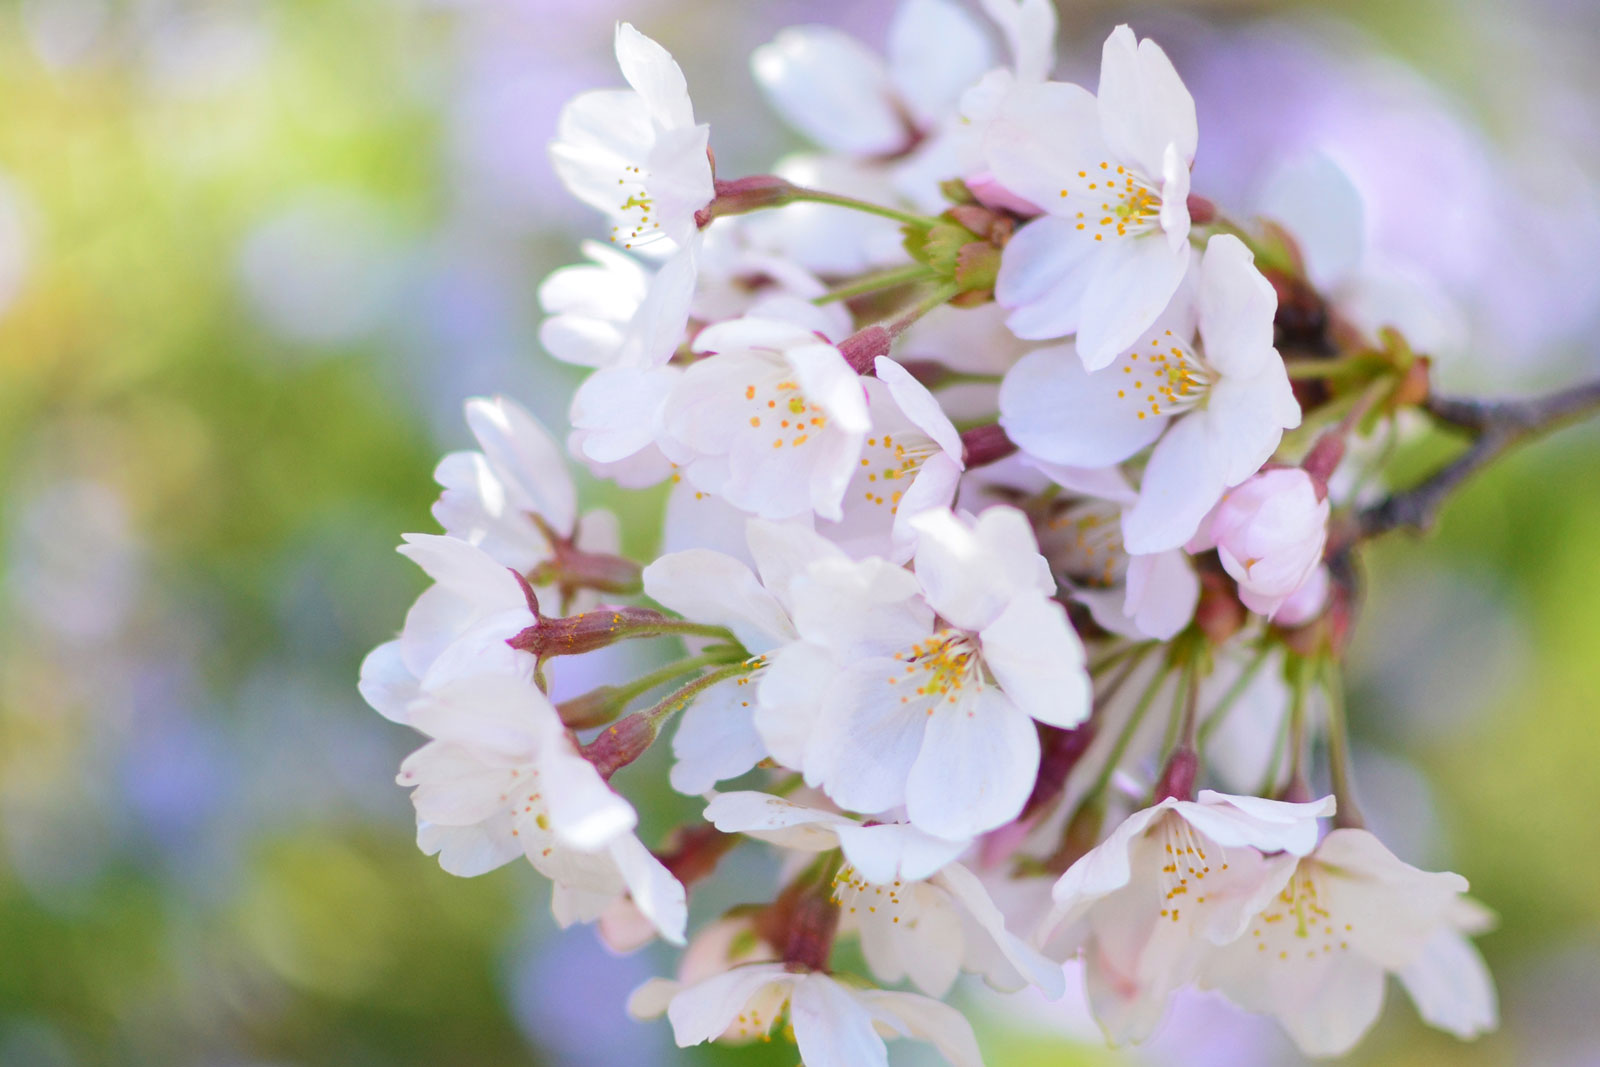 |
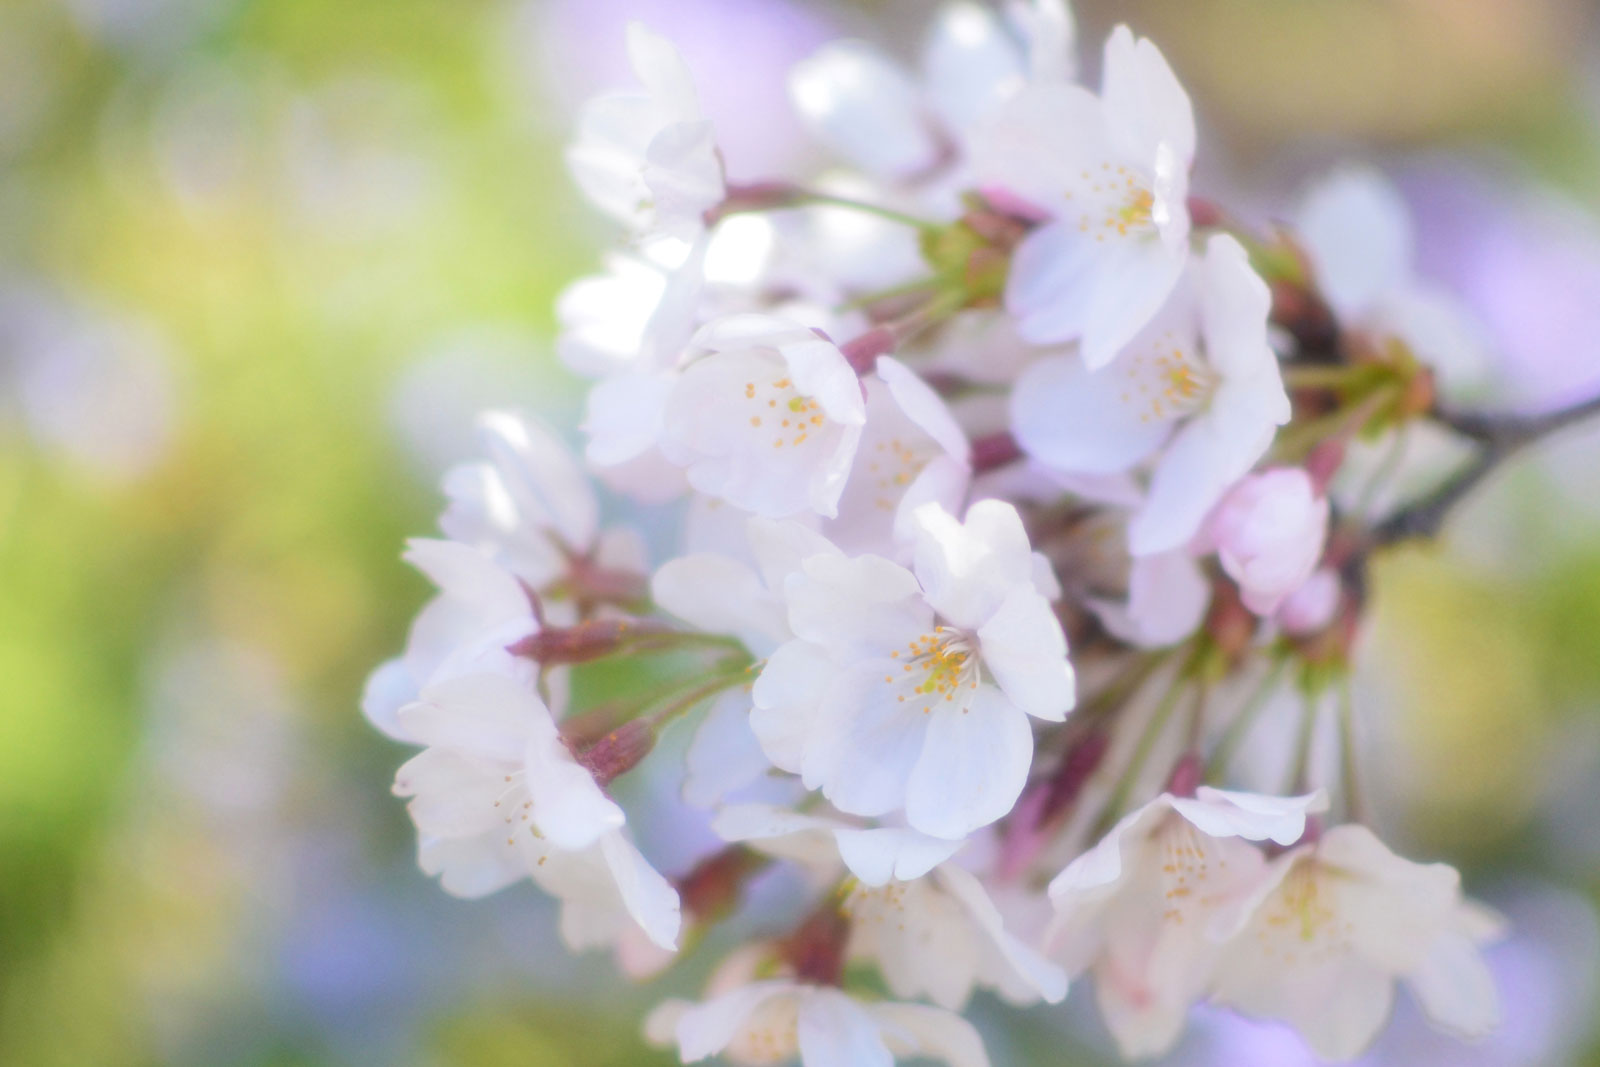 |
 |
 |
 |
 |
A unique final effect
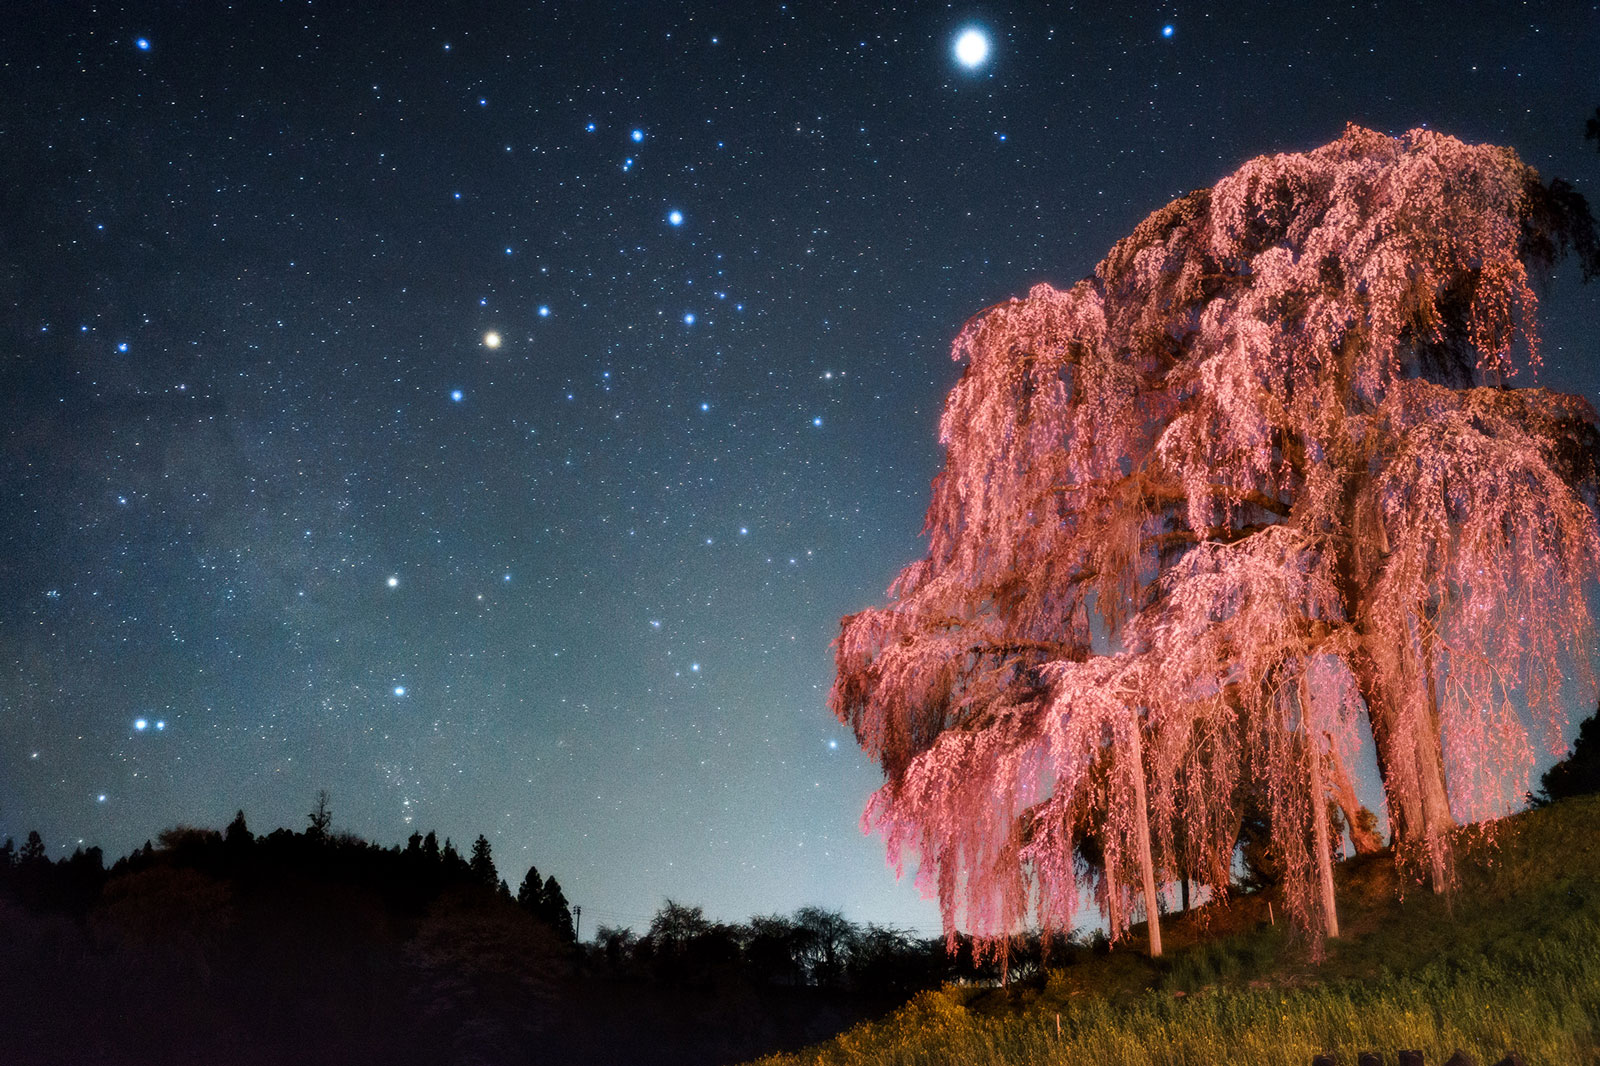
In the photo below, one of the selected works for the 2018 year edition of the International Filter Photo Contest (IFPC), the light softening ability of a soft effect filter has been combined with shooting at night with a light source illuminating the main shooting object in front of the lens. The final effect is astonishing, with both the starry sky on the background and the cherry blossom tree on the foreground standing out, conveing a magical and unique atmosphere.
Hot tips!
A peculiarity of soft effect filters to keep in mind is that their effect may appear more or less visible depending on the focusing distance of the lens you are using: the longer the focusing distance, the more visible the effect.
HOYA's soft effect filter line-up
For the classic softening effect, HOYA offers the SOFTENER No0.5 and SOFTENER No1. A fog effect can achieved with HOYA's FOG No0.5 and FOG No1. For a more stylized soft-focus effect the DIFFUSER No1 is being recommended.
Photographers who want to take it one step further should consider HOYA's SPARKLE 4X and SPARKLE 6X, which are cross filters that also create a special type of soft effect, making the SPARKLE a versatile series that can be also used in portrait, flower and landscape photography.
ND FILTERS – to capture petals flowing
Smooth motion
Being able to reduce the amount of light entering the lens, an ND filter can do the trick when you want to shoot intentionally at a slow shutter speed but need to keep the aperture open enough to get a sufficient amount of light. Particularly, the right combination of ND value and proper shutter speed is of great help when you aim to capture and express the smooth movement of a waterfall, a torrent, etc.
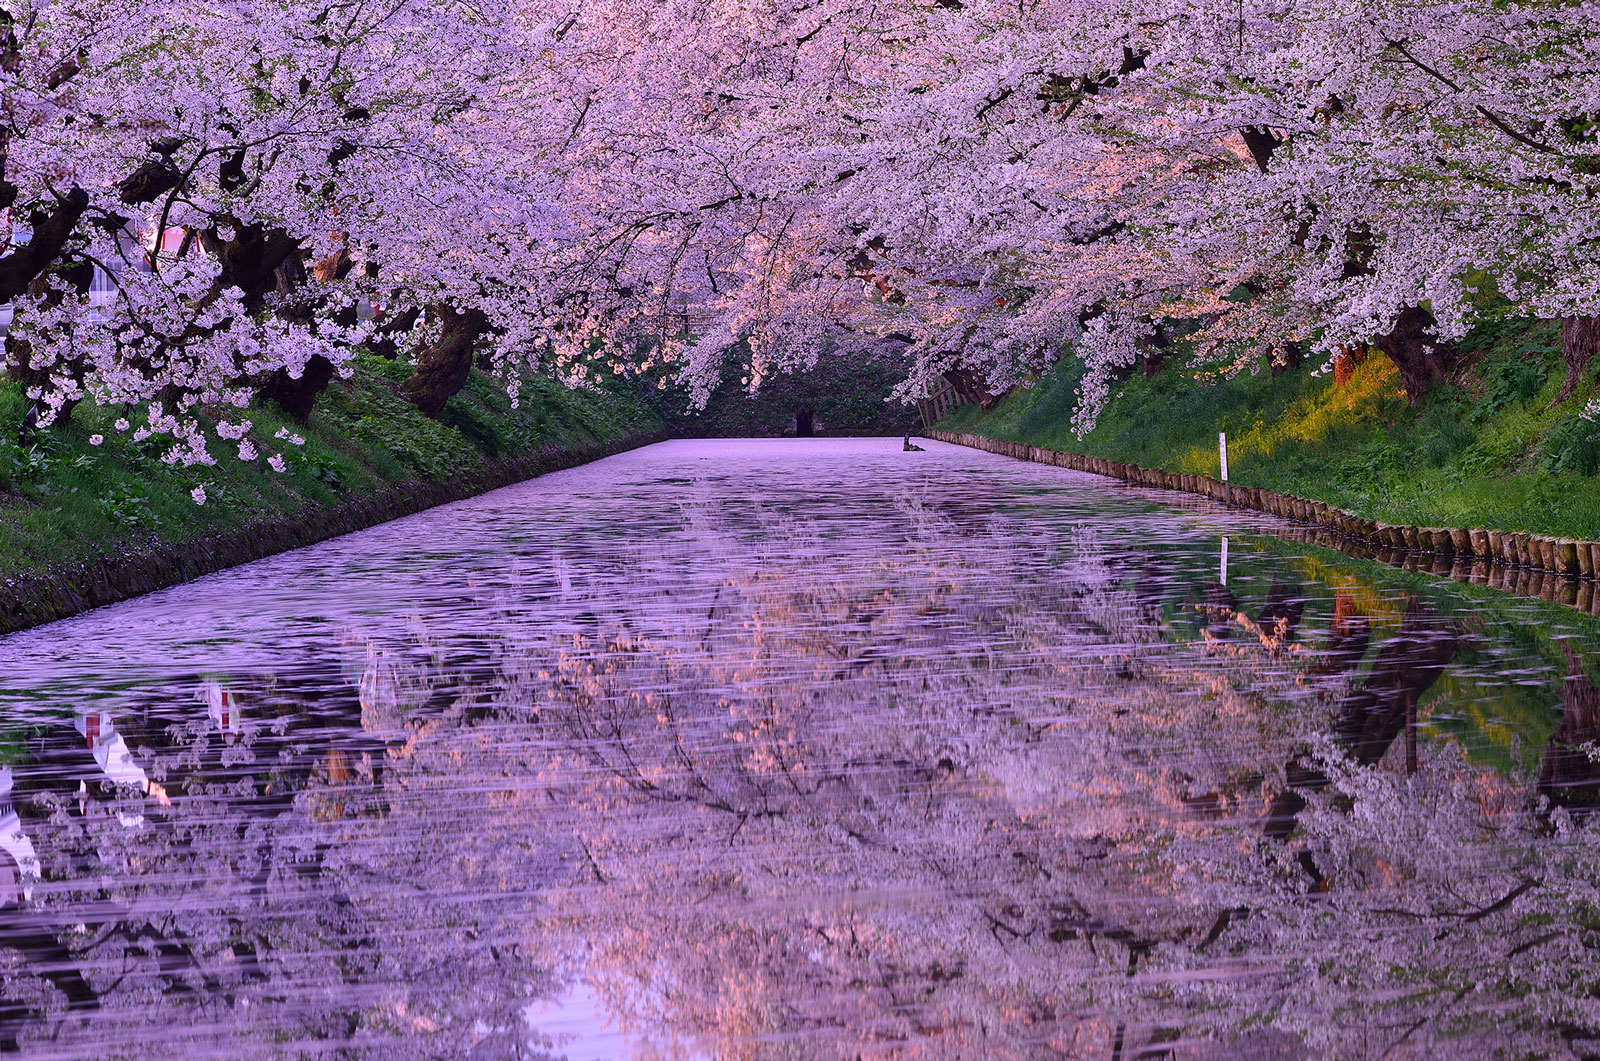
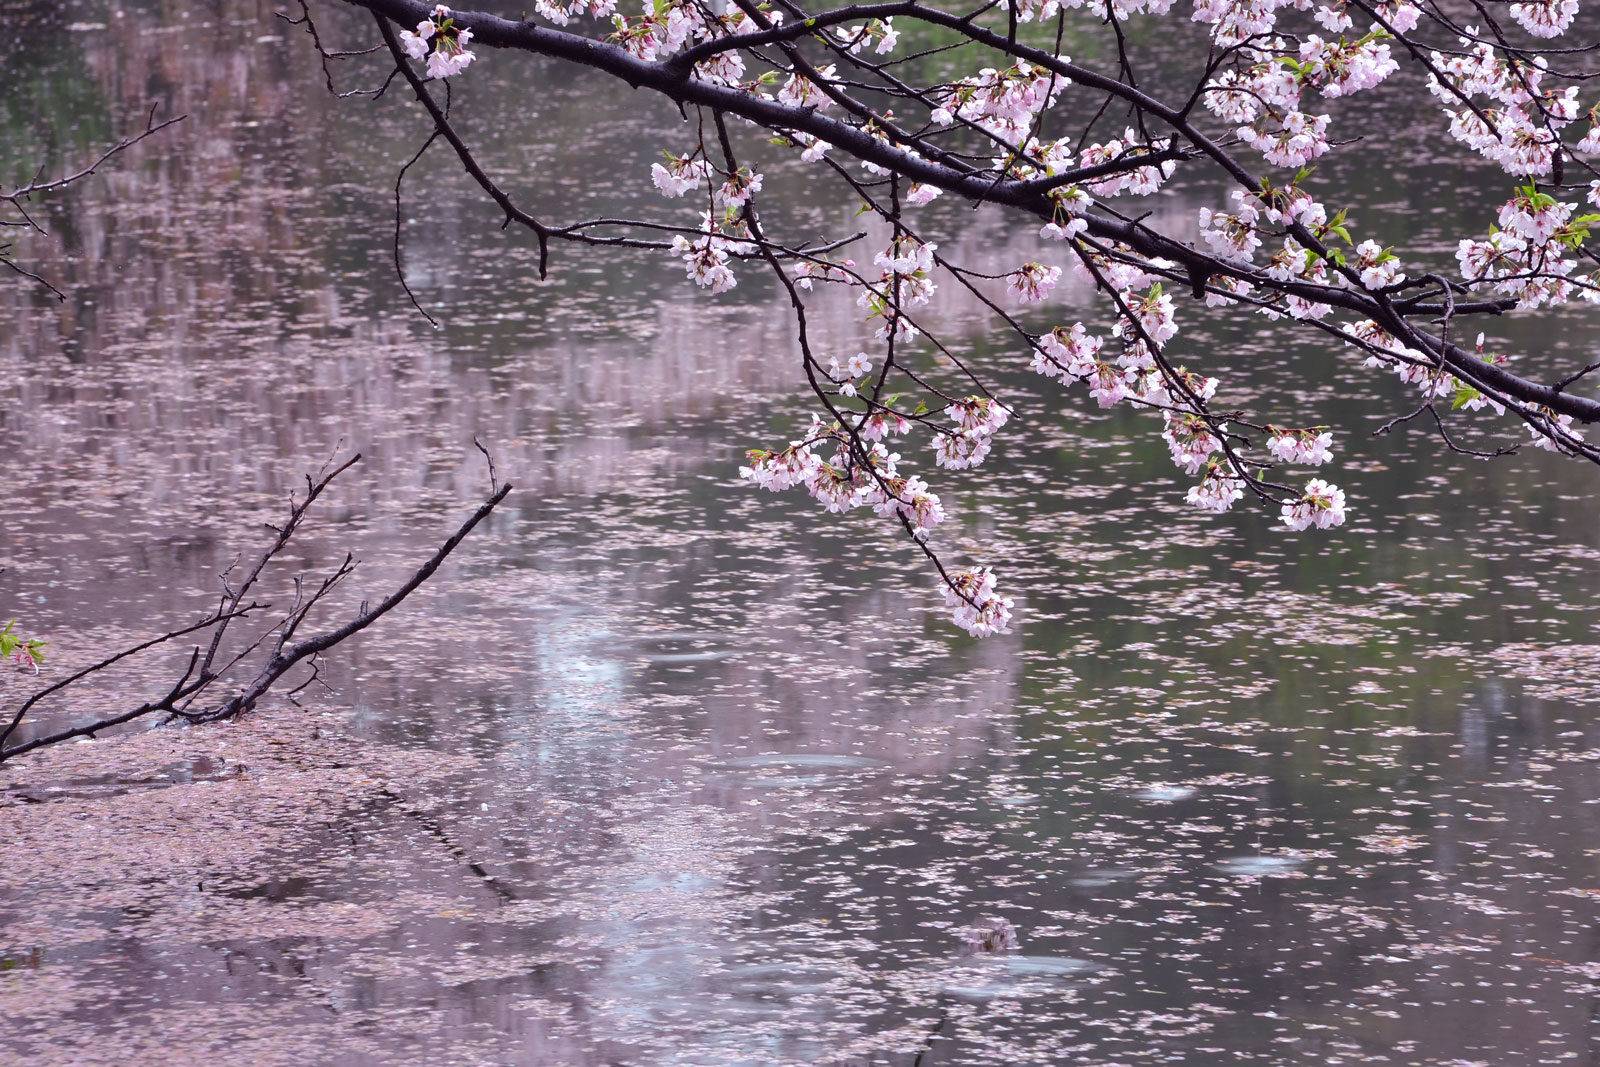
During the spring season, a magnificent subject for your photos may be flower petals flowing on the water surface of a stream or a pond. To get all the beauty of petals in movement in an impressive shot, all you have to do is to slow the shutter speed down and put your ND filter on. Also, whenever some wind enters this scenario, scattering petals all around, with the right ND filter and proper shutter speed you can increase even more the expressivity and creativity of your shots.
 |
 |
ND filters can range from ND2 to ND1000: the higher the ND value, the more visible the effect and the slower you can set the shutter speed.
Filters in ND8 or ND16 values are generally a good choice in many shooting situations. However, to capture the smooth movement of water in particular, a ND value between ND64 and ND1000 is recommended.
Hot tip!
The fun part about using ND filters is experimenting with different ND values and shutter speeds to see what effect you will get. However, it is fundamental here to have your camera standing still. So, don't forget to bring your tripod!
HOYA's ND filter line-up
HOYA covers with its PROND series the complete ND range. Recommended for starters is especially the PROND EX FILTER KIT, as it includes the three most popular and essential ND filters: ND8, ND64 and ND1000.
Experienced landscape photographers can take it one step further with the HOYA Sq100 IRND Square Filters, that gives photographers the means and freedom to fully express their creativity and to realize their artistic goals to the fullest.
CLOSE-UP FILTERS: to capture flowers' small details
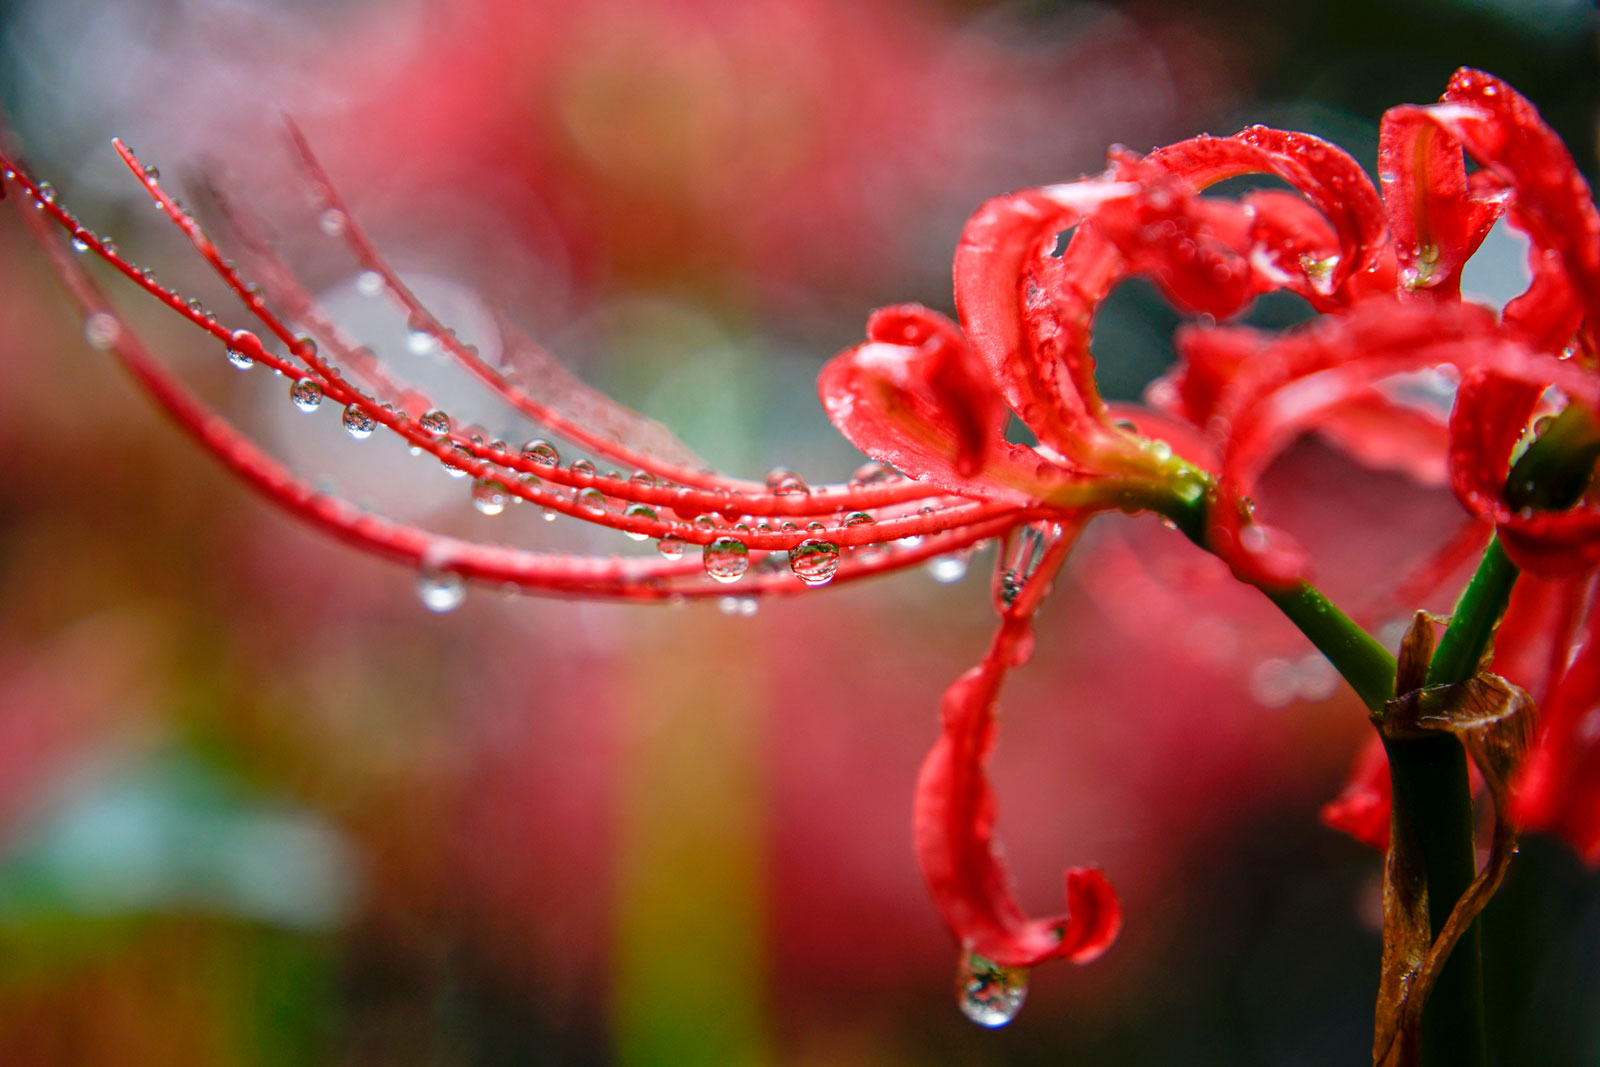
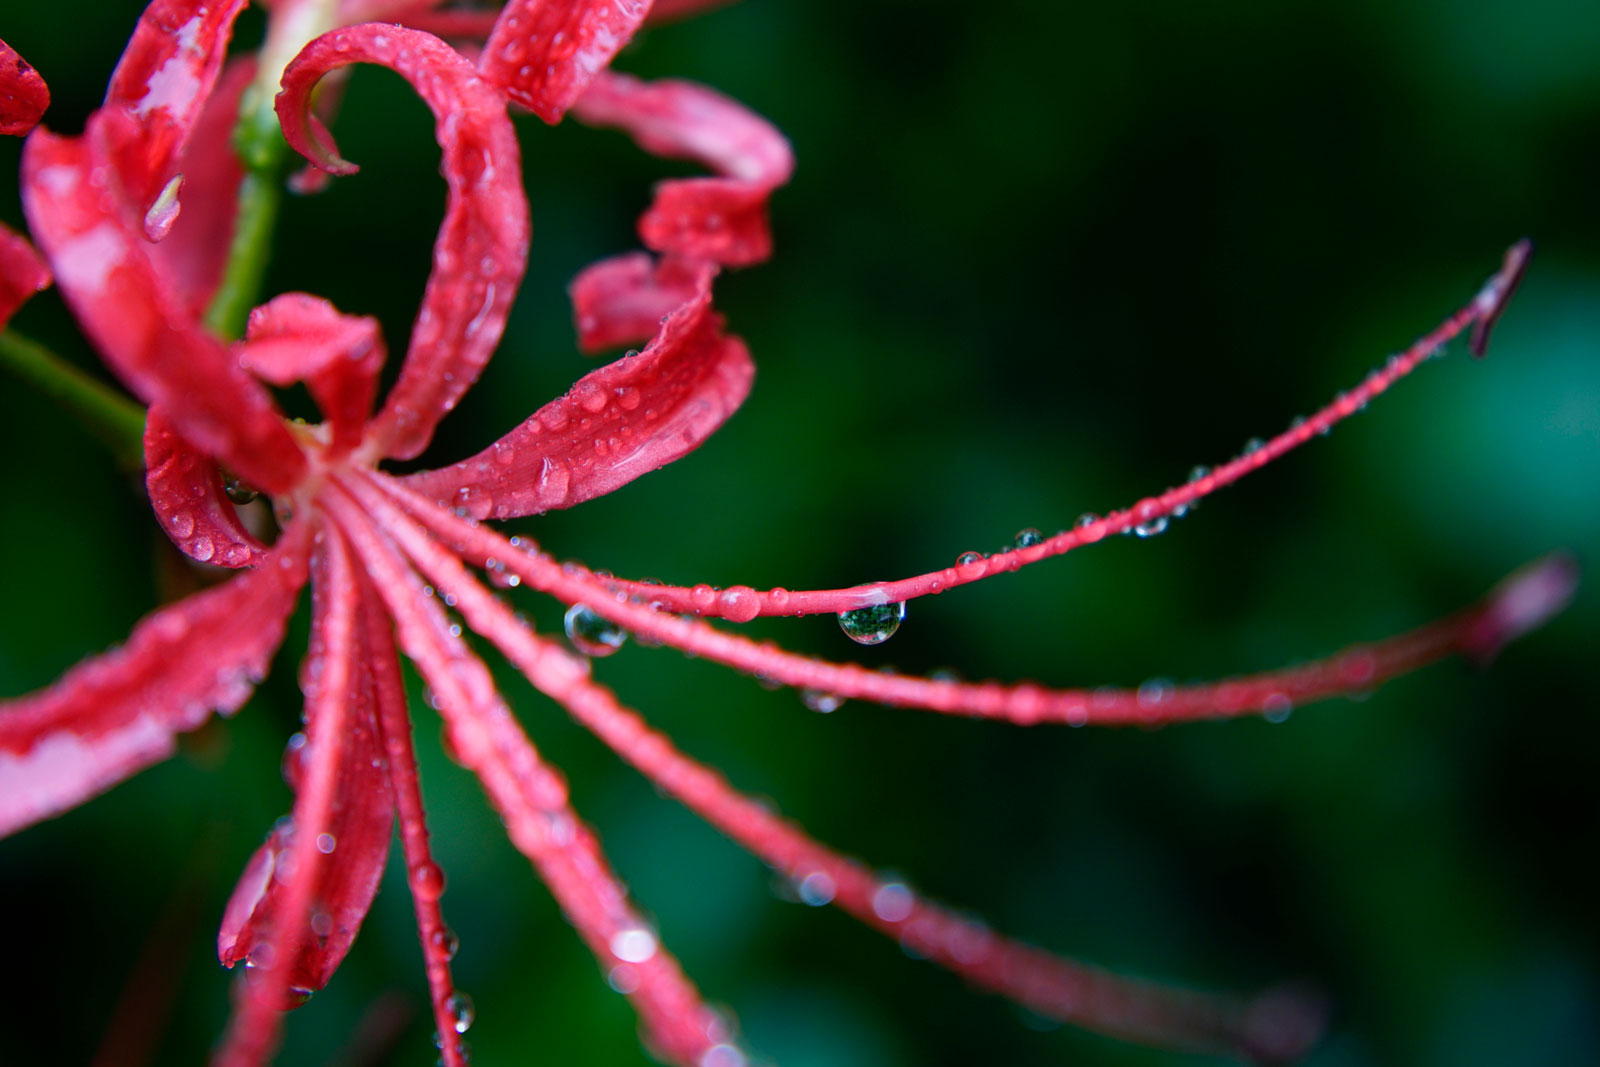
Also known as close-up lens, a close-up filter is the perfect tool to close up on the tiniest details and take fascinating macro images of flowers and nature.
A close-up filter just needs to be popped on your lens to get you a macro effect, being then much easier to use and convenient to carry compared to any macro lens.
Close-up filters range from No.1 to No.10 models. The bigger the number, the closer you can get to your shooting object.
Hot tips!
Check the minimum focusing distance of your lens and choose a close-up lens that allows you to get closer than the minimum focusing distance of your lens. It is a good idea to select a filter based on how close you want to get to the subject you want to photograph.
* The minimum focusing distance of an interchangeable lens is the distance from the camera's image sensor surface to the subject.
HOYA's Close-Up filter range
For the standard range from No.1 to No.4, HOYA offers the HMC CLOSE-UP II filters. With a multi coated, top-class achromatic (AC) close-up lens, HOYA also provides an option with the PRO1D AC CLOSE-UP No.3 for professional macro photography with digital or film cameras. Photographers who would like to get really close to the shooting object should check out the MACRO CLOSE-UP (No.10).
