The concept of infrared photography is pretty amazing and simple - it is the ability to capture light that we can't normally see. We can record this and the dreamy other-worldly effects its capture creates and produce unique images of everyday scenes. These are incredibly compelling and exciting for our viewers as they are not what you would expect nor be able to see.
What is infrared light?
Quite simply, "visible light" is the way we describe the light that we can see with our eyes. Infrared light is a wavelength of light on this spectrum that we can't see, but one which can be captured with a digital camera - either by using a camera with a digital sensor that is sensitive to infrared light or with an infrared filter.
This article will not consider the use of an infrared amended camera, as this entails having your camera professionally customized by replacing a filter on the sensor and you will then not be able to use the camera to take regular images. This is not only inconvenient, but also quite expensive. For the remainder of this article, I will concentrate solely on the use of the HOYA R72 Infrared filter which is what I used to capture the infrared images.
The HOYA R72 infrared filter
This filter is a traditional screw-in filter that is attached to the front of your lens and blocks out light with a wavelength under 720nm, (hence the name R72) and enables the camera to record only the infrared light. Like most screw-in filters, they come in a variety of different sizes and you need a specific filter appropriate to fit the diameter of your lens. It retails for around £60/$70 and so it is a quick and affordable way to try infrared photography.
How to use the HOYA R72 infrared filter
As the R72 filter is incredibly dark, it is not possible to handhold your camera with the filter attached. The camera's exposure meter will not work when you have the filter attached and so determining correct exposure can initially be a little tricky. While the filter won't affect depth of field, it will block out quite a lot of light and I found that I needed to calculate exposures on the basis of around a 10-stop reduction of light to gain a "correct" exposure.
The process of using the filter is similar to using a neutral density filter, as you will need the extra stability from a tripod when you take a photograph. You will also have to compose your image and focus before you attach the filter to the lens, as it will be too dark to do so with it attached. You can read more about neutral density filters here. I have a separate "how to" guide for using ND filters you can access here which will set out the similar procedure that you can also apply to using the R72 filter.
Shooting in RAW is vital with this type of photography so that you have more flexibility to convert and process you images. White balance is also very important and setting a custom white balance for each scene can really pay dividends when it comes to post-processing your infrared images.
Why capture infrared?
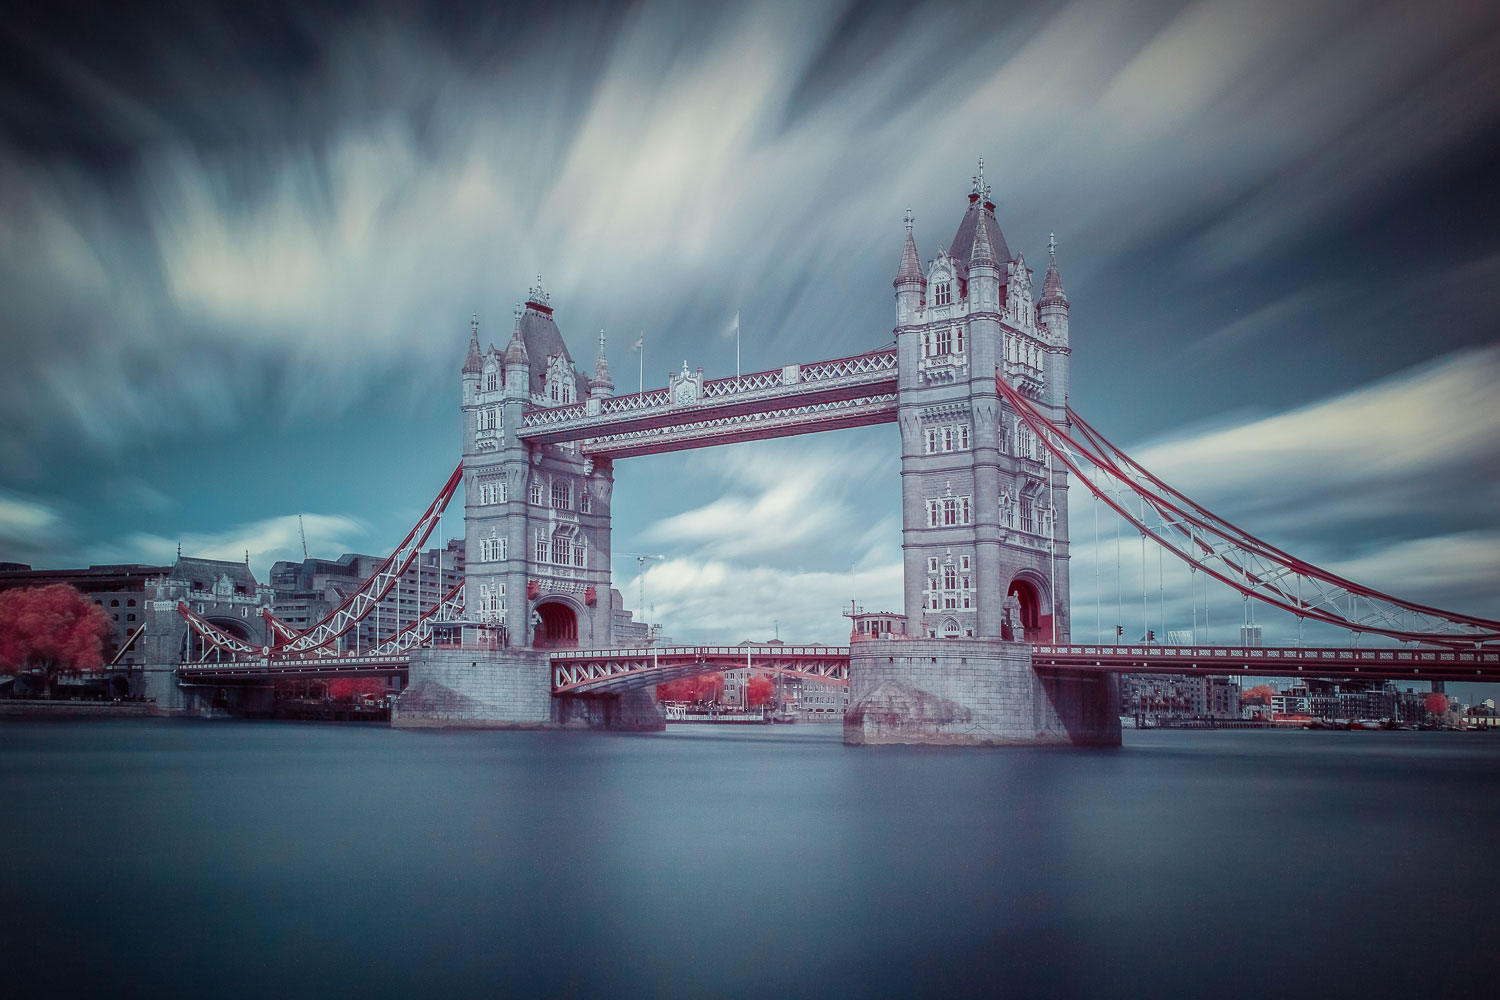
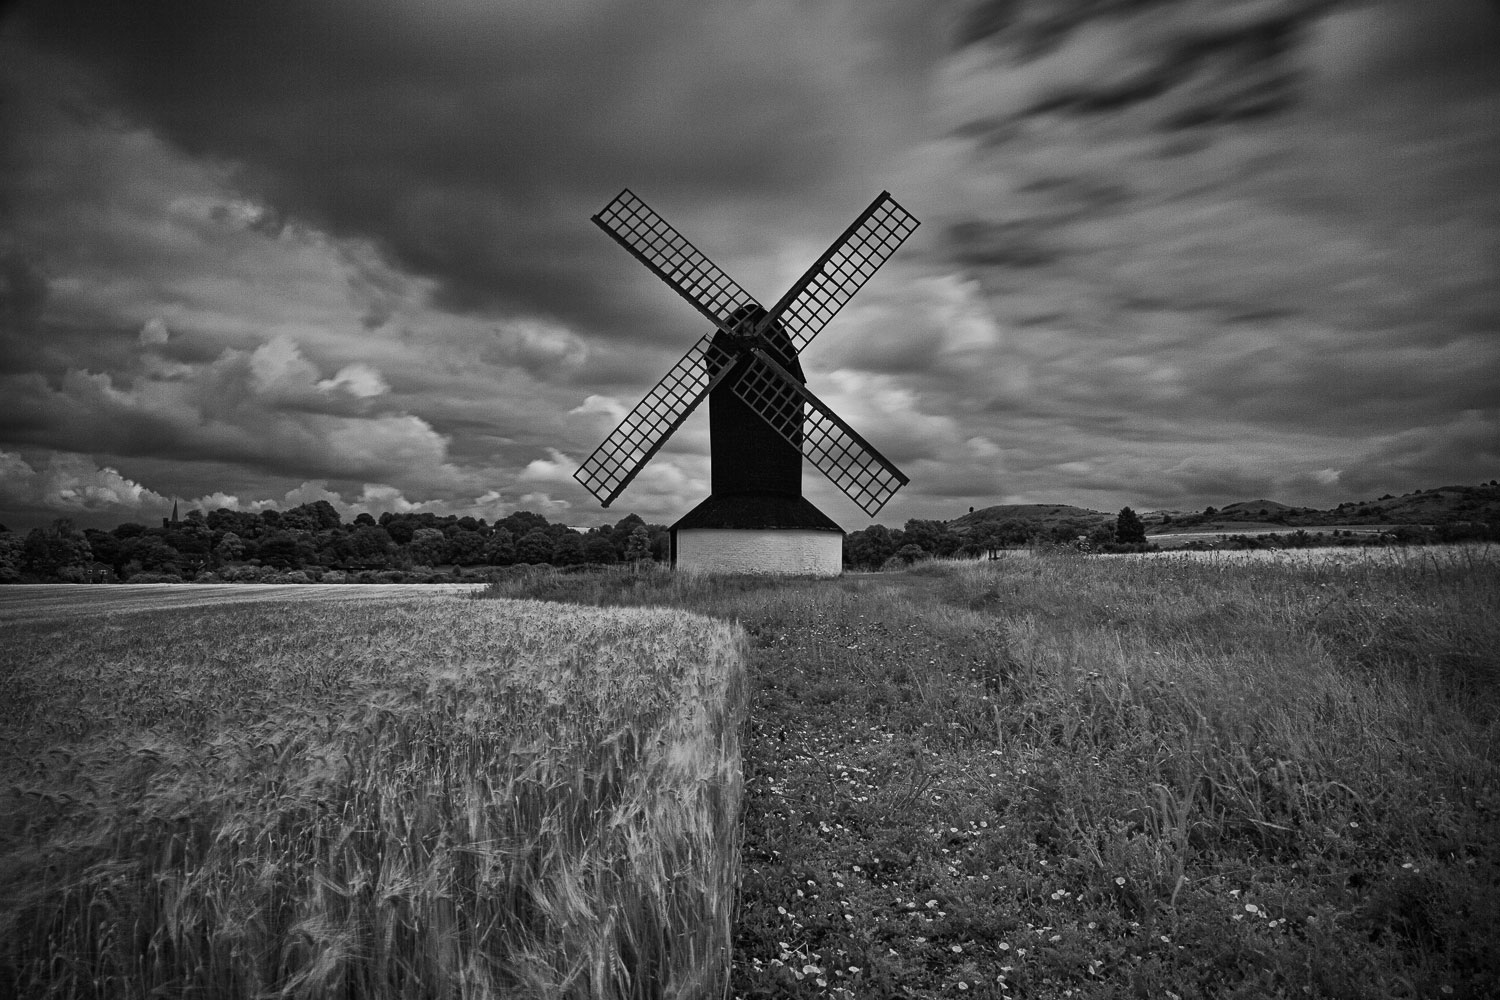
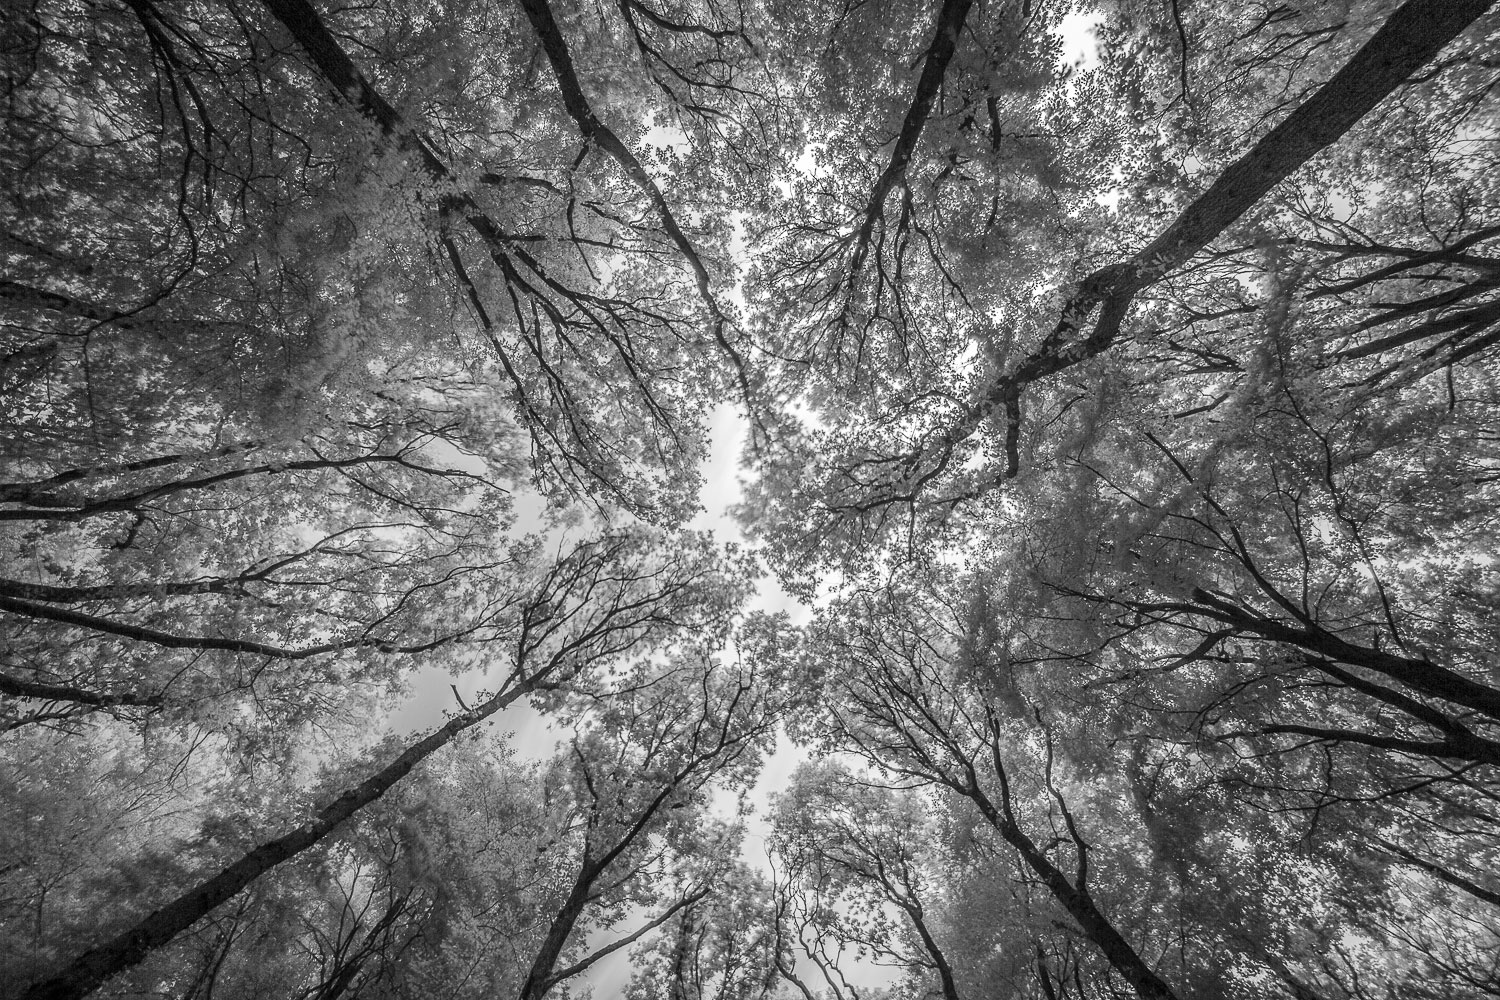
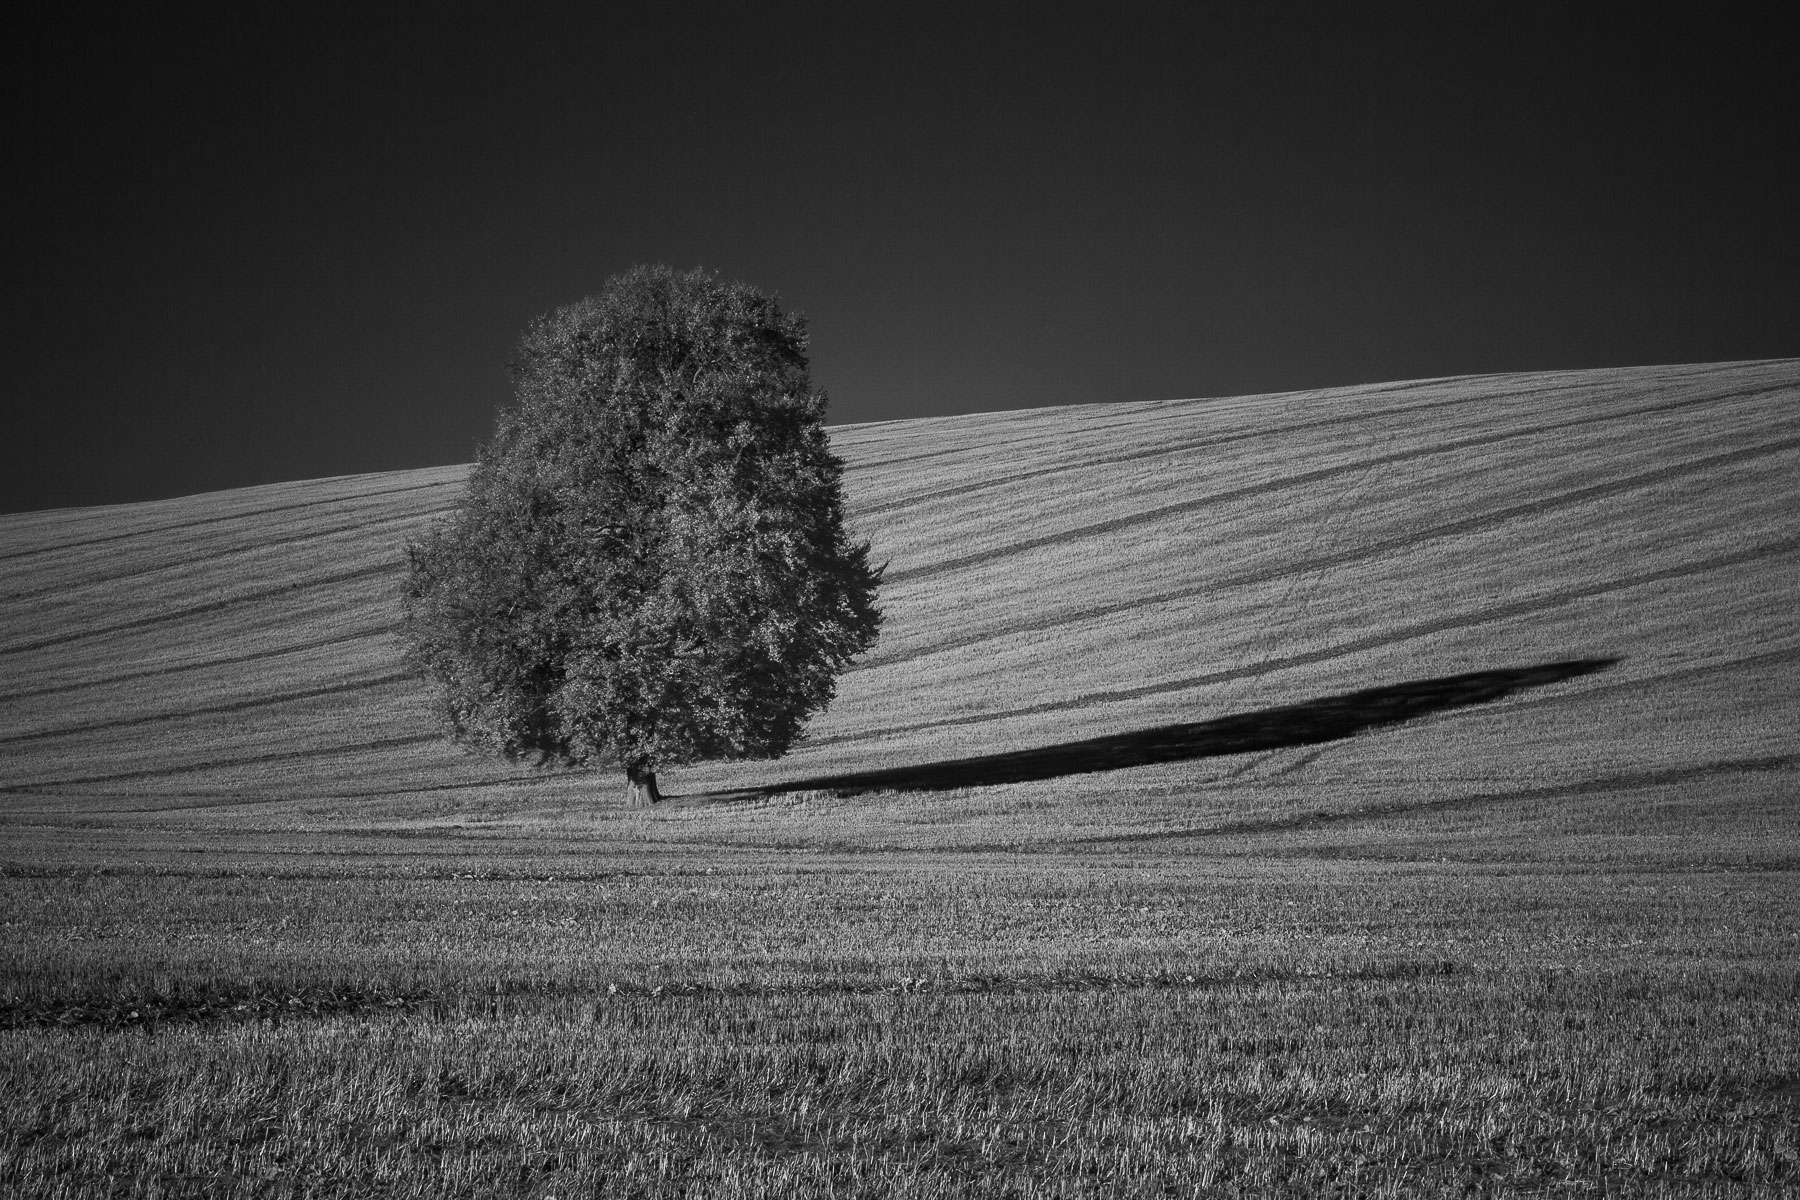
Infrared light photography can create stunningly unique images. If choosing to take black and white infrared, the strong natural contrast between the black and white tones that you can achieve really is exceptional and very difficult to obtain naturally without using the filter.
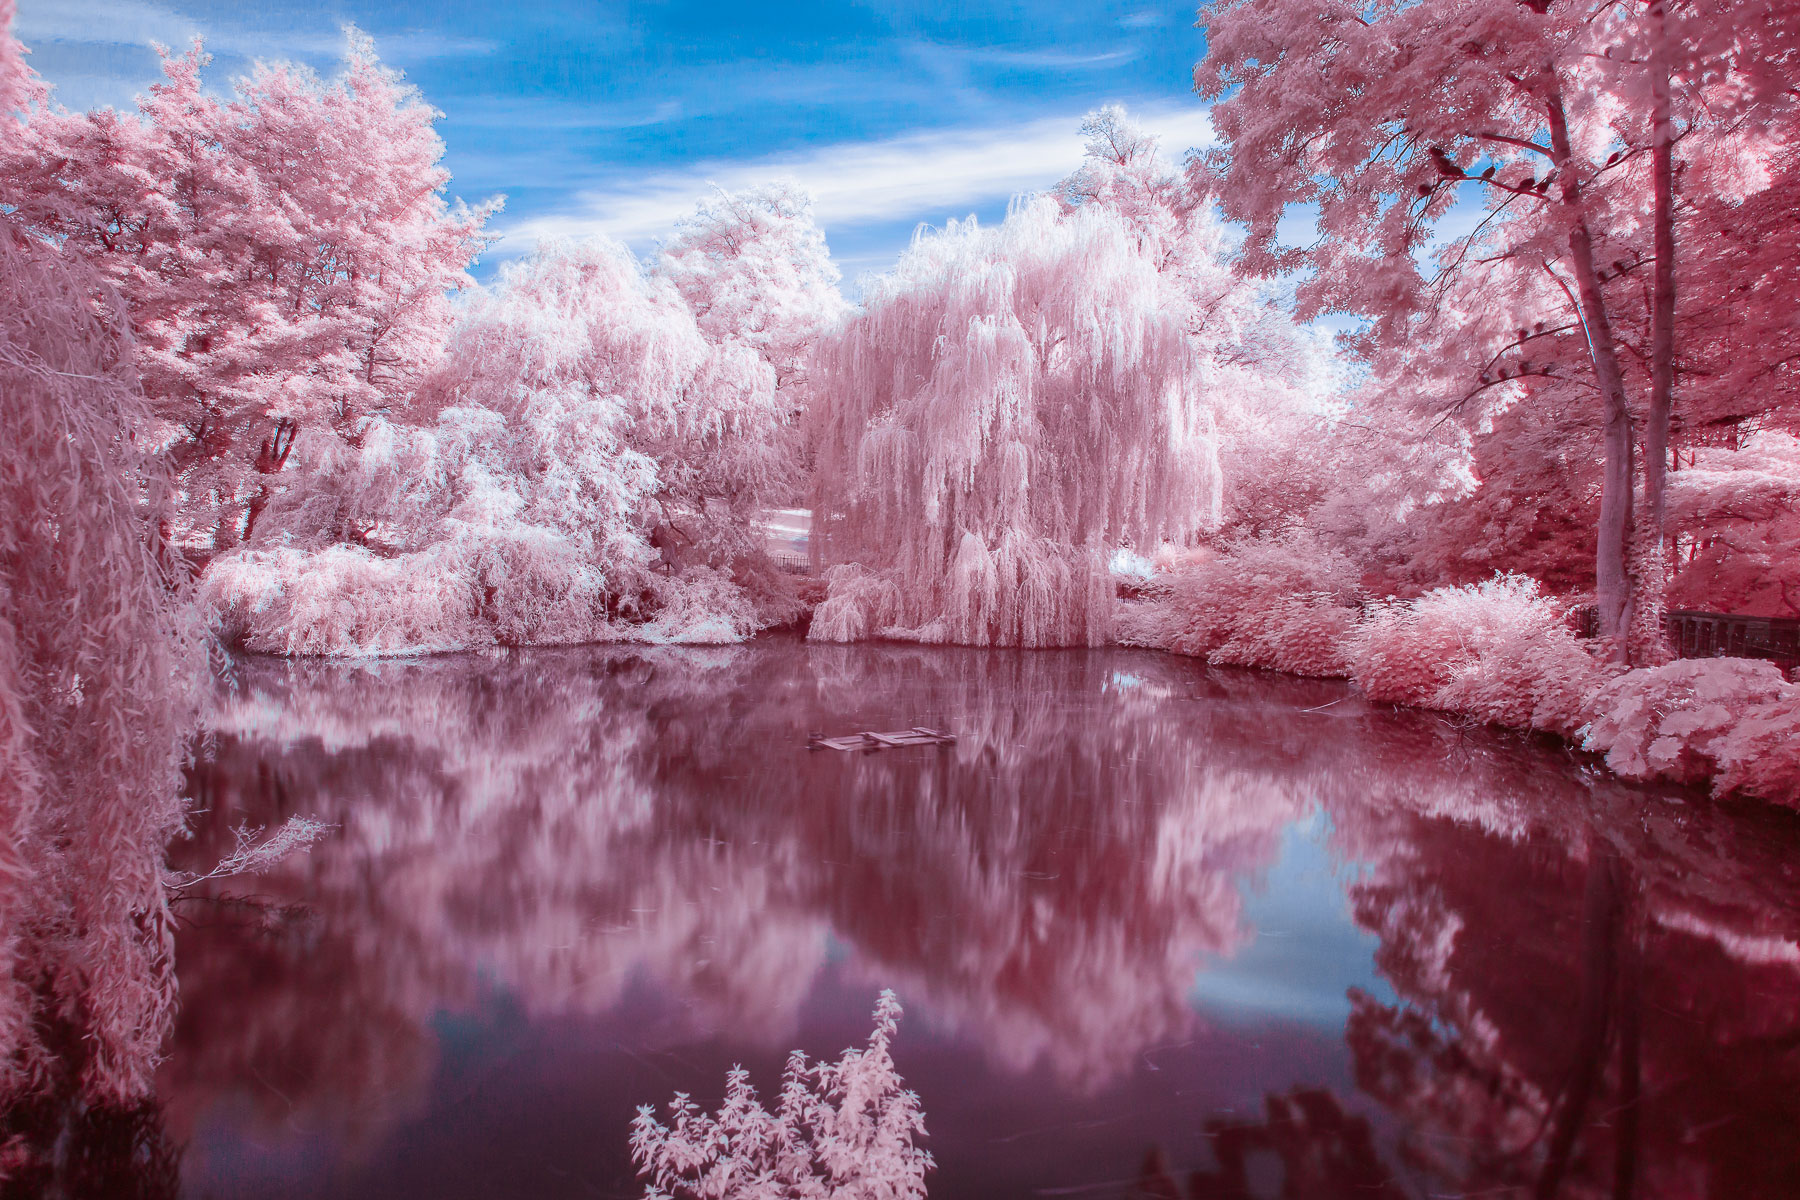
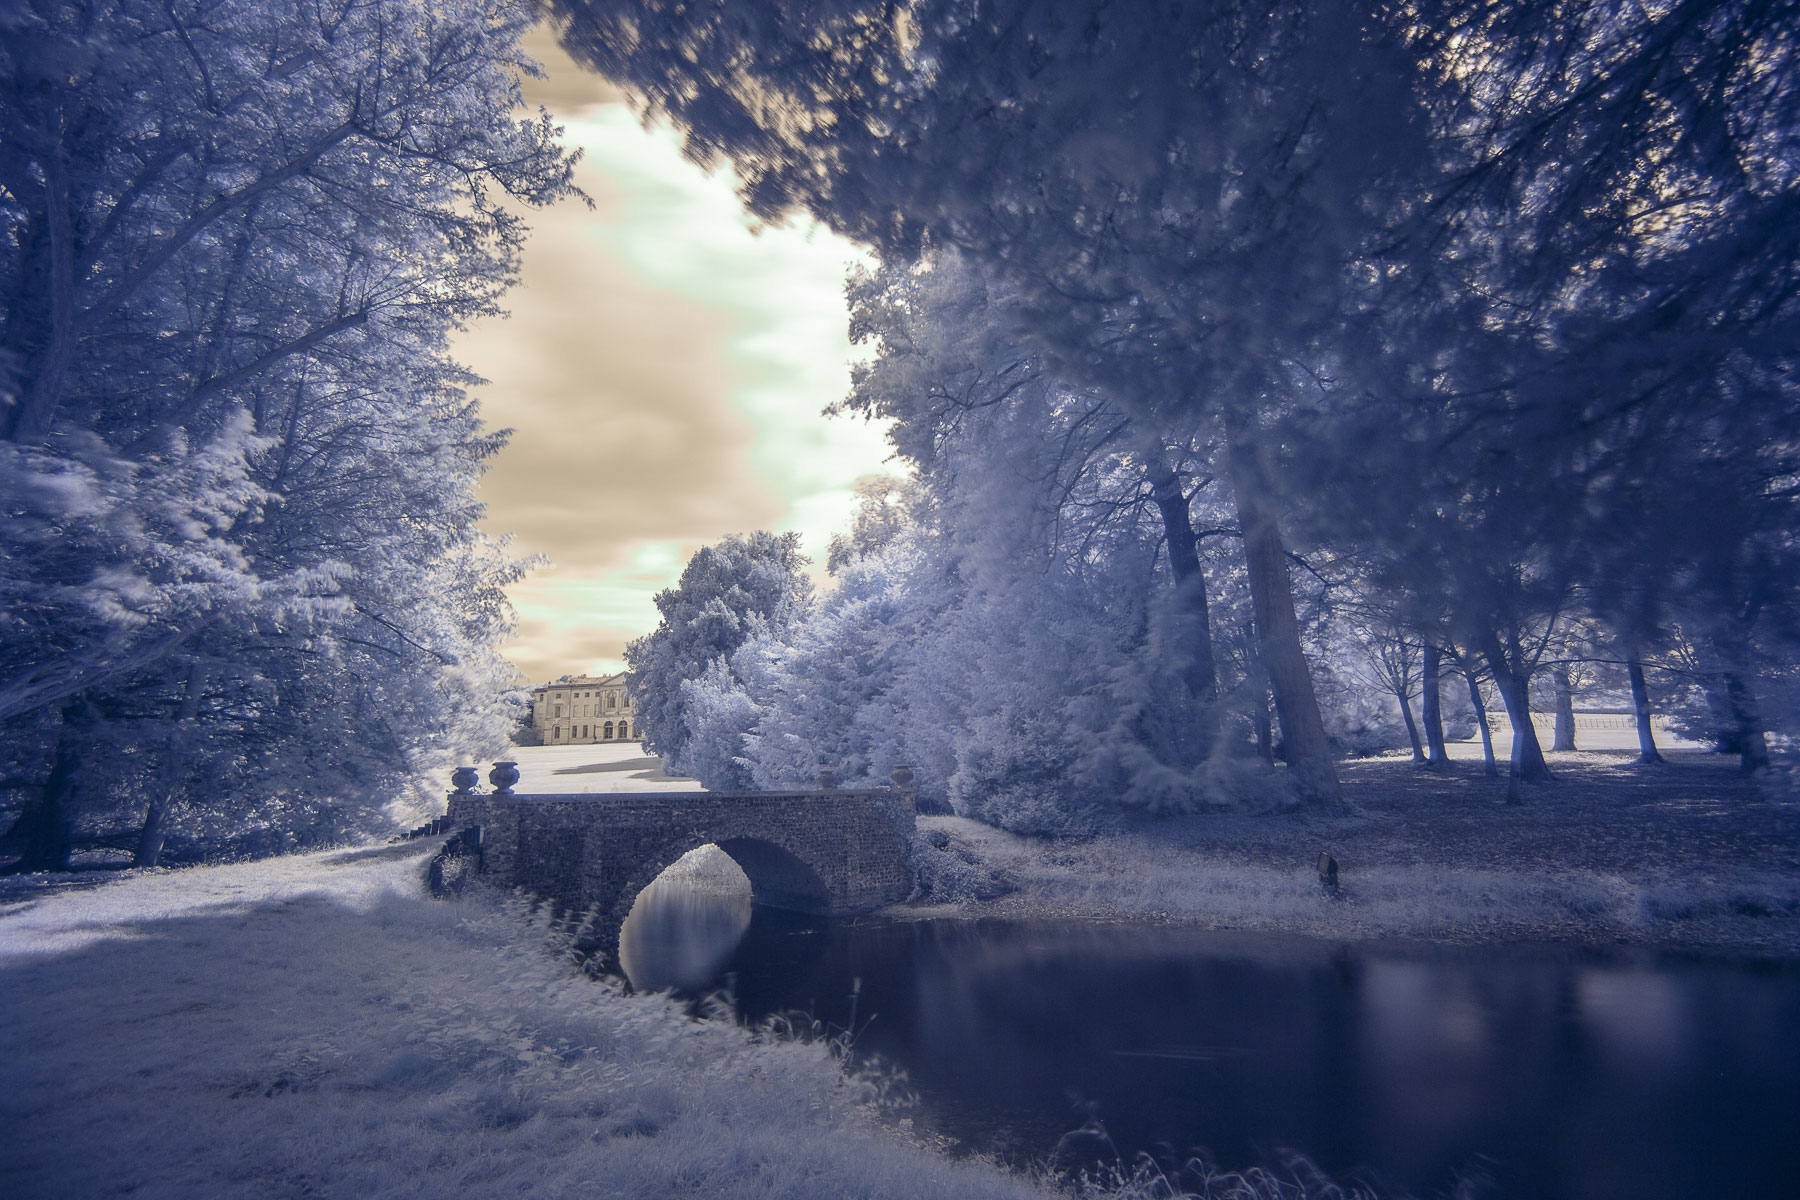
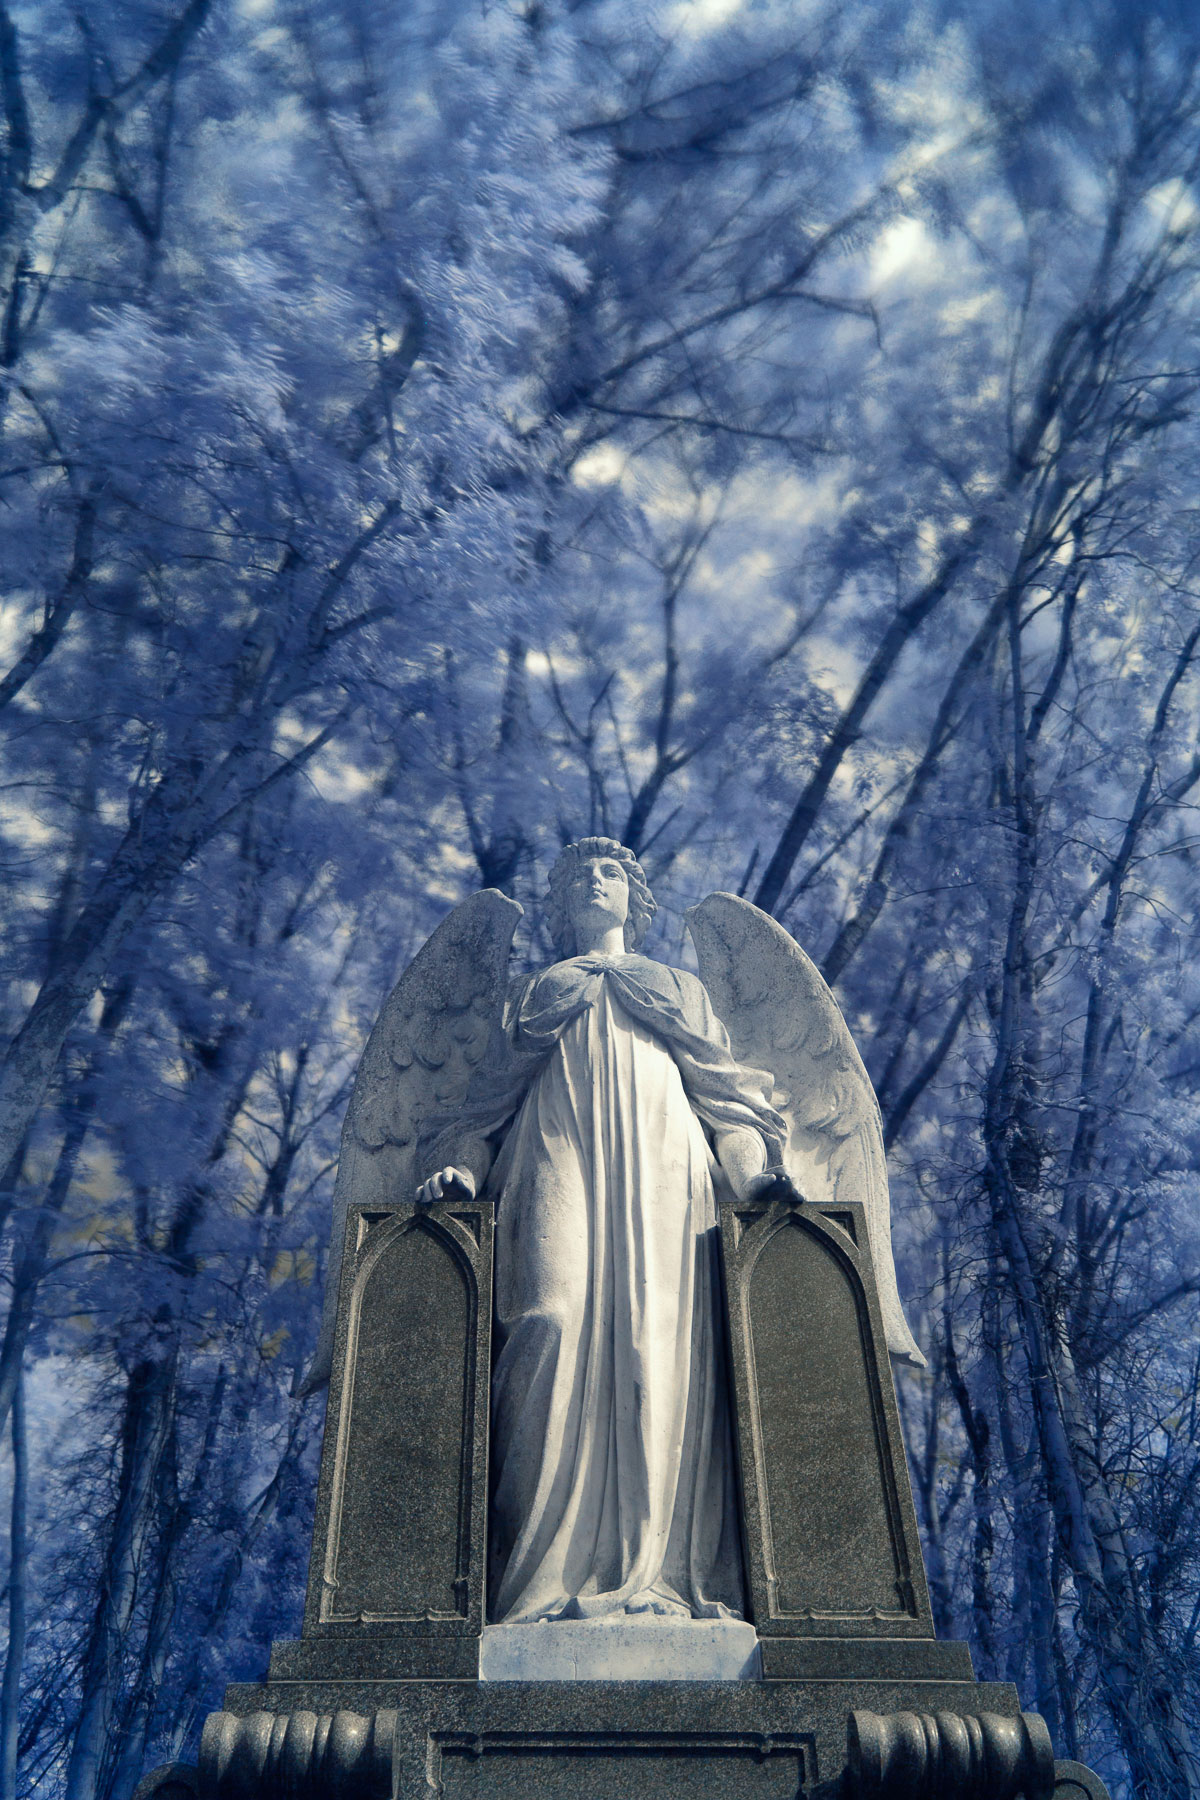
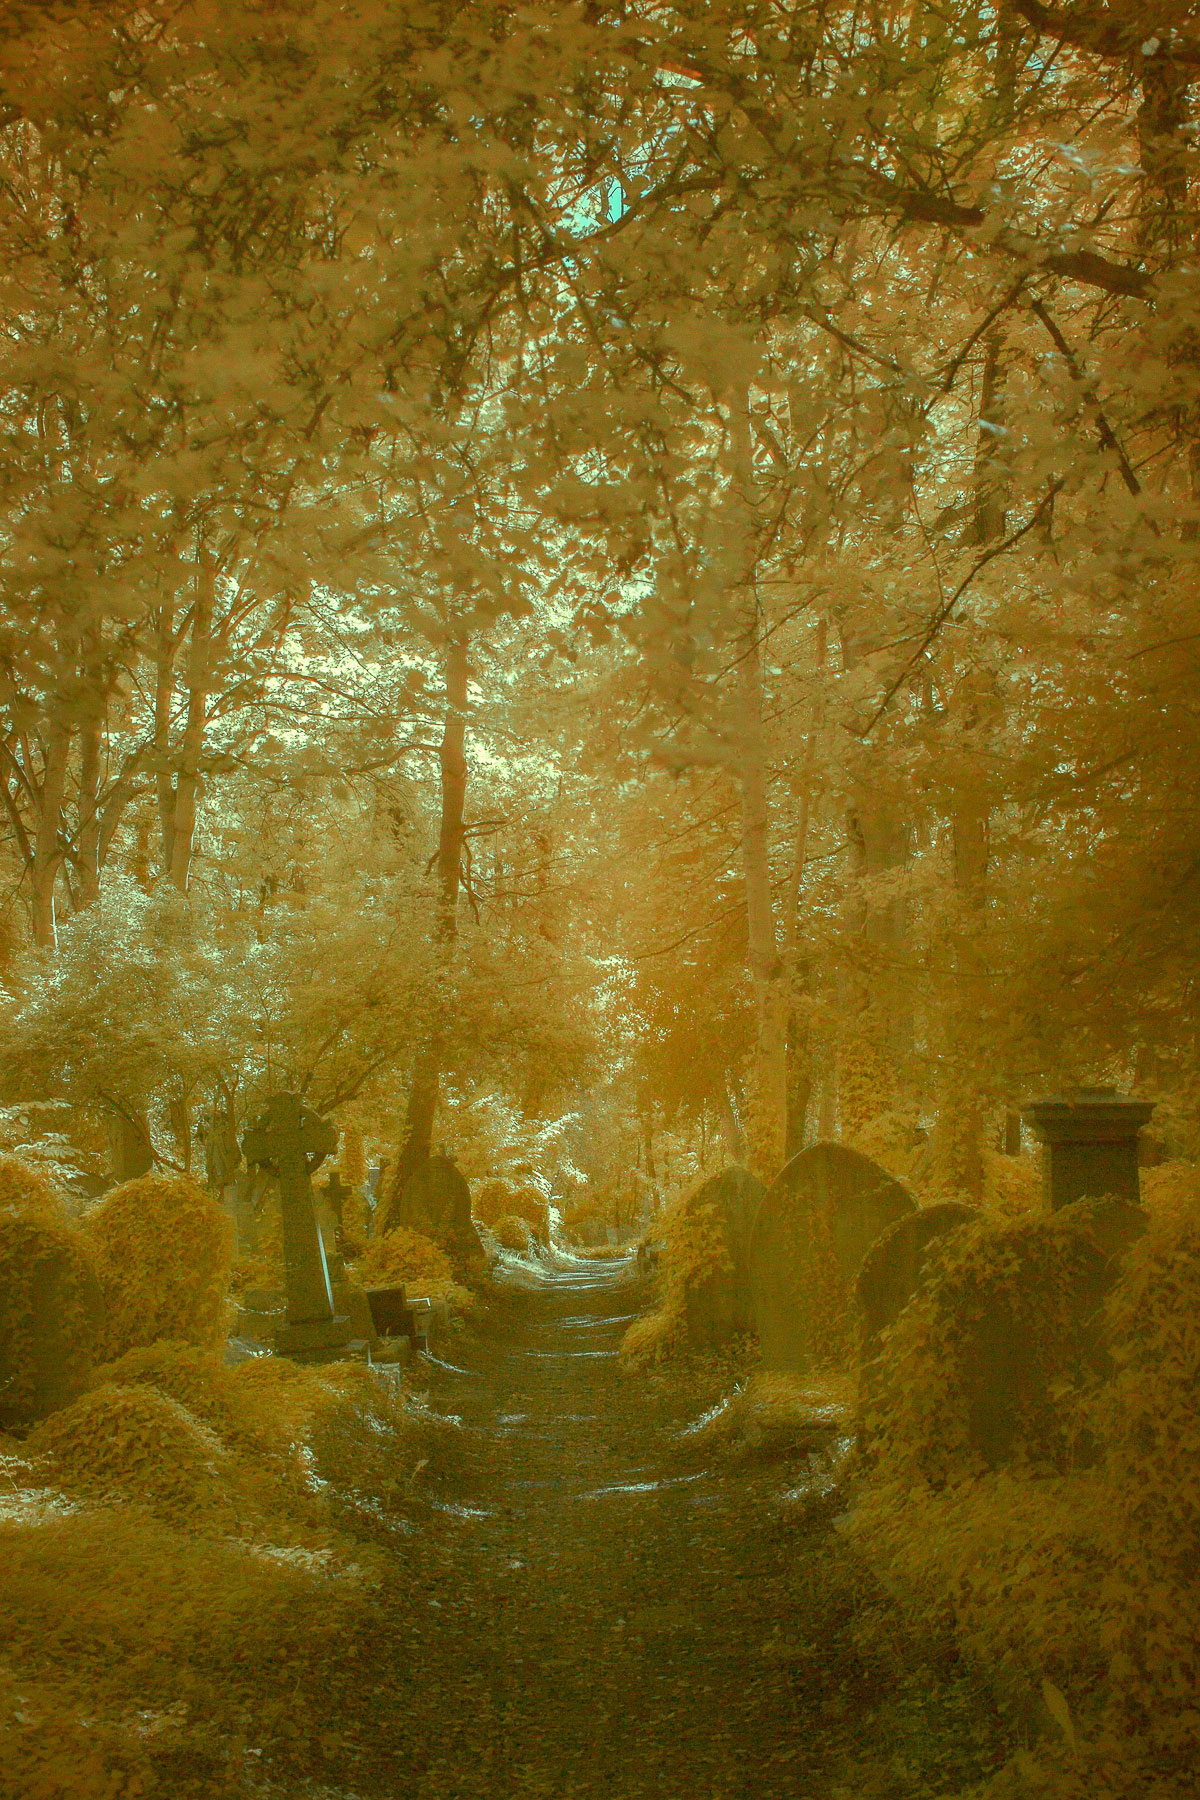
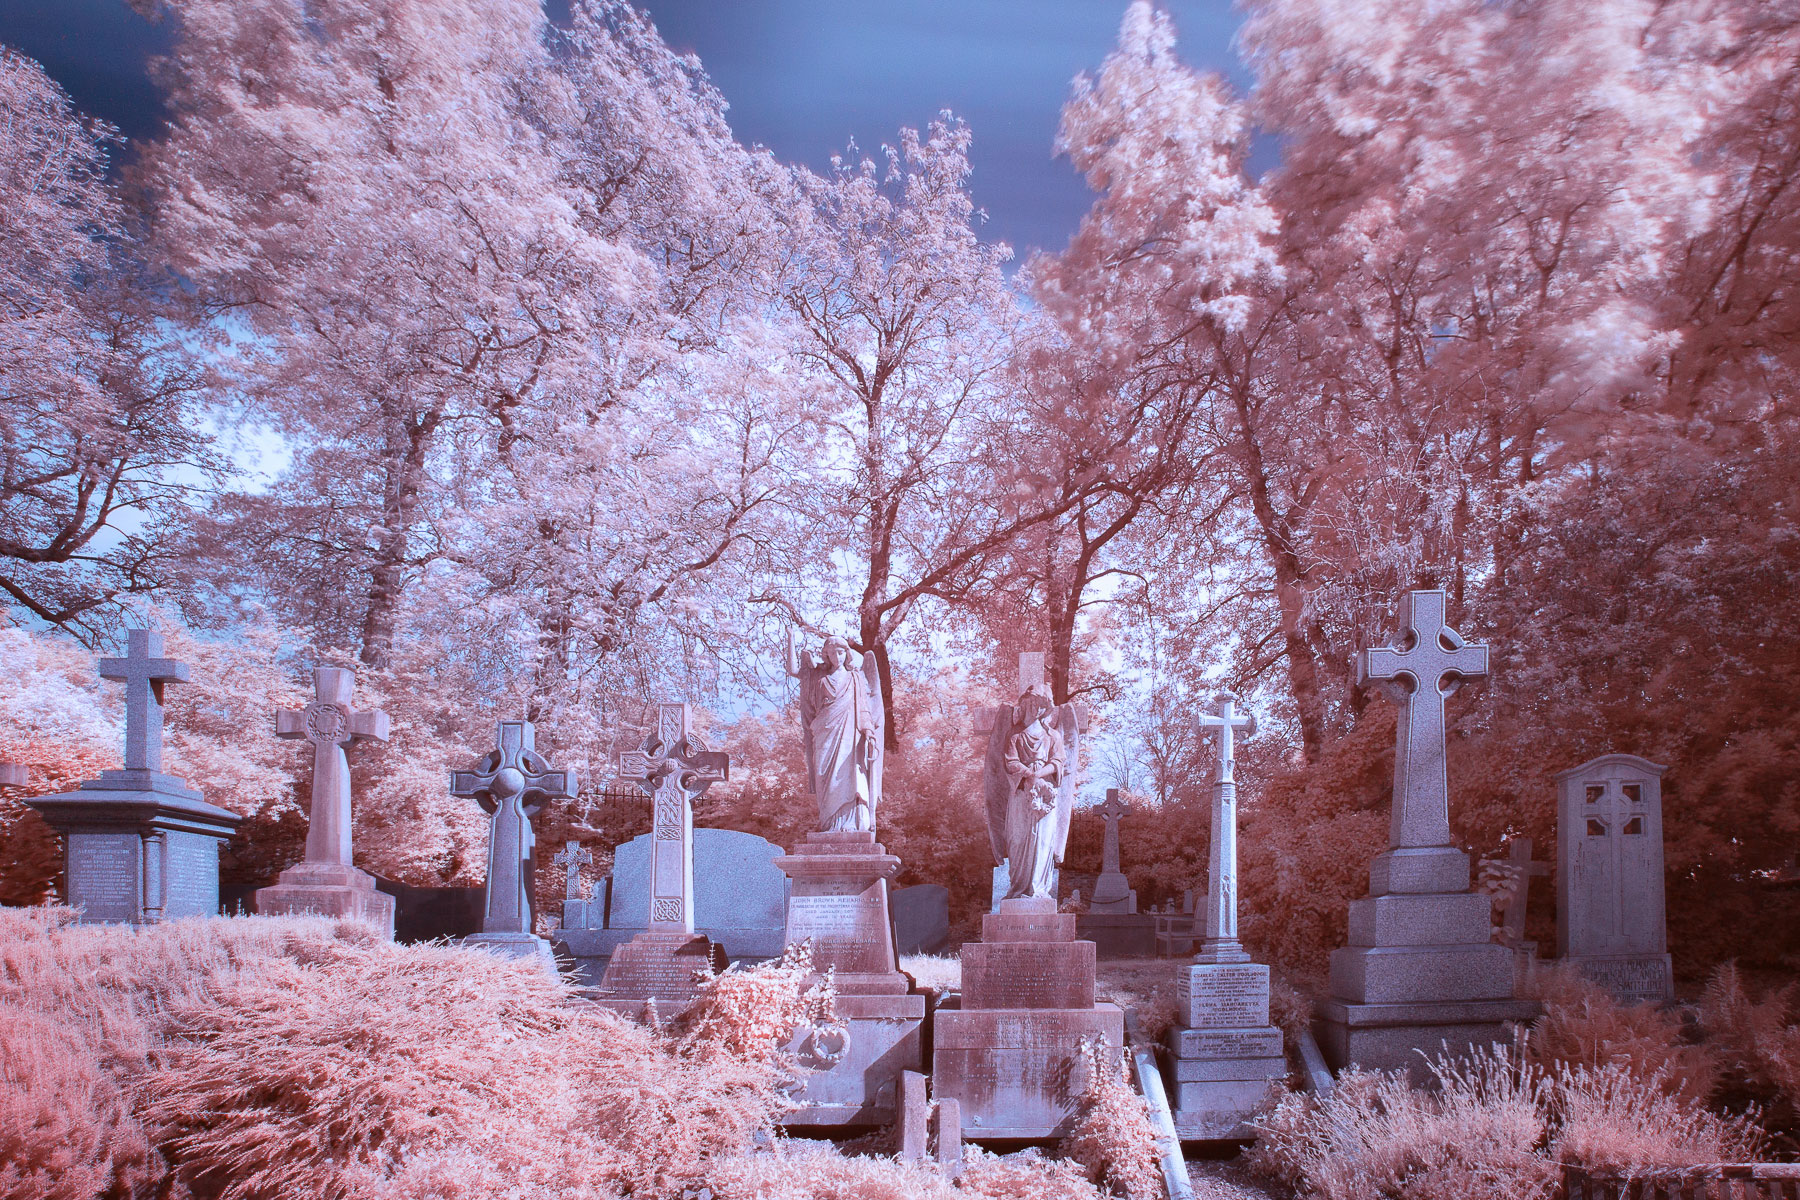
Alternatively taking "colour" infrared images, the filter bathes scenes in a magical light and creates images with a very surreal look and feel - as if they are taken from another world. Often these images can be extremely dramatic as the effect can radically alter the natural colours so that they are compelling for the viewer also.
False colour
Just to touch briefly on the colour imagery. Infrared light doesn't have any colour as it exists beyond the range of visible light - which is where the colours that we can see occur. The R72 filter has a slight red tint to it which enables it to capture the infrared light and for this to have a slight colour so we can see it.
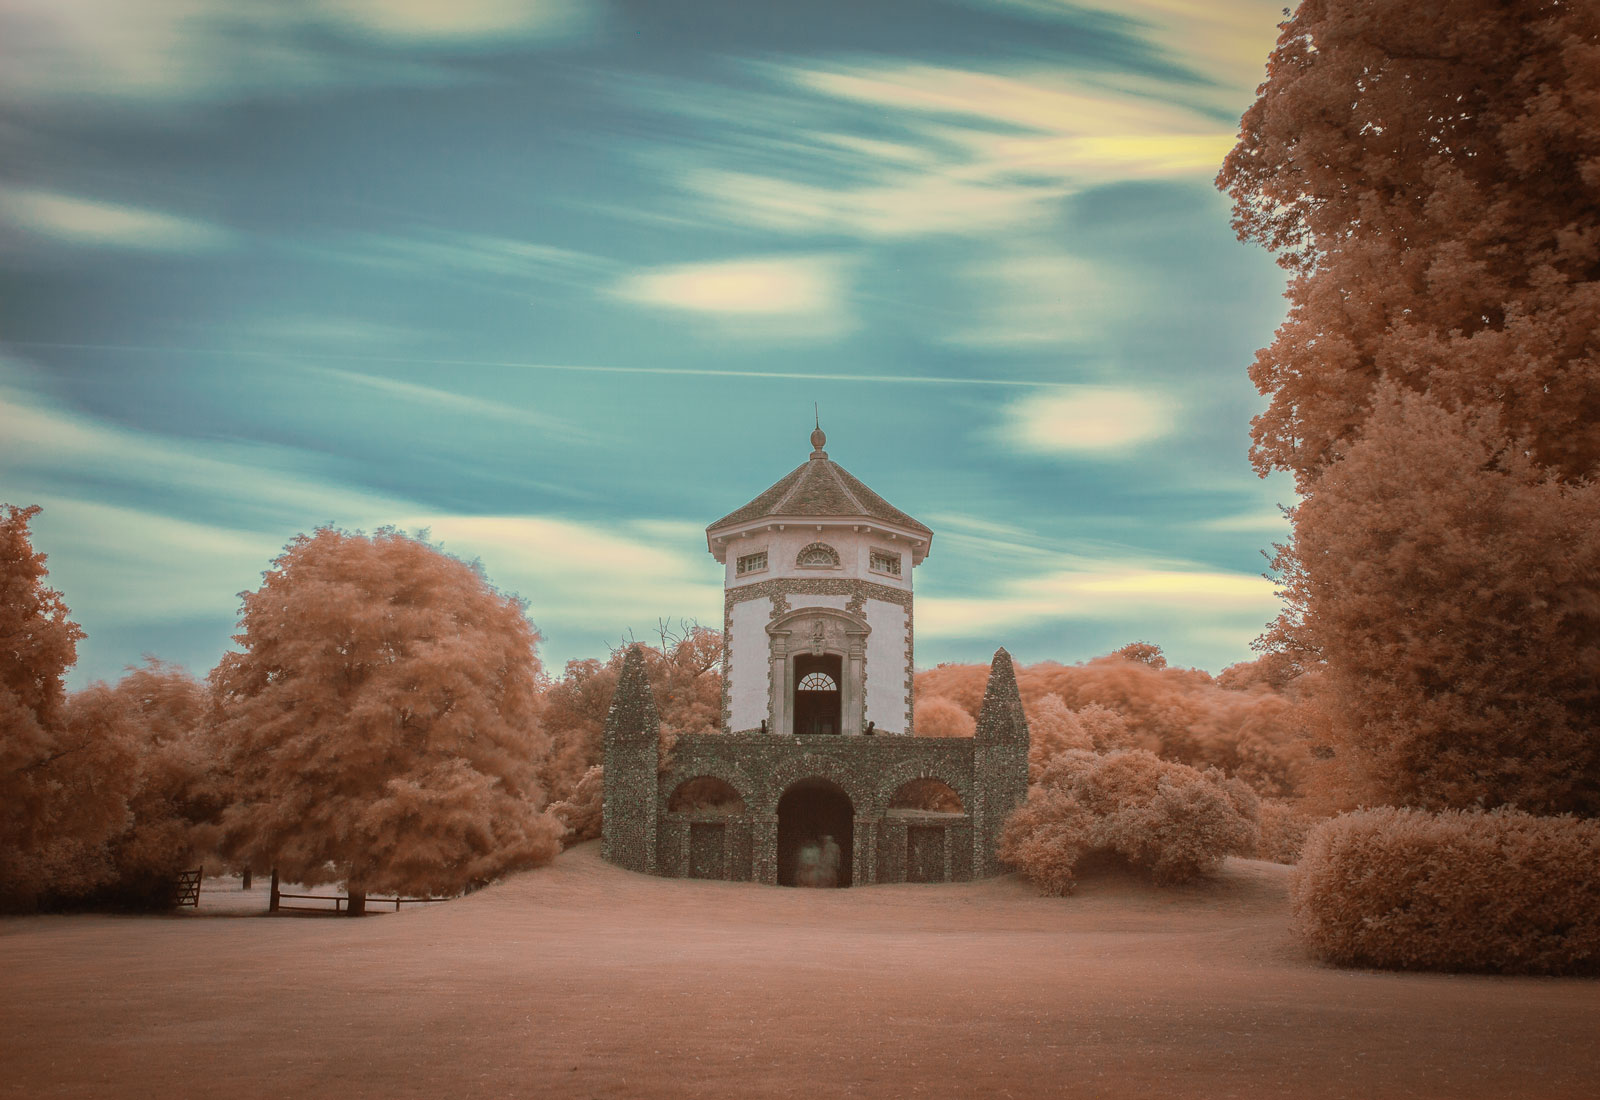
Once photographed, the colour post-processing common to infrared images is known as "false colour". This is because the colours represented are not what our eyes would see or with a regular camera. Here the colour channels are swapped and red tones are replaced with blues, and blues with red. This results in an array of different colours applied to parts of the image, depending on how they reflected or absorbed the light and helps to create the unusual and unexpected colour combinations.
What subjects to shoot?
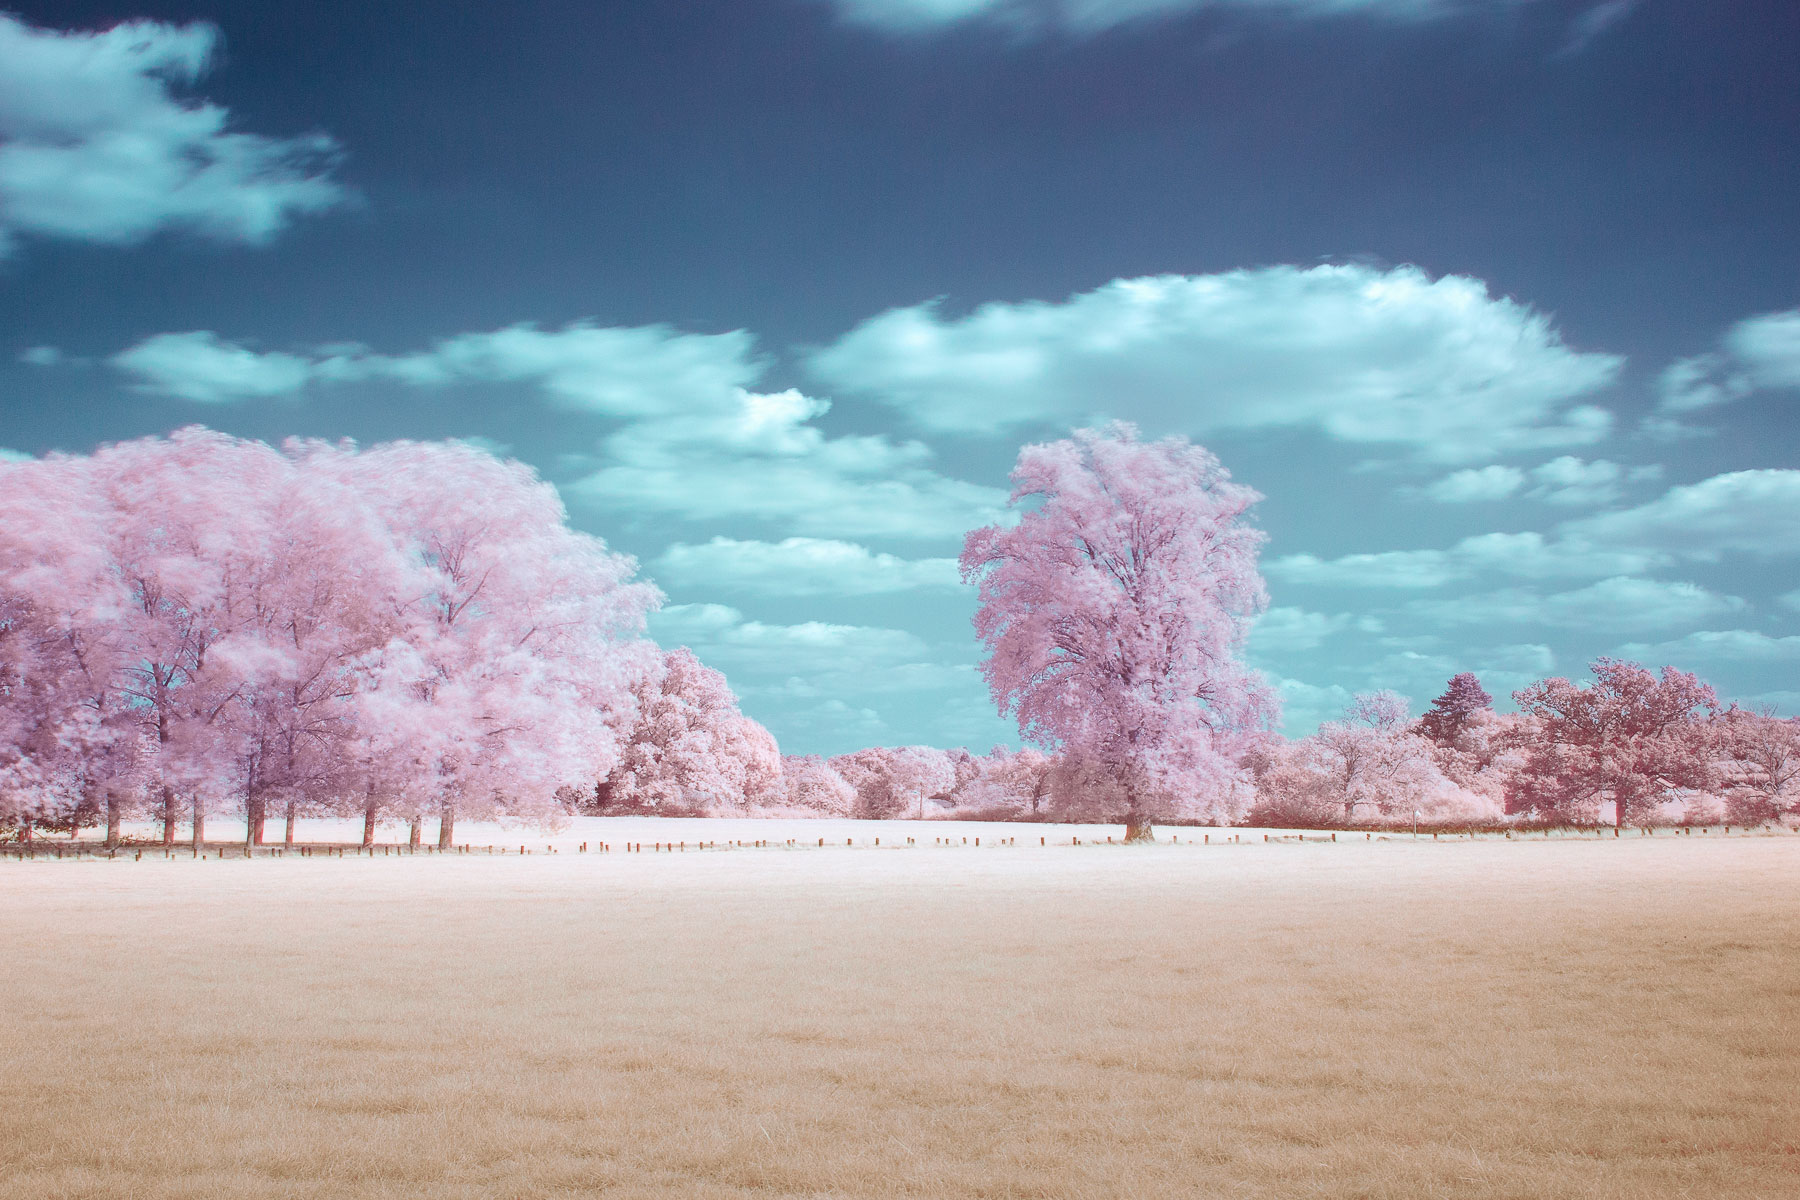
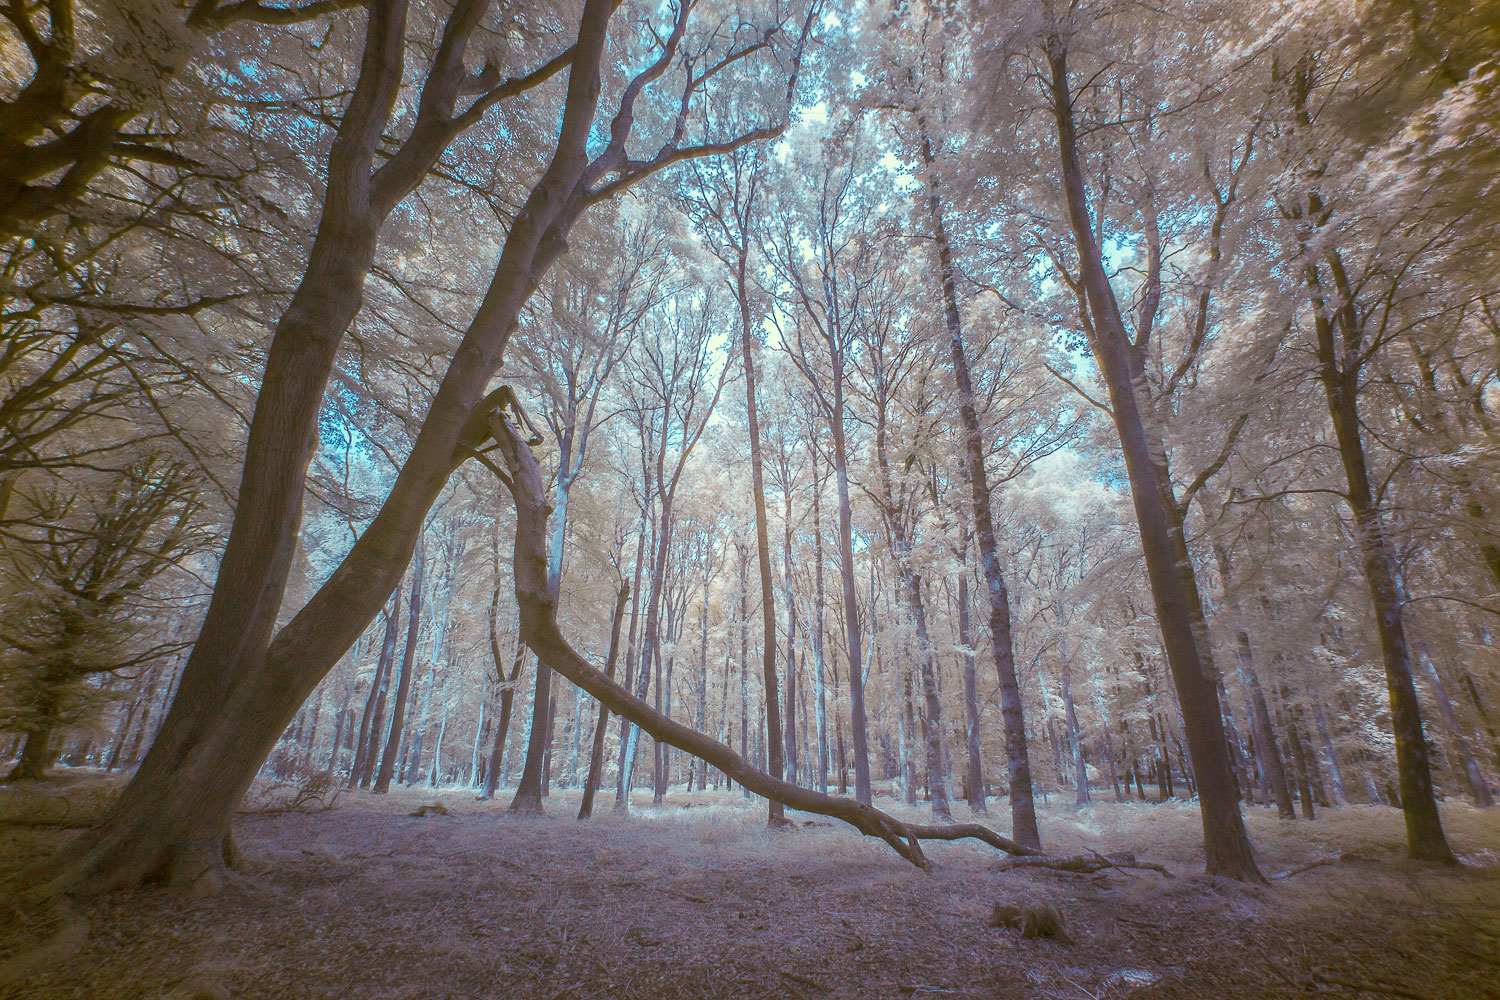
Infrared photography works extremely well with landscape images and other scenes in nature. Tonality changes quite radically under infrared light as colours and tones are recorded on the basis of reflectiveness: Leaves and other foliage reflect the most infrared light and accordingly will be the brightest white elements in your images. Other objects, such as the sky, rocks and mountains will absorb more of this type of light and will become the darker elements in your images.
Bear in mind that as you have to use long exposures with the R72, you won't be able to freeze motion when using the filter. You can still produce similar effects as those taken with ND filters e.g, such as moving clouds becoming streaks of light, flattening water and removing people and traffic from scenes.
Another great benefit to shooting infrared images is that you are not necessarily dependent on great weather for a successful image. You can create stunning images on a bright day with the sun high in the sky or on a darken rainy afternoon too.
Overall
If you are considering infrared photography or looking to add a new array of unique images to your portfolio then you should really consider the HOYA R72 filter. I have found that it opens up a whole new realm of photography without the need to undertake permanent physical changes to my camera or great expense. It is something I can confidently say has a permanent place in my camera bag when I am out shooting long exposure images.
The images taken throughout this article - all with the HOYA R72 filter - depends on how you envision them and how you decide to process them: i.e in black and white or false colour.
I hope that you find this article useful and naturally please feel free to contact me if you have any questions or comments relating to this topic or any other photography question.
Please also feel free to pass this onto any photographer friends that you think may find this useful.

Antony Zacharias