How to use ND filters for the seascape photography?
As you probably know, seascape photography is all about the moving water. The actual movement affects the final photo and we want to control how much of that we want. Neutral Density (ND) filters will help us manipulating the look of the final image.
Why we need ND filter for seascapes
Neutral Density (or ND) filter is a dark piece of glass that a photographer attaches to the lens to limit the amount of light the lens is receiving. We do this with a single purpose - to control the shutter speed and make it longer than conditions allow.
ND filter Types
ND filters come in different shapes - there are circular and rectangular. Personally, I prefer the circular ones. They screw in leaving no gaps for the light to in from the side and reflect multiple times between the filter and the lens. Such multiple reflections could, in reality, ruin you photo and circular filters won't have this issue at all.
Another parameter ND filters have is the actual darkness level, i.e. how much light it blocks. Without going too much into the maths, these filters are marked by the ND numbers. And every power of 2 blocks another stop of light. Simply put, every time the ND number is multiplied by 2, the amount of light it passes is halved. ND2 blocks 1 stop (twice darker than without any filter),
ND4 blocks 2 stops (twice darker than ND2), ND8 is 3 stops (twice darker than ND4 and eight times darker than with no filter), etc.
Long Exposure in Seascapes
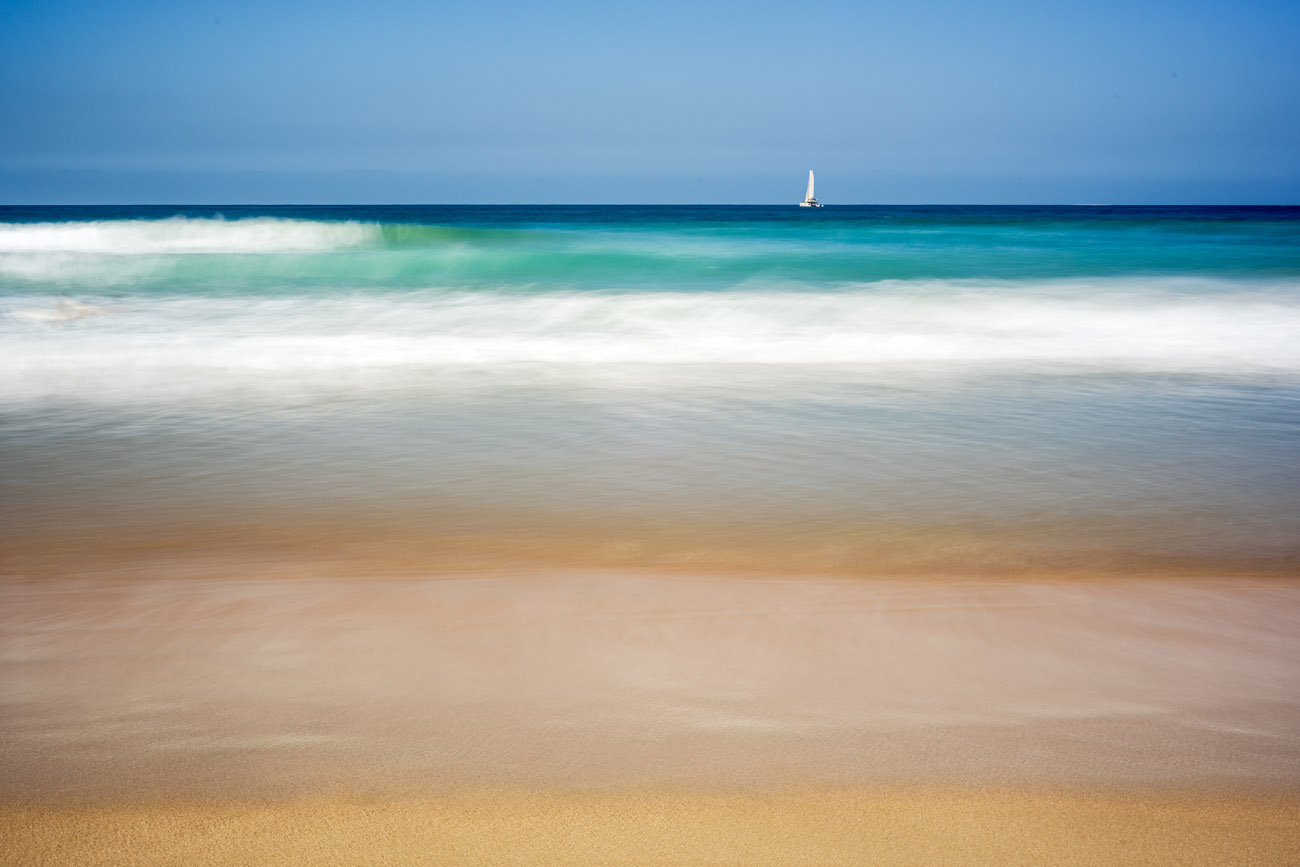
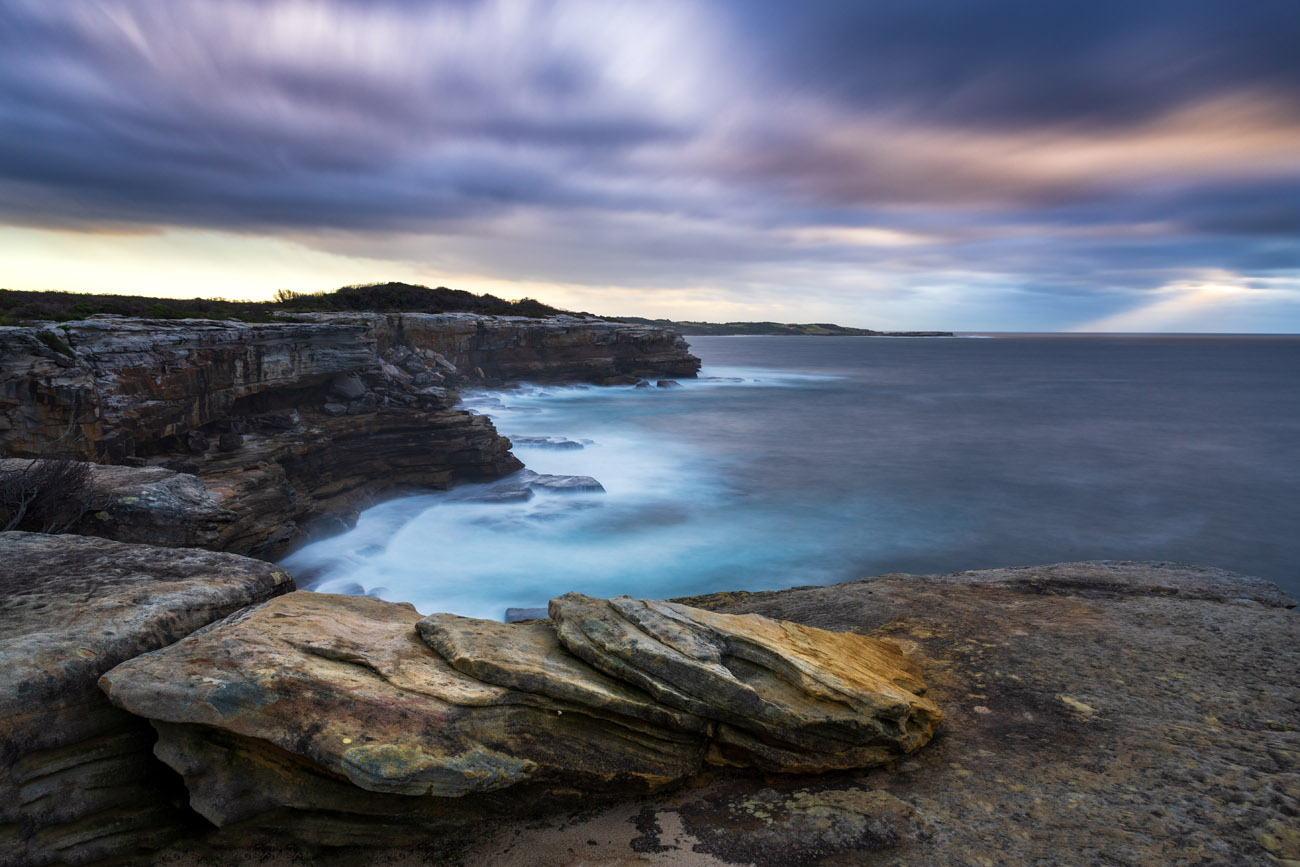
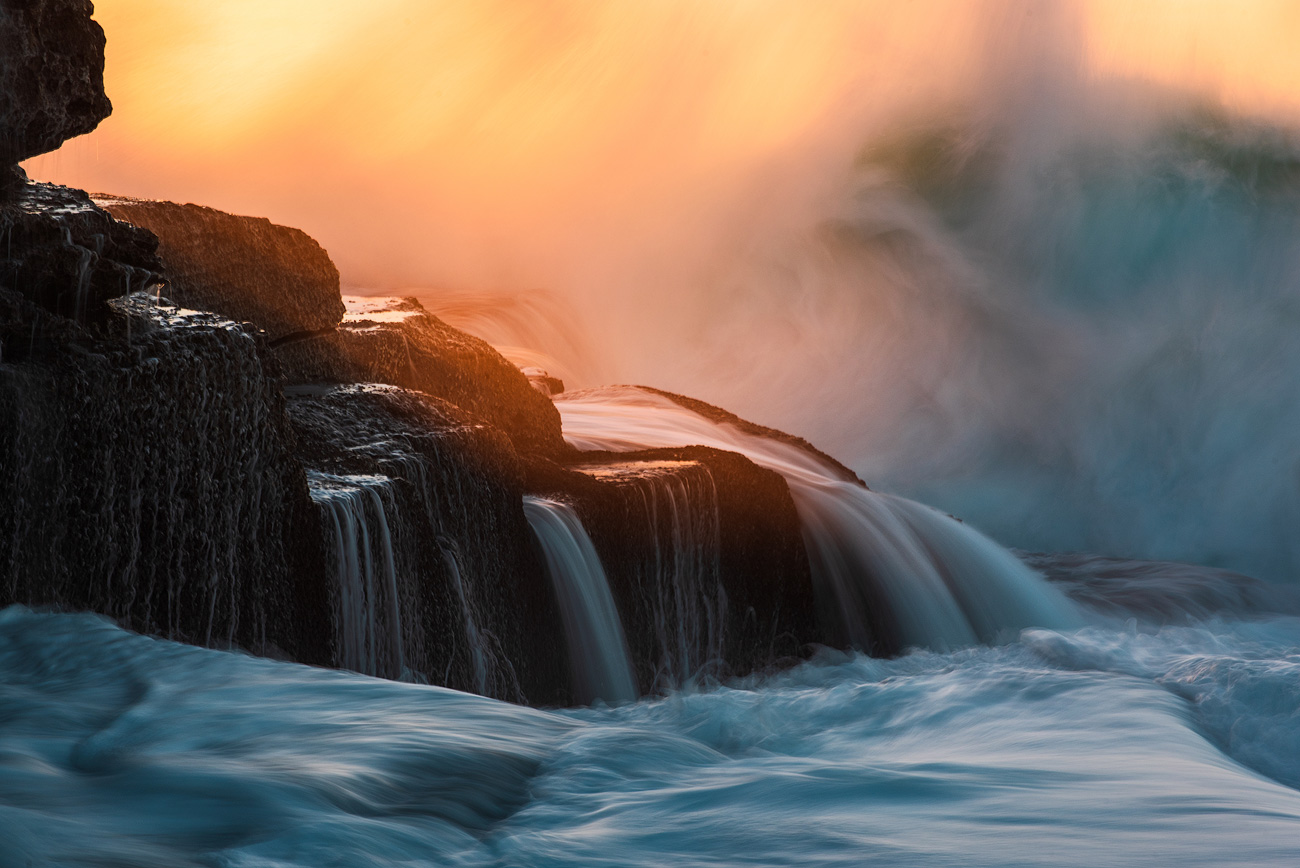
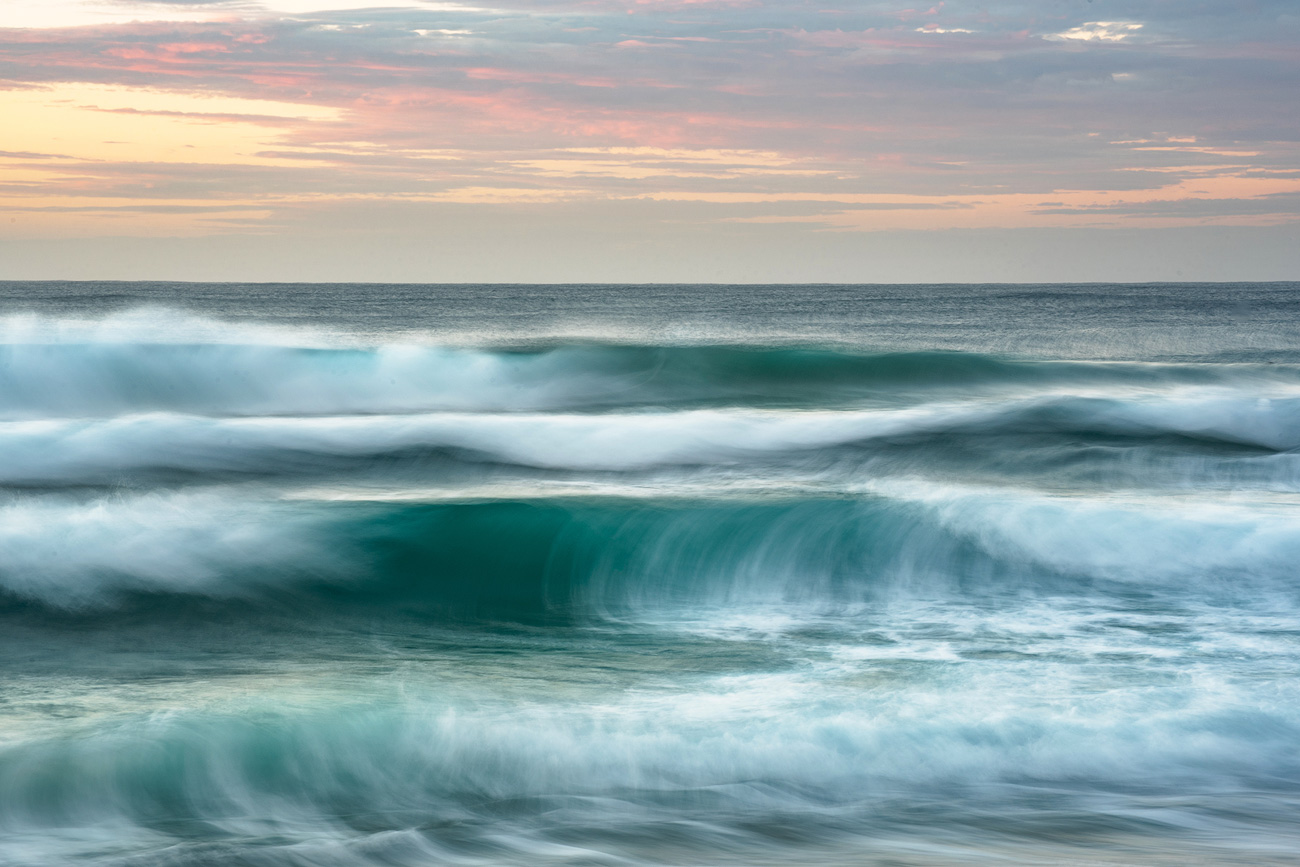
There are many ways to capture the ever-changing sea. The main parameter here is the shutter speed - it allows us to freeze the water, to make it smooth while keeping the fluidity, to make it look like a fog, to smooth it completely removing any texture, etc. You can get really creative on this one.
Some examples:
Deciding on Shutter Speed
First, we need to decide what we want the final image to look like. Then from the chart below, we approximately determine the required shutter speed. And the final step is to calculate which filter to choose.
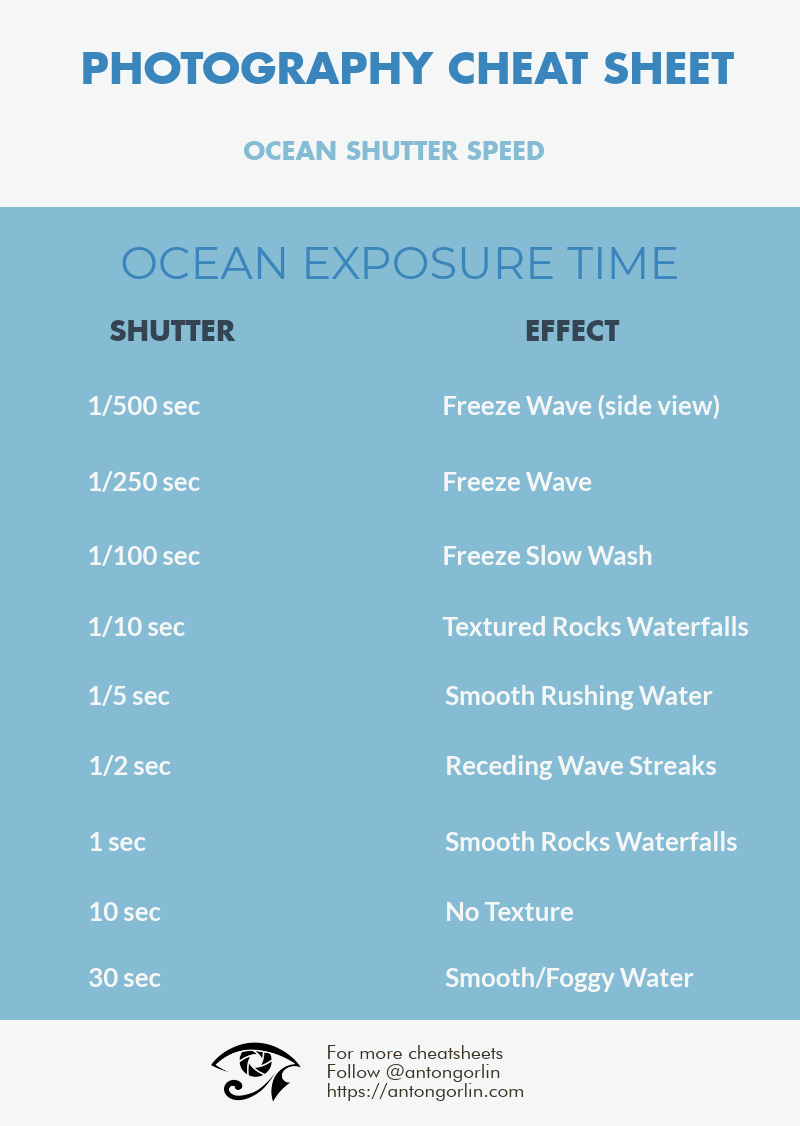
Please note, these shutter speeds are not exact and are only for your reference because every time the speed and direction of the surf could be different. Use these values to start your experiments.
Which filter do we need
For instance, we are shooting right after the sunrise and the shutter speed is 1/20 of a second. To keep the water fluid without any busy textures, we want something around 1⁄2 of a second. Now to calculate how to achieve that, you may use some app on your phone or do it in your head. My thought process goes like this: 1/20 minus 1 stop is 1/10, another stop gives us 1⁄5, third stop goes down to 1/2.5. So, it appears we need ND8, which is 3 stops.
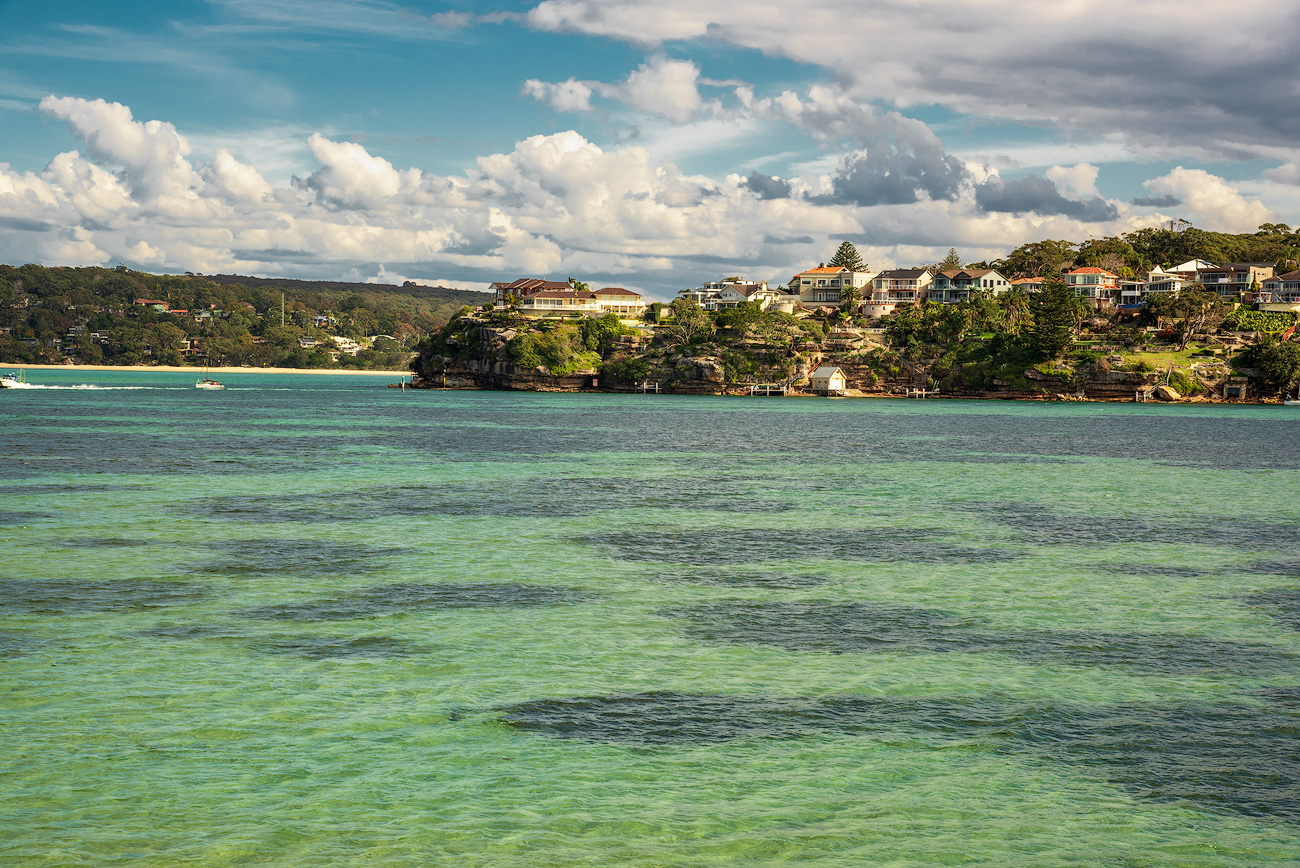
Another good example is shooting during the day. For instance, you currently have 1/500 and you want around 10 seconds, what would you need?
1 stop - 1/250
2 stops - 1/125
3 stops - 1/60 4 stops - 1/30 5 stops - 1/15 6 stops - 1⁄8
7 stops - 1⁄4
8 stops - 1⁄2
9 stops - 1 sec
10 stops - 2 sec
11 stops - 4 sec
12 stops - 8 sec
So, you need 12 stops filter. Hoya has ND500, which is 9 stops. So, in this scenario, we can use two filters ND500 (9 stops) and ND8 (3 stops). Combined, they would produce exactly 12 stops.
 |
 |
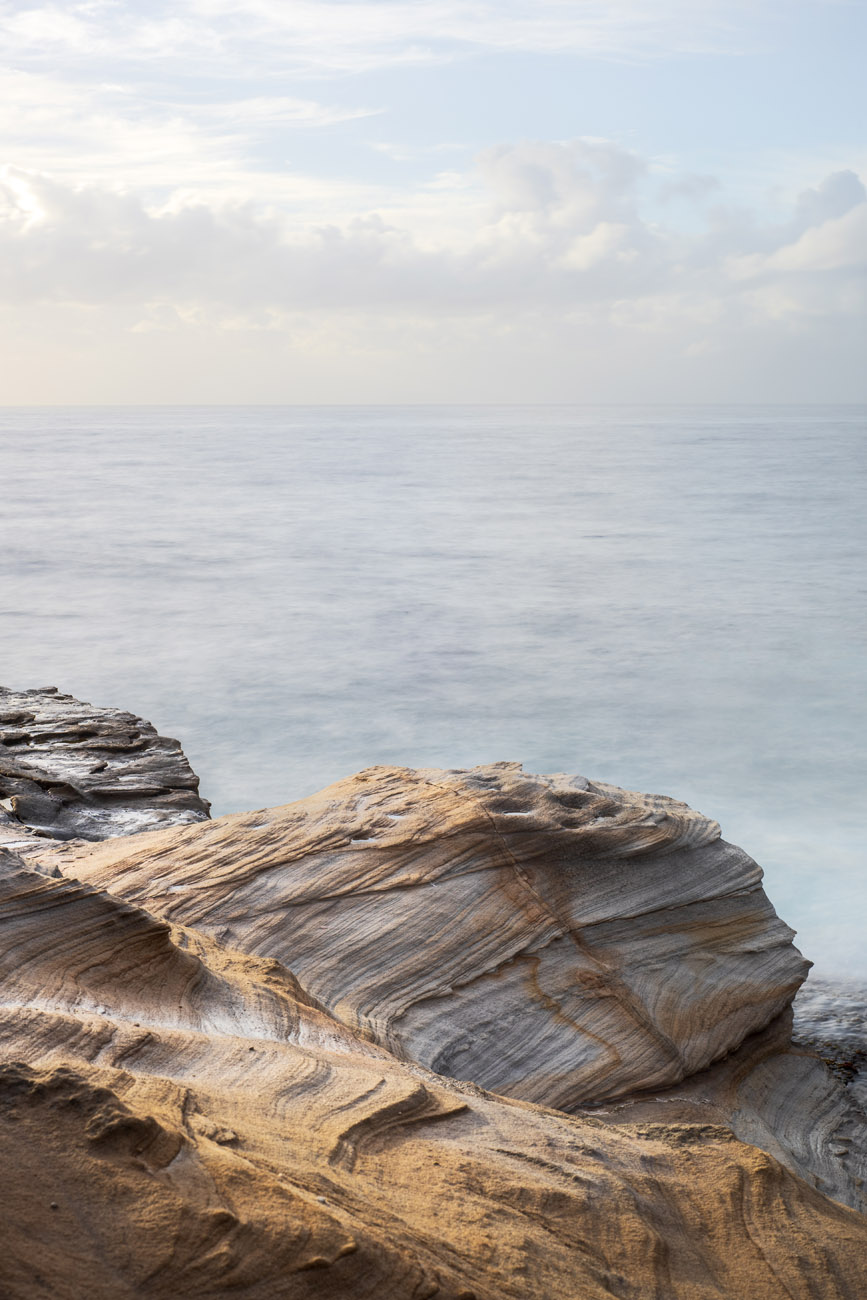
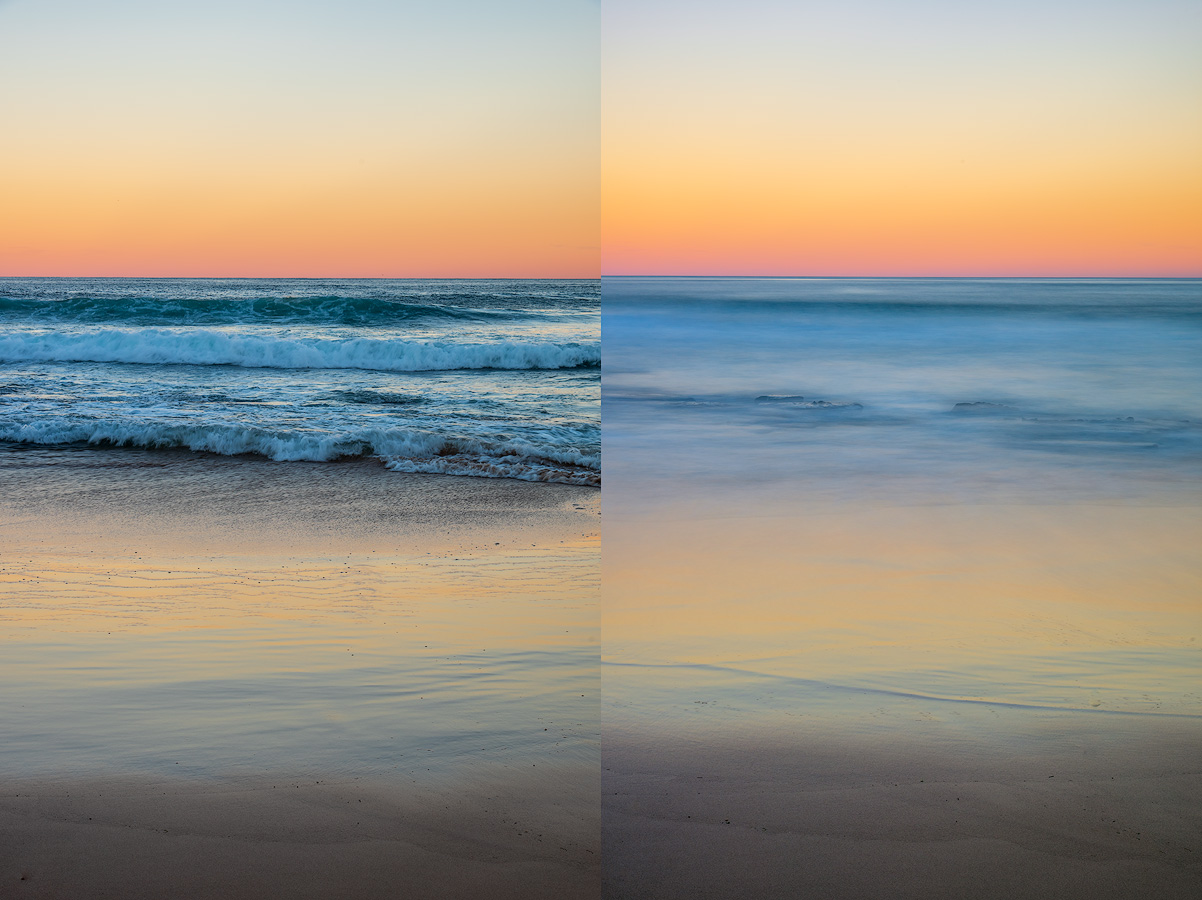
Here is another example of a daytime seascape photography. The first one is just not usable, while the second one look interesting. Nikon D750, Nikon 24-120, f/16, 1/80 sec vs 6 sec at ISO100. I could have made this shot even more exciting if I used ND1000 to turn the clouds into the trails.
These calculations bring us to the conclusion that a good photographer needs several filters to cover various lighting conditions. I recommend having ND8, ND32 (or 64) and ND500 (or ND400) to cover all possible scenarios. You may also want to have ND1000 to avoid filter combinations in some cases. The absolute minimum is to have ND8 and ND400-500.
Conclusion
Filters are creative tools. If you feel stuck or just want to get your creative juices flowing, get some filters and start experimenting. Some filters can easily be simulated in editing (like the colour ones), while others are very hard (ND filters) or even impossible (circular polarizer on certain conditions).
Anton Gorlin: Website