Thoughts and tips by Yannis Raptis
As I remember myself I was always interested in infrared photography. There was something charming and different, a distinct drama that fascinated me. Years later I had the HOYA R72 infrared filters available in my gear and I started experimenting with infrared photography in the field.
What exactly is this filter? How does it work? And what do the results look like?
The HOYA R72 filter is an infrared filter that allows to pass light only from 720nm in the light spectrum, giving a deep magenta image with reddish color tones. You can simply thread it in front of your lens to block all the visible light, creating an infrared image. Most people turn the camera settings to black and white for a dramatic and unique look that nothing else can replicate. The only other option available for infrared photography is a complete conversion of your camera that costs quite much and is irreversible, meaning your camera will shoot only infrared and can't be used for normal photography. The R72 filter is a great tool to fully understand if infrared photography is for you without breaking the bank and it will help boost your inspiration and creativity.
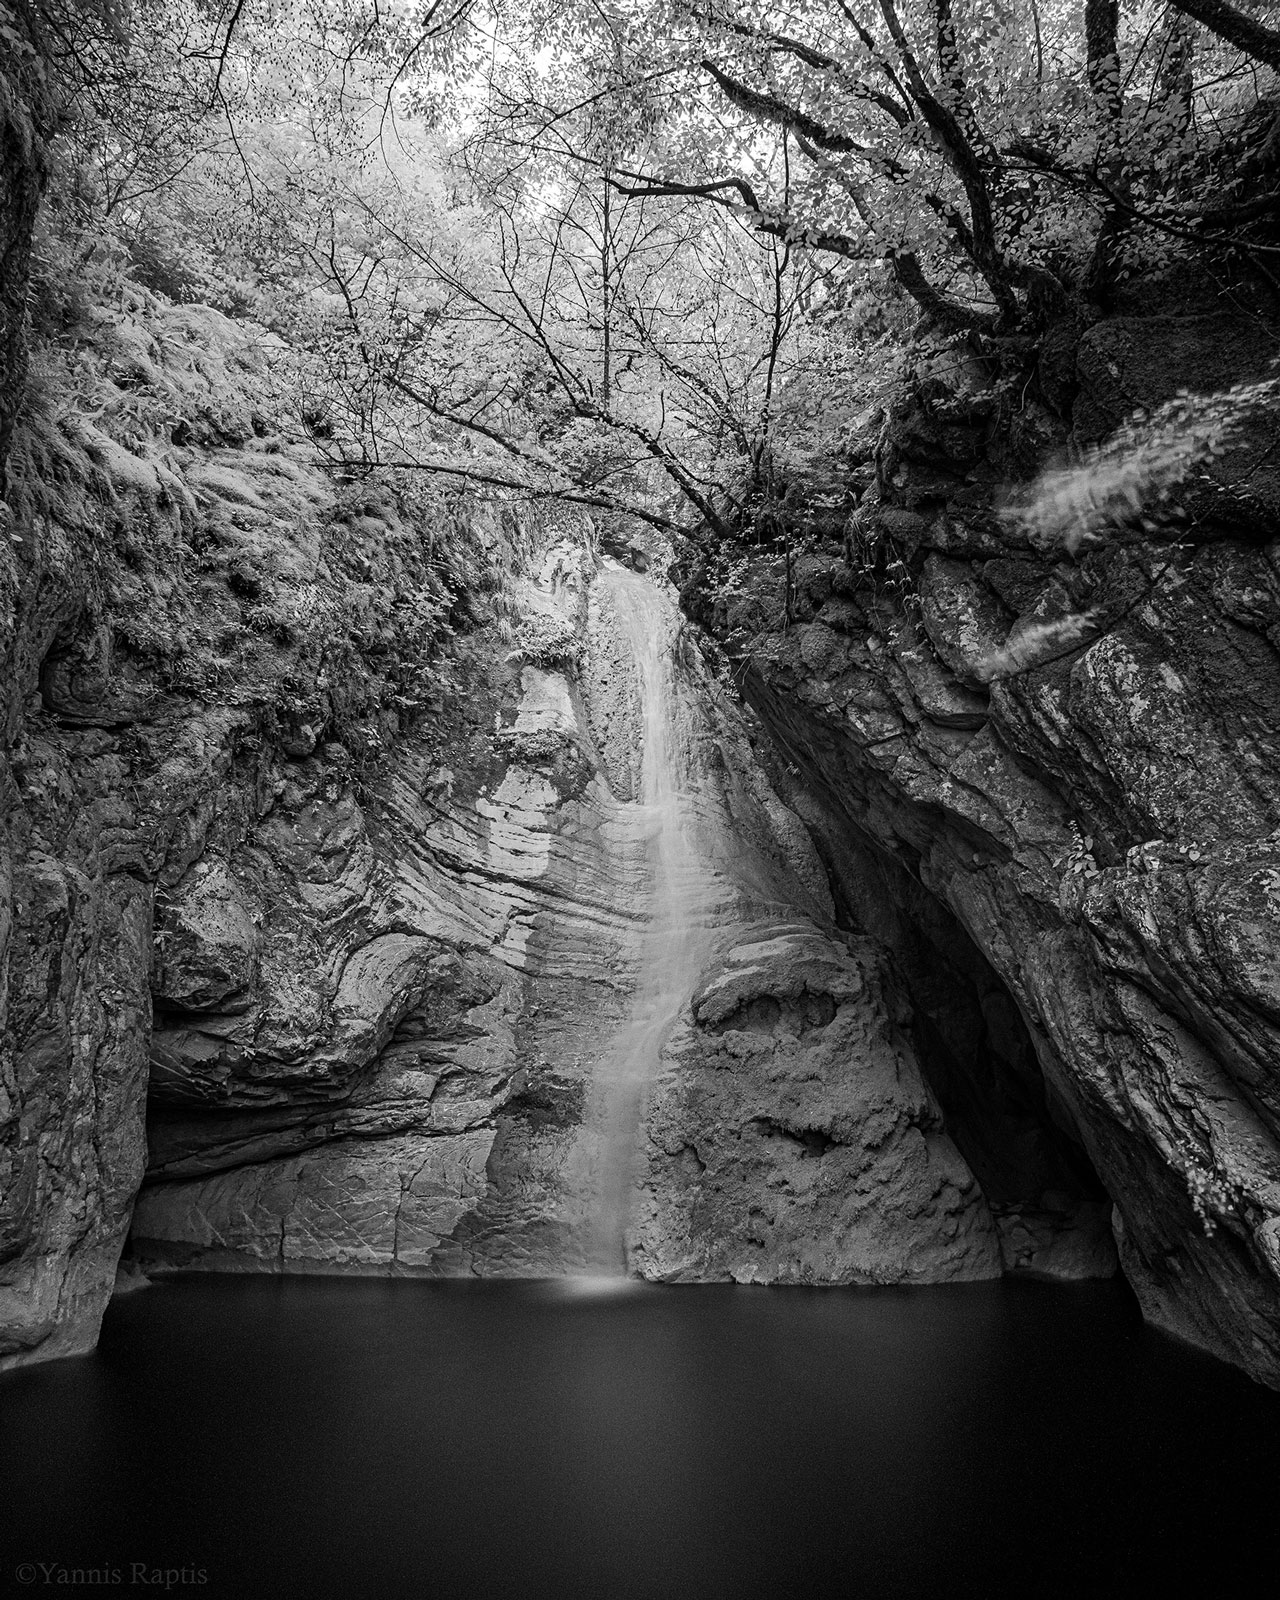
The image by itself as we mentioned is in various reddish colors, depending on the lighting and objetcs in the image. If you like experimenting with these colors you will probably love it. Personally, I prefer black and white for infrared images as well, which is done by turning on the setting in the camera.
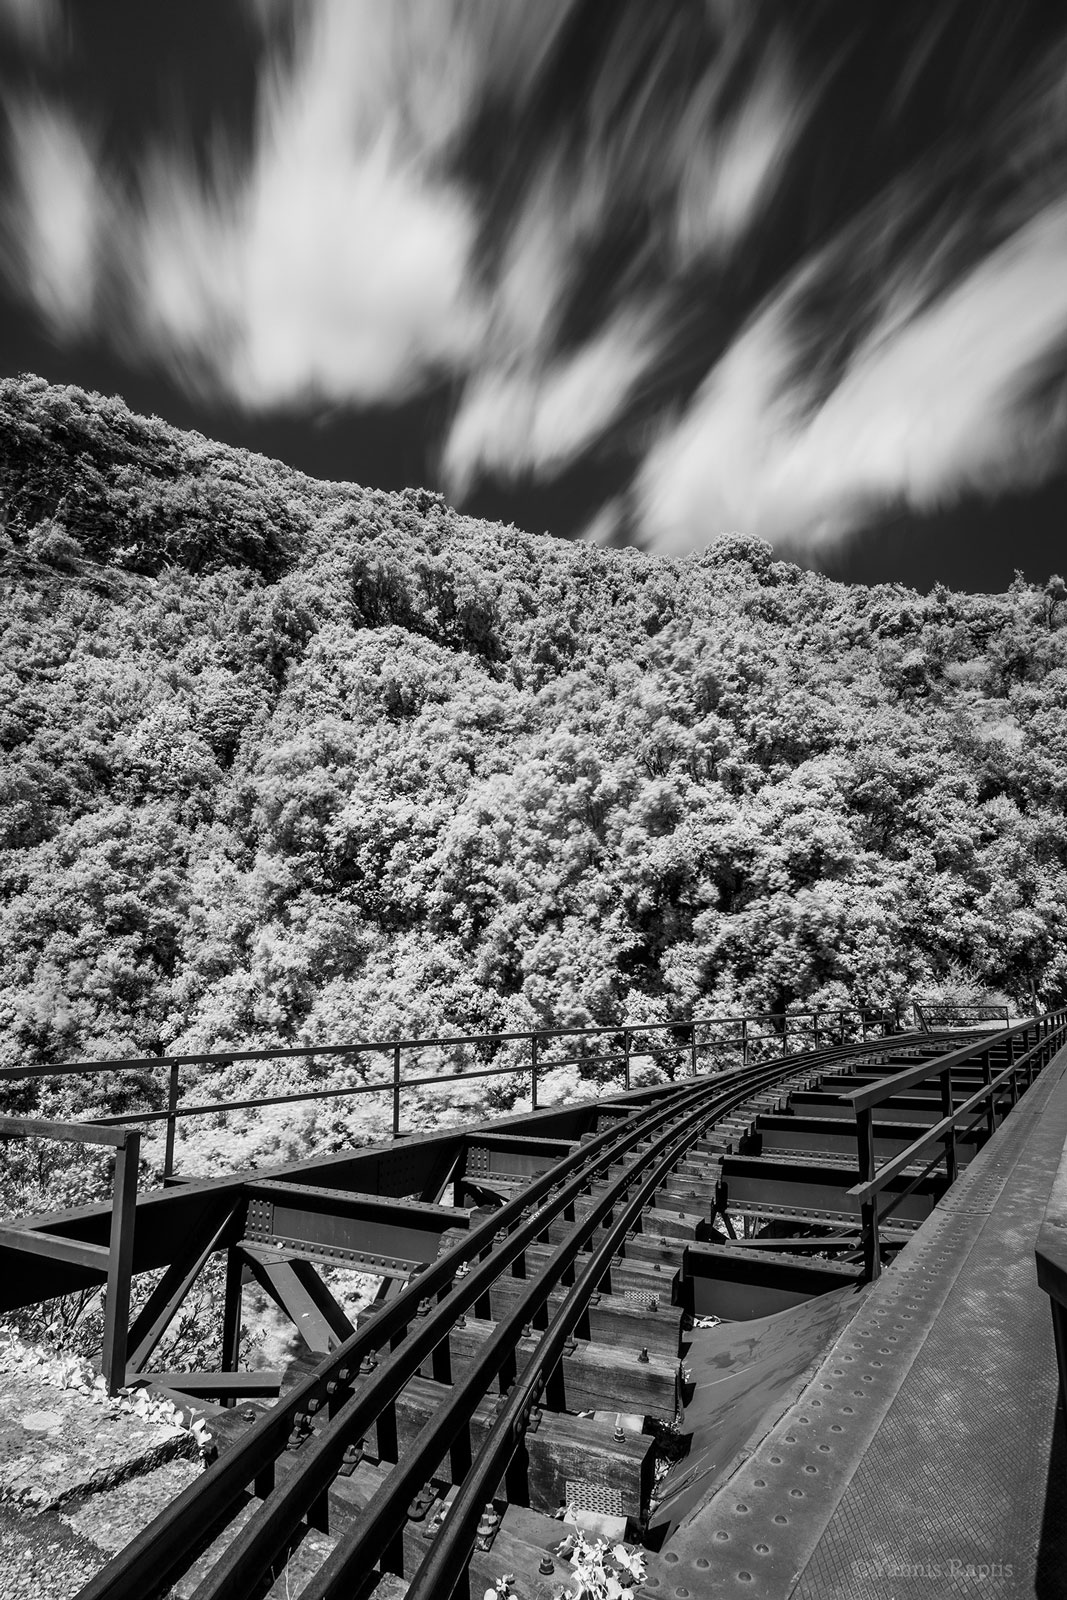
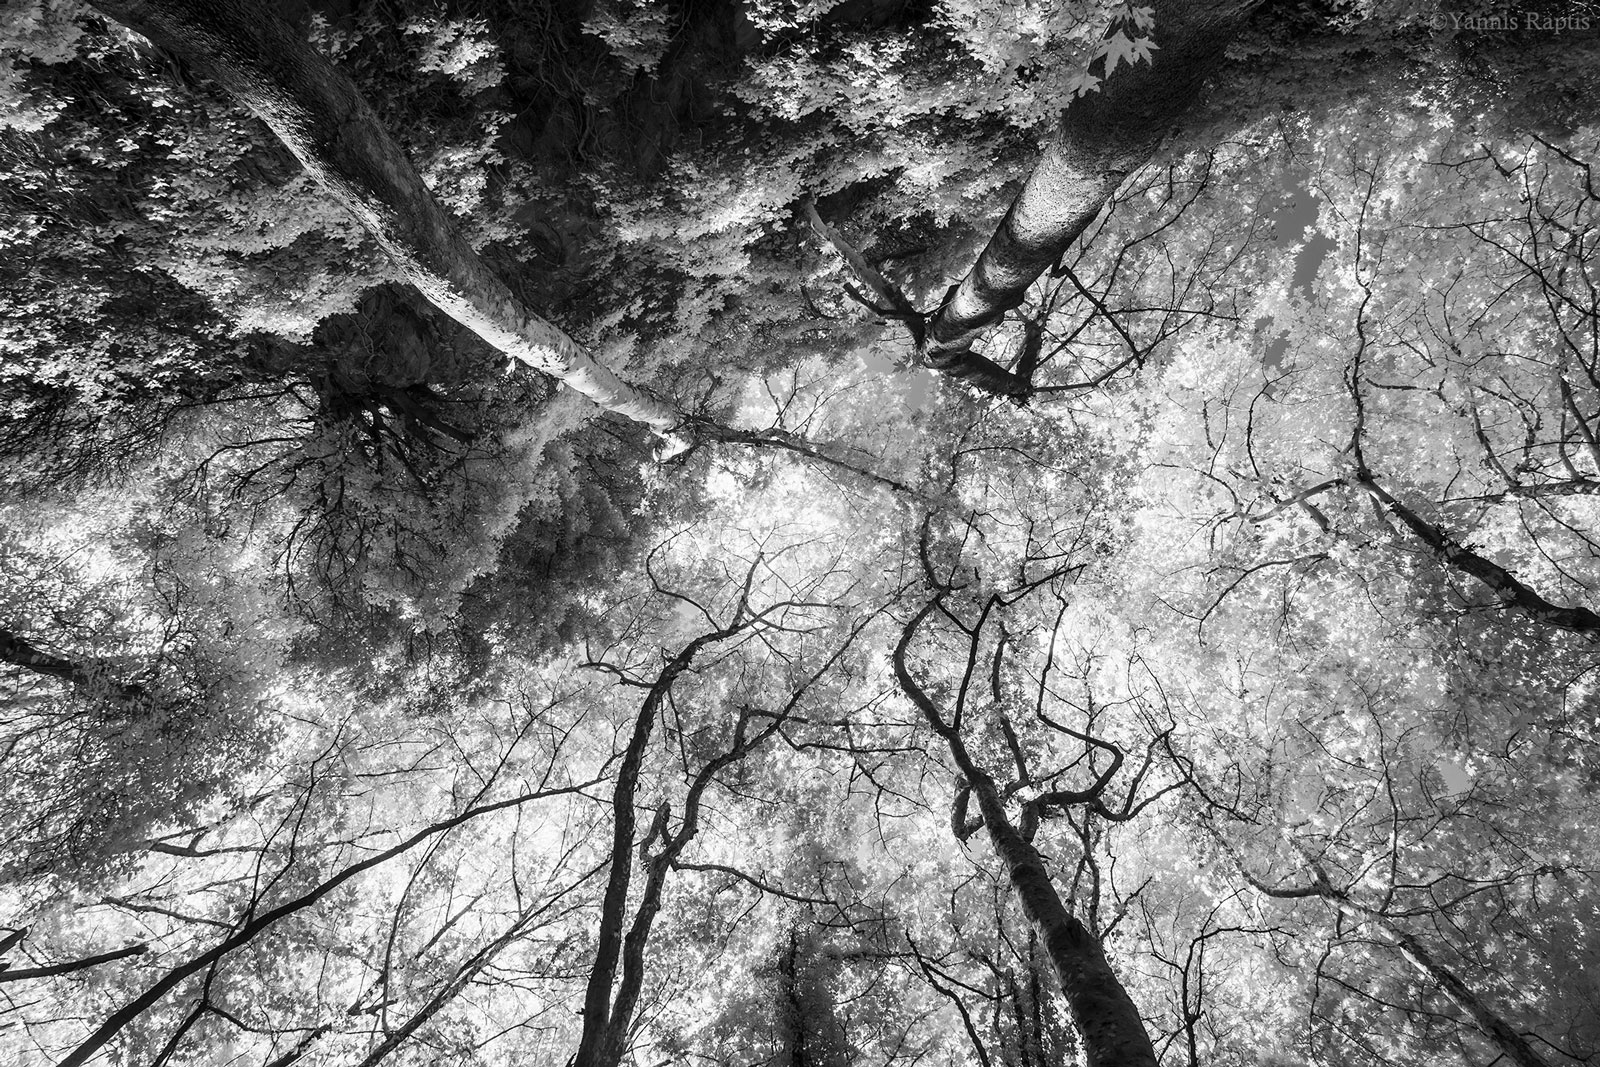
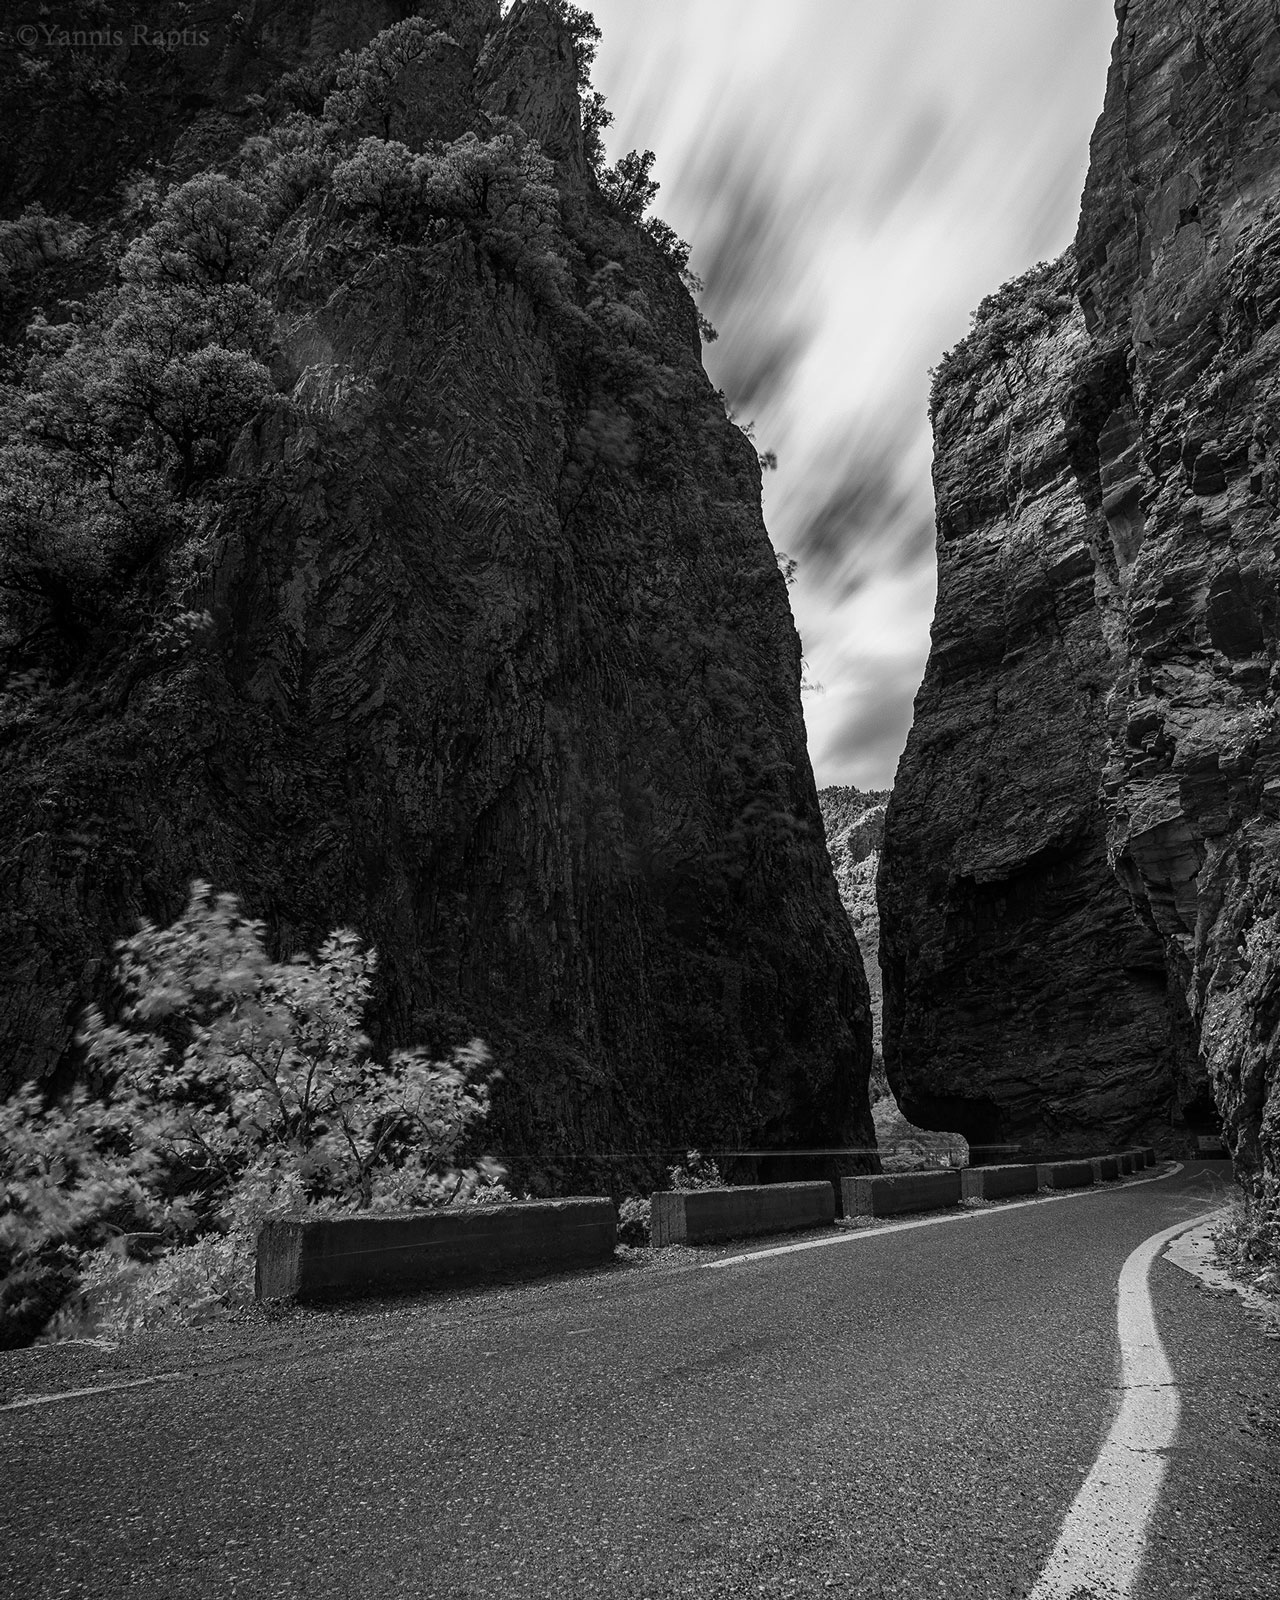
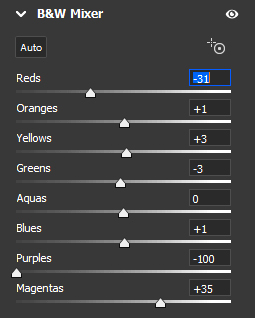
To create stunning black and white infrared images the way we want it, we have to understand how the colors affect luminosity (with the R72 infrared filter on). Red and green channels are becoming brighter and blues are becoming darker. In landscape photography this means that the sky will become darker and the greens like trees and grass will become brighter. This is a very convenient result, as landscape photographers often struggle to match the exposure of the sky and the foreground. This filter considerably darkens the blue sky and you don't have to worry about the exposure differences. Maybe we can even call it an 'hdr' filter.
Another interesting feature worth mentioning is that these filters work as an ND filter as well. This allows you to use one-minute exposures in a harsh daylight environment showing the movement in clouds and water creating drama and a unique look.
Tips
- Always shoot in bright daylight. This filter is like a 10-stop nd so in order to keep your ISO low you have to be in a bright environment.
- Generally, try not to exceed 3-4 minutes of exposure. Letting your sensor be exposed to light for more than 3 minutes may give you a lot of dead pixels.
- Use clouds in your composition to capture the movement.
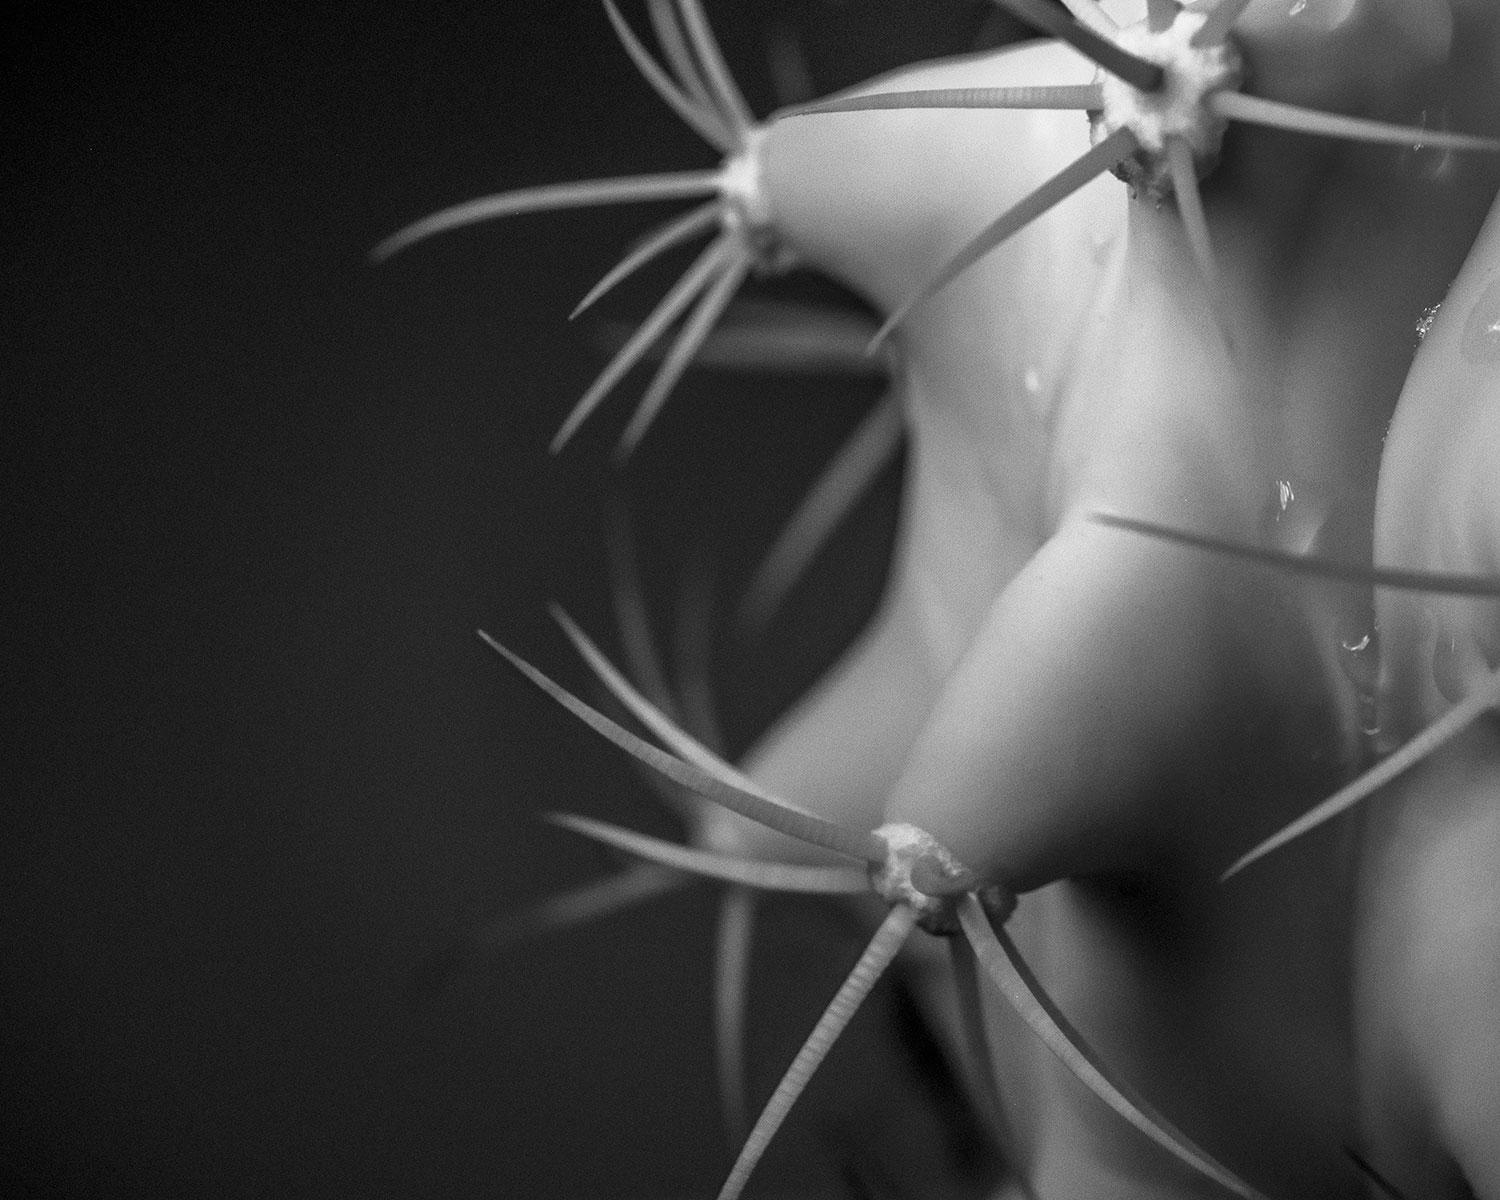
- Do not limit yourself to landscape photography. You can experiment with macro or anything else your creativity can conceive.
Advantages
- You have color channels that let you tweak the luminosity in black and white or change the colors in color photography.
- Cost-efficient.
- Opens up new doors for your creativity.
- Great quality filter.
- Unique dramatic black and white images.
- It can be used in experimental photography and various projects.
Neutral
- You have to make long exposures
Negative
- You need a tripod
About the photographer
Yannis Raptis is a 28 years old photographer from Athens, Greece. Even though he studied in the dentistry school of Thessaloniki, photography had always the first place in his heart. At the age of 15 he bought his first DSRL and since then never he never stopped being behind the lens. Currently, he is studying photography in a BA (Hons) program at Middlesex university.